.png)
Why this matters: Databricks compute (DBUs, cluster time, SQL warehouse usage) is billed on its own schedule, separate from the underlying cloud provider invoice — and can scale quickly with query volume or always-on clusters. Without connecting it here, that spend either lives in a separate Databricks-only view nobody checks regularly, or shows up as a surprise on the invoice. Connecting it means Databricks costs show up in Mavvrik's SaaS dashboards, with the same allocation and reporting tools available for your cloud spend.
This shows up differently depending on your role:
-
FinOps managers use this to catch Databricks cost growth (idle clusters, oversized warehouses) before it's a large invoice surprise.
-
Data/platform teams do the actual onboarding — creating the service principal, granting it read-only access, and connecting the SQL warehouse.
-
Finance leaders use this for chargeback when workspaces are shared across multiple teams.
Configuration steps
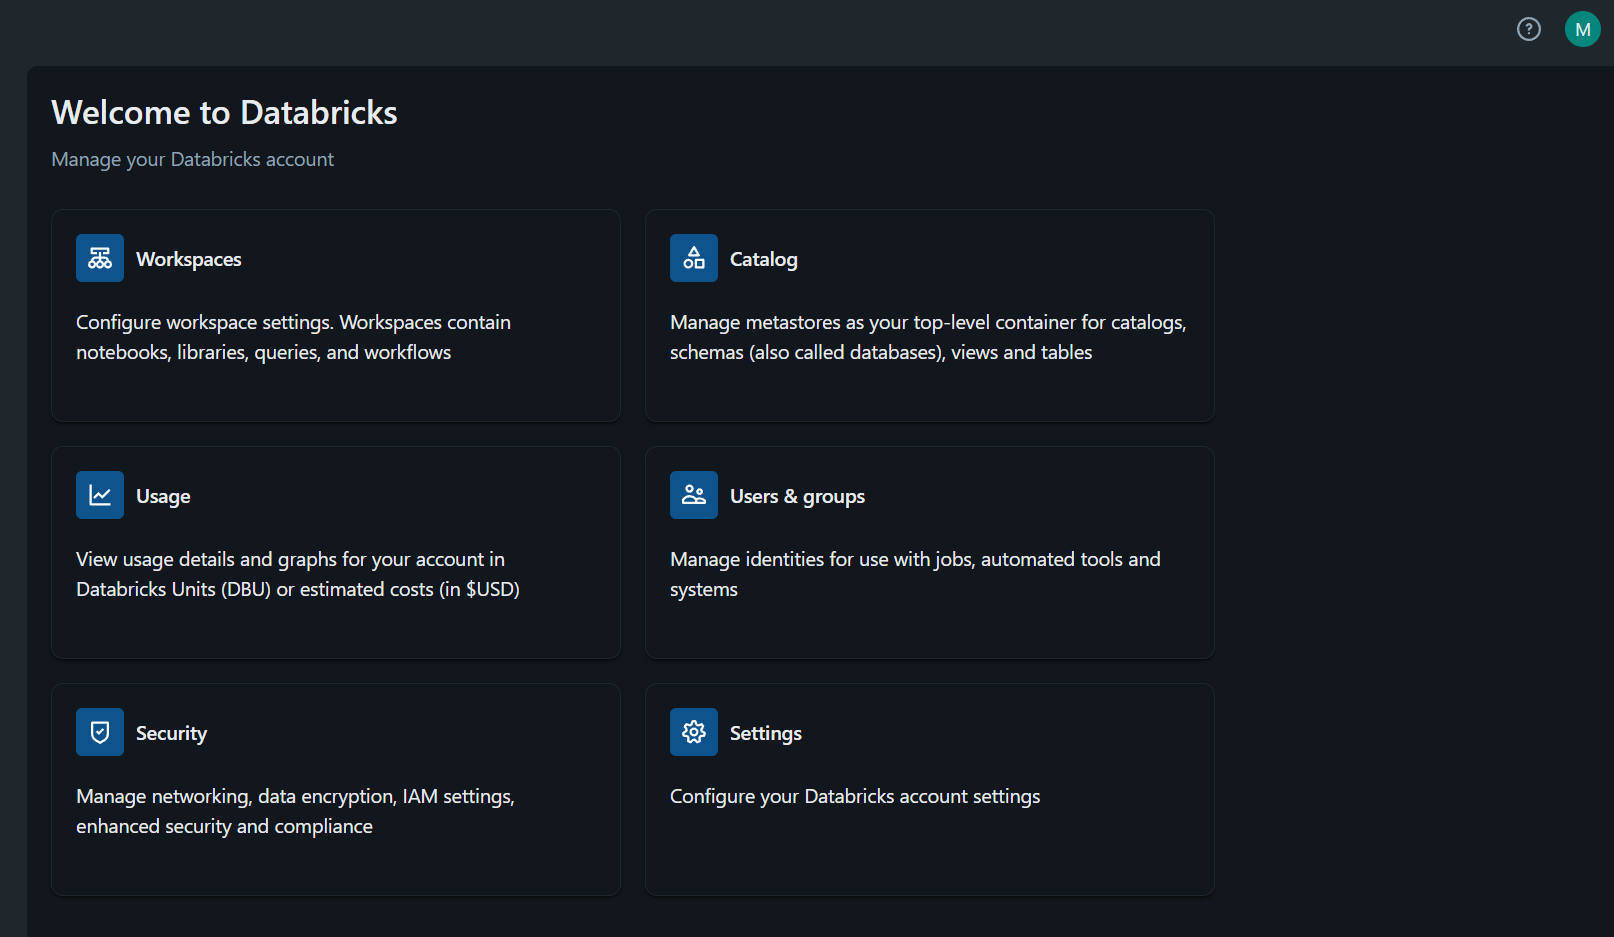
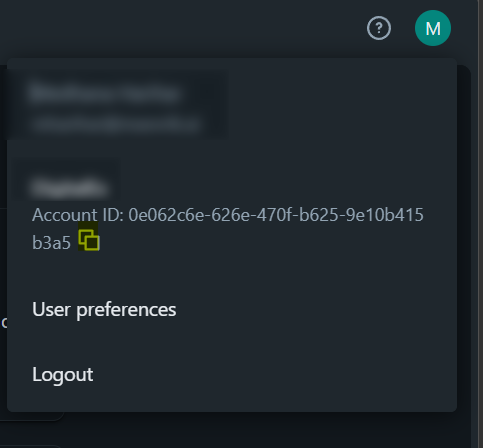
Step 1: Login to Databricks and capture the account ID
-
log in to databricks as admin ( https://accounts.azuredatabricks.net )
-
Click on the profile icon at top right corner and copy the account ID
Step 2: Create Service Principal
-
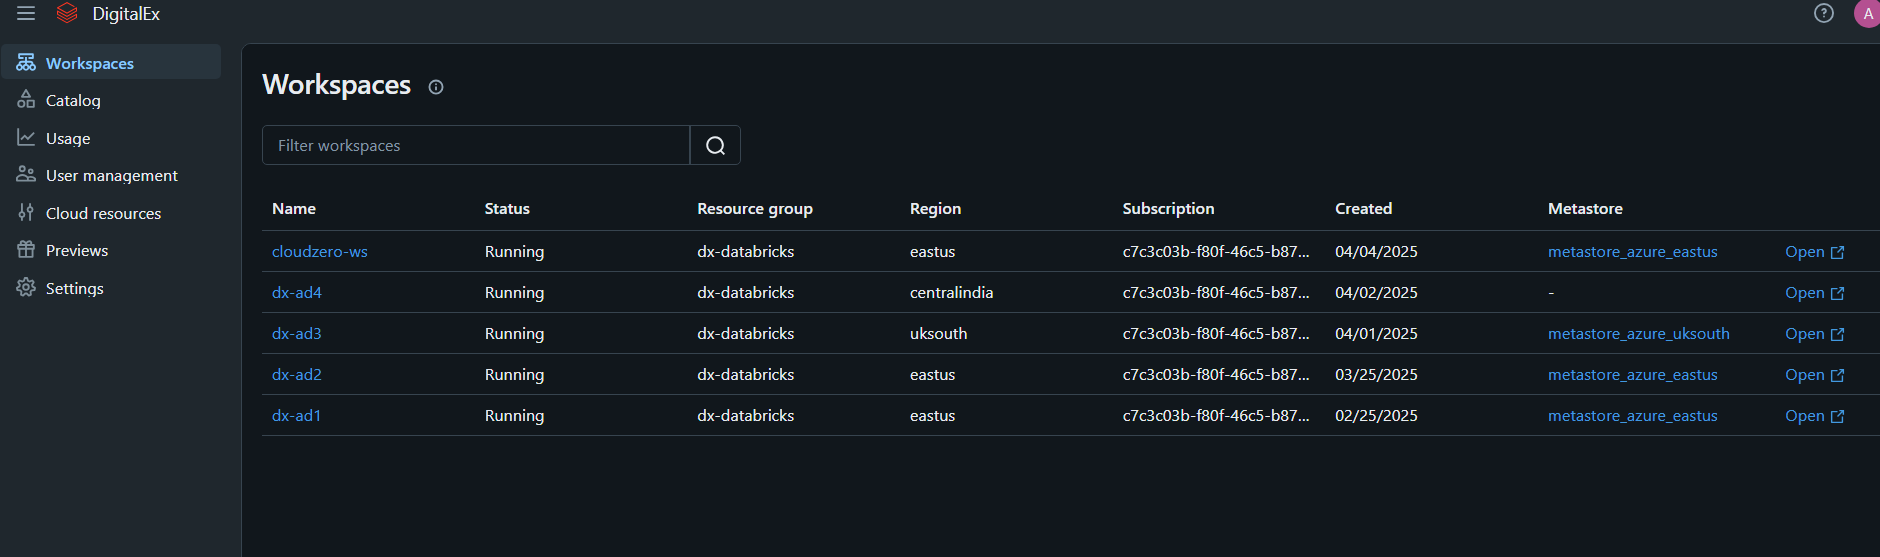
Navigate to workspaces from left menu bar and click open for the workspace which you wanna onboard
-
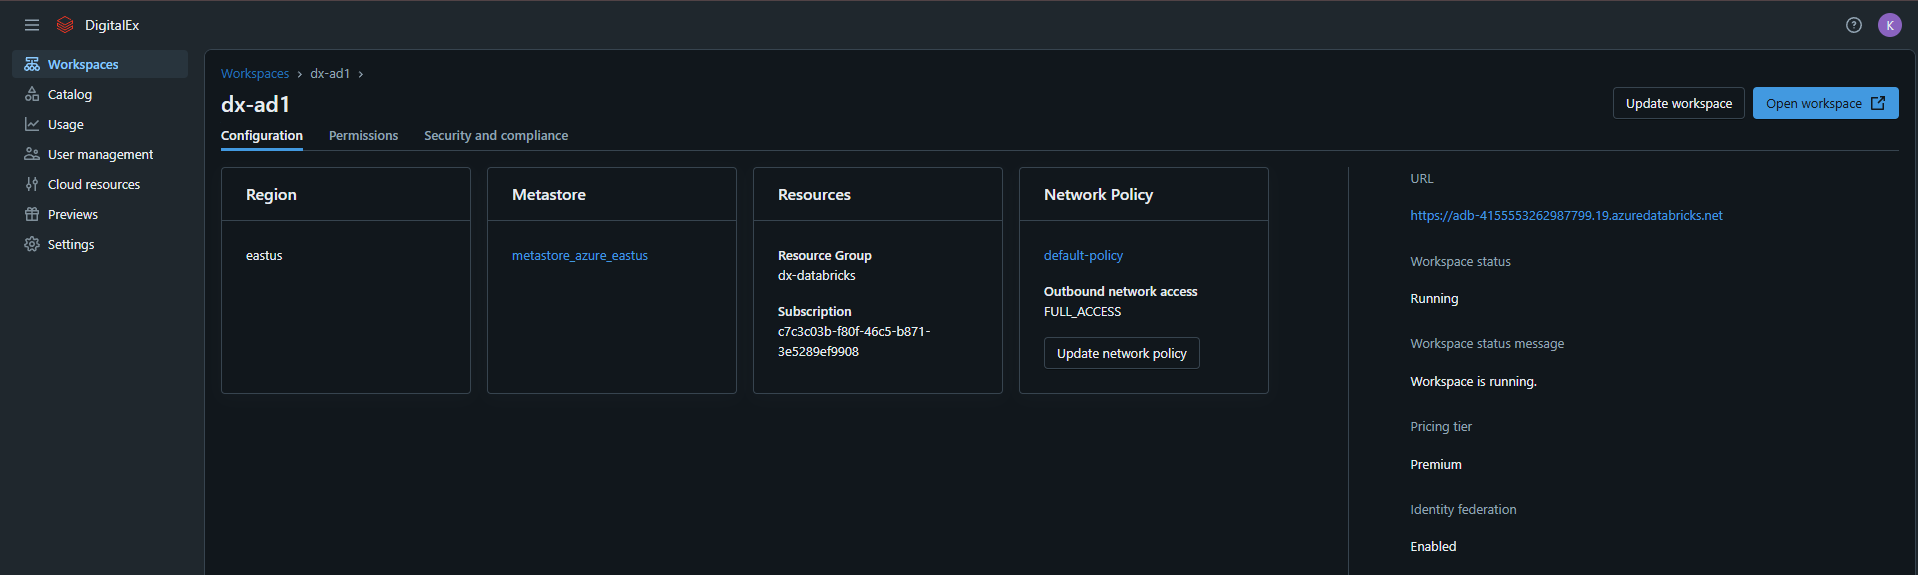
Click on the workspace and click on open workspace
-
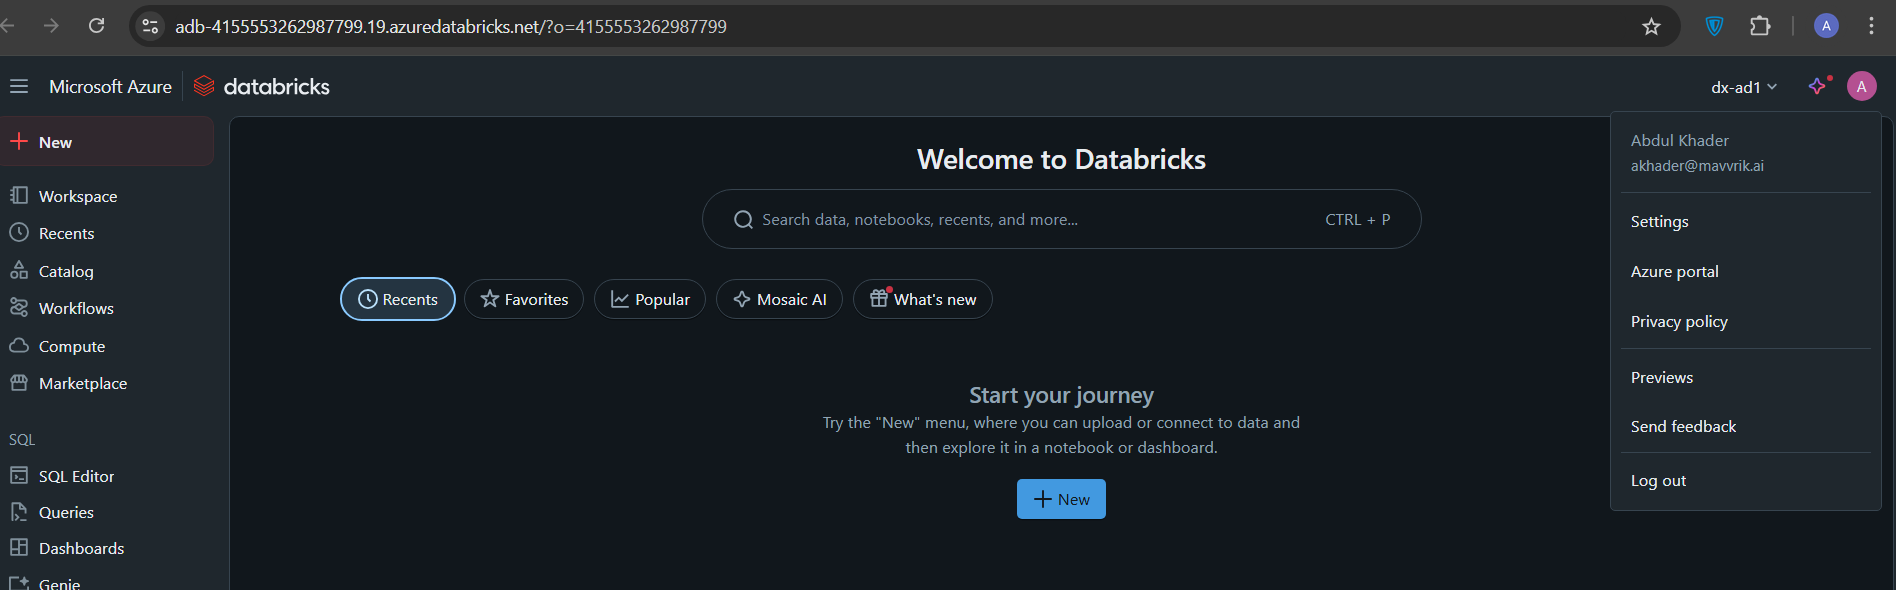
Click on the profile icon at top right corner and click settings
-
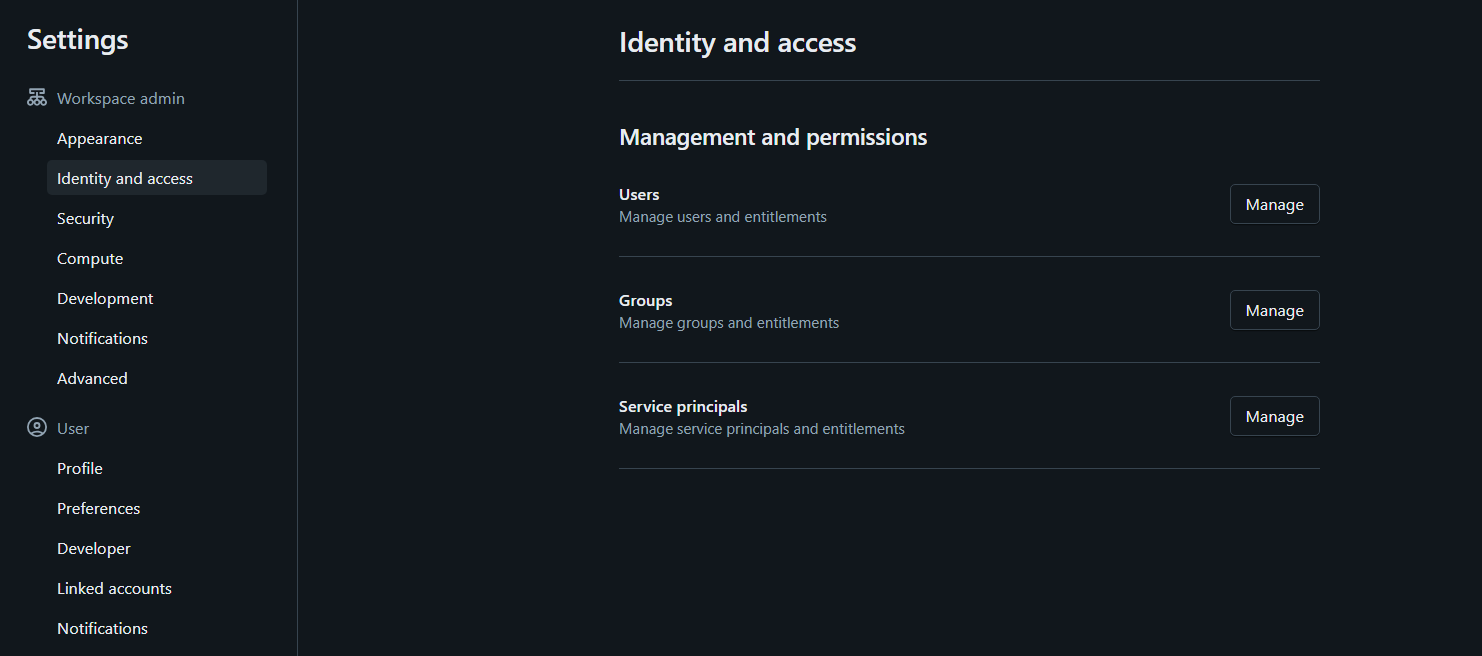
Click on Identity and access and Click Manage for Service Principals
-
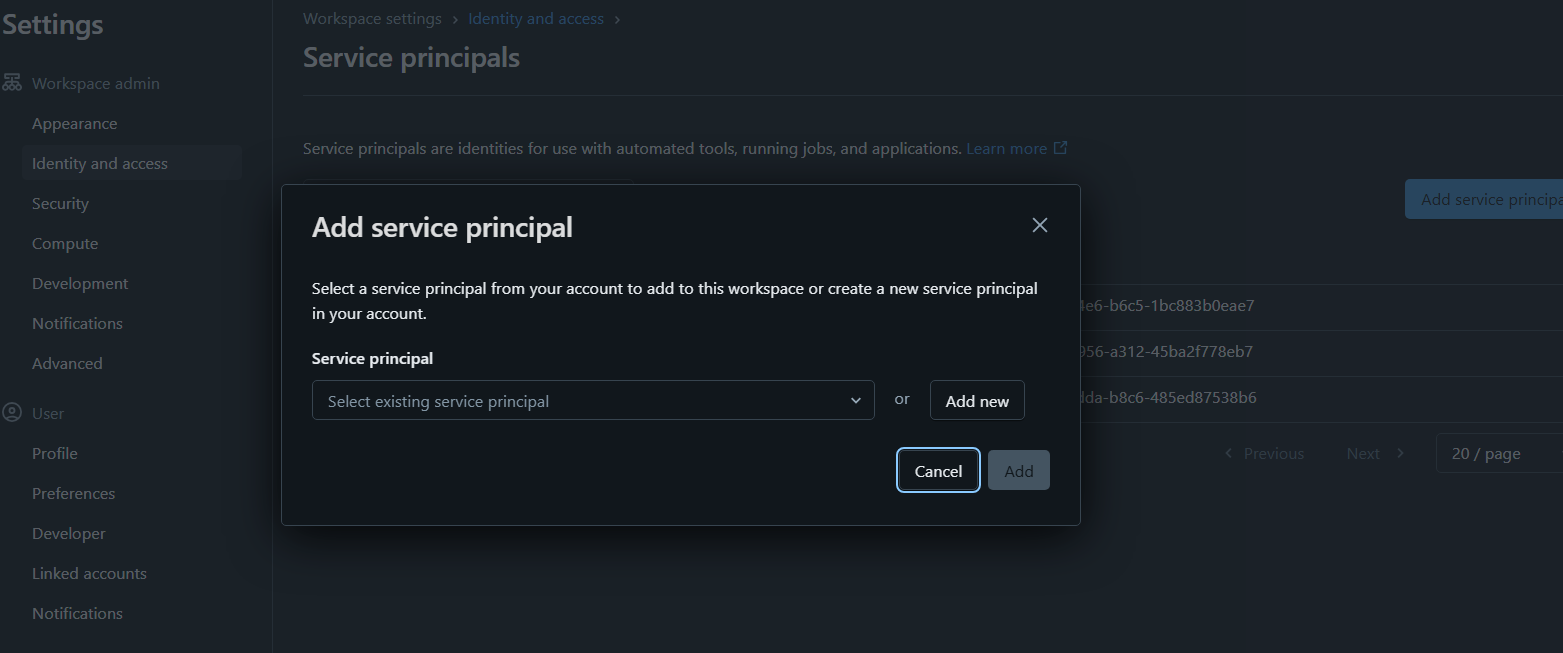
Click on Add service principal and click Add new
-
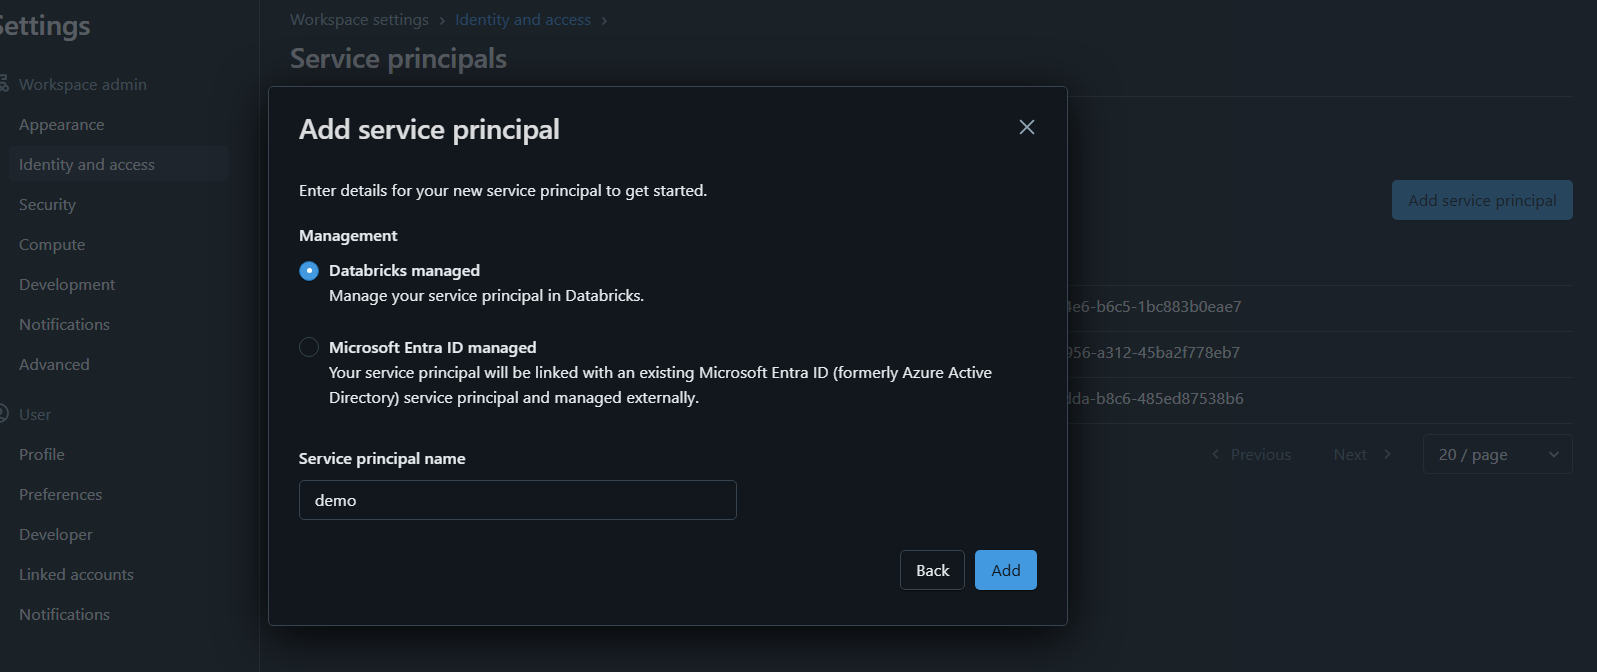
Select "Databricks managed" and enter the service principal name and click on Add service principal
-
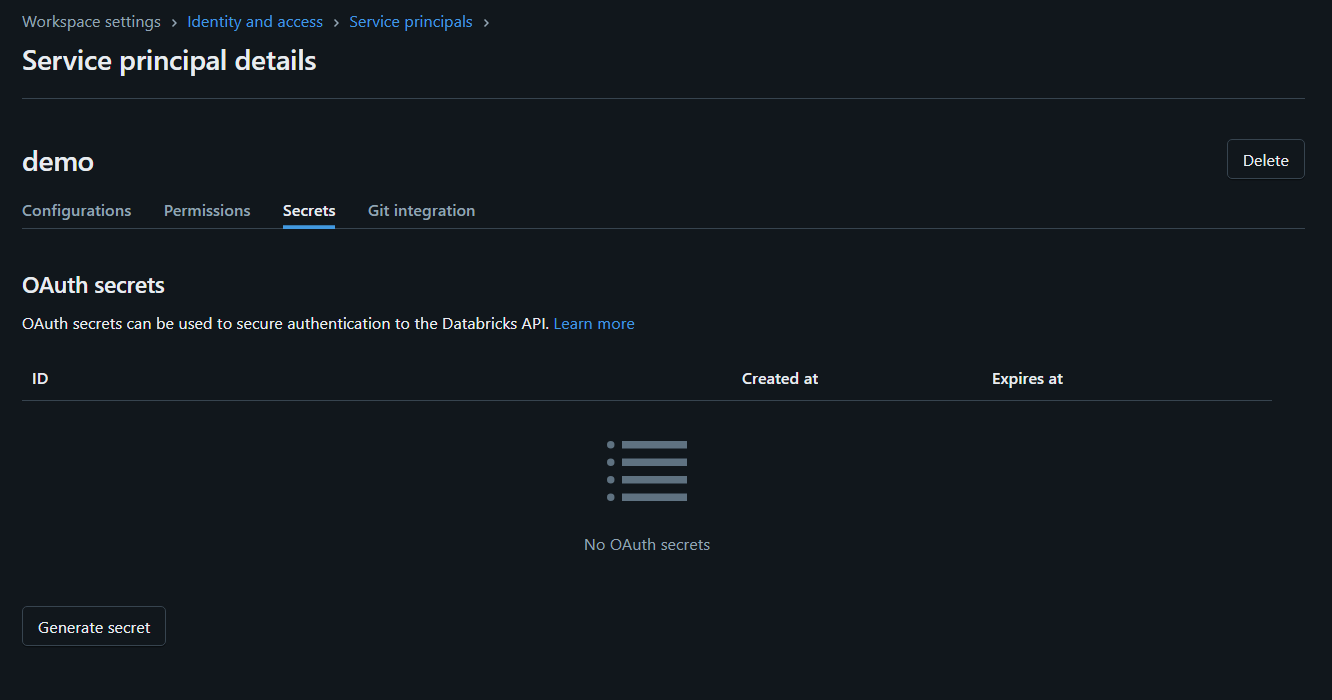
Navigate to newly created service principal and click on Secrets tab
-
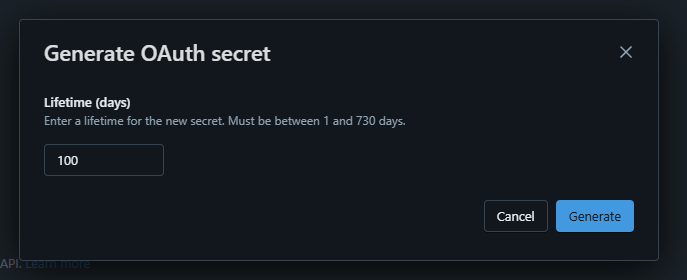
Click on generate secret button, and then enter the validity of the secret in the number of days and click on generate
-
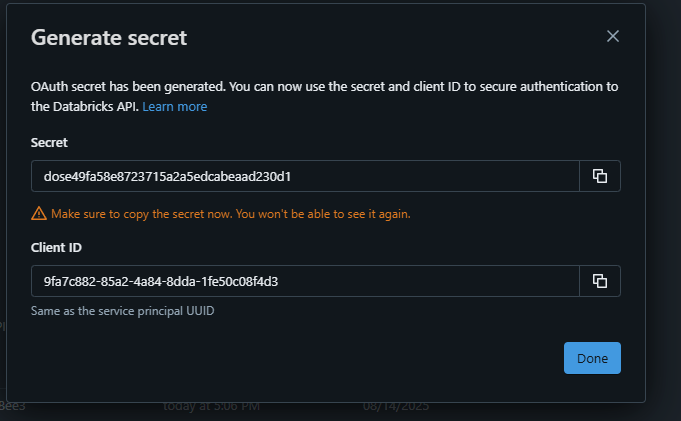
After creating, you will get the client ID and client secret as shown below, and you need to capture and save them
Step 3: Run the SQL query
-
Click on SQL editor and run the following queries in the SQL editor as follows and replace the service principal client id with the one created above in service principal
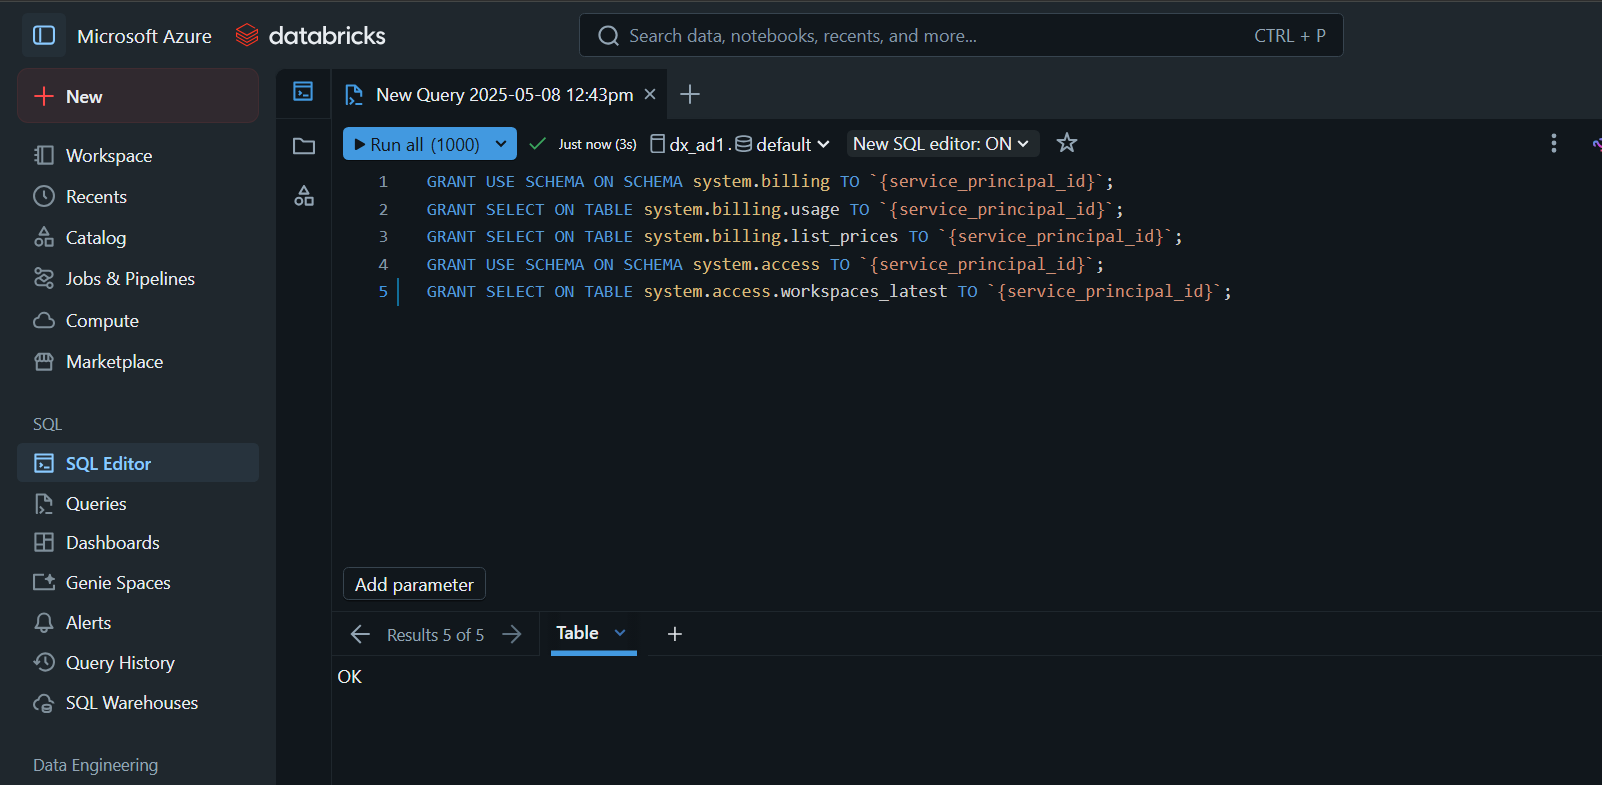
GRANT USE SCHEMA ON SCHEMA system.billing TO `{service_principal_id}`;
GRANT SELECT ON TABLE system.billing.usage TO `{service_principal_id}`;
GRANT SELECT ON TABLE system.billing.list_prices TO `{service_principal_id}`;
GRANT USE SCHEMA ON SCHEMA system.access TO `{service_principal_id}`;
GRANT SELECT ON TABLE system.access.workspaces_latest TO `{service_principal_id}`;
Step 4 : Copy the JDBC URL
-
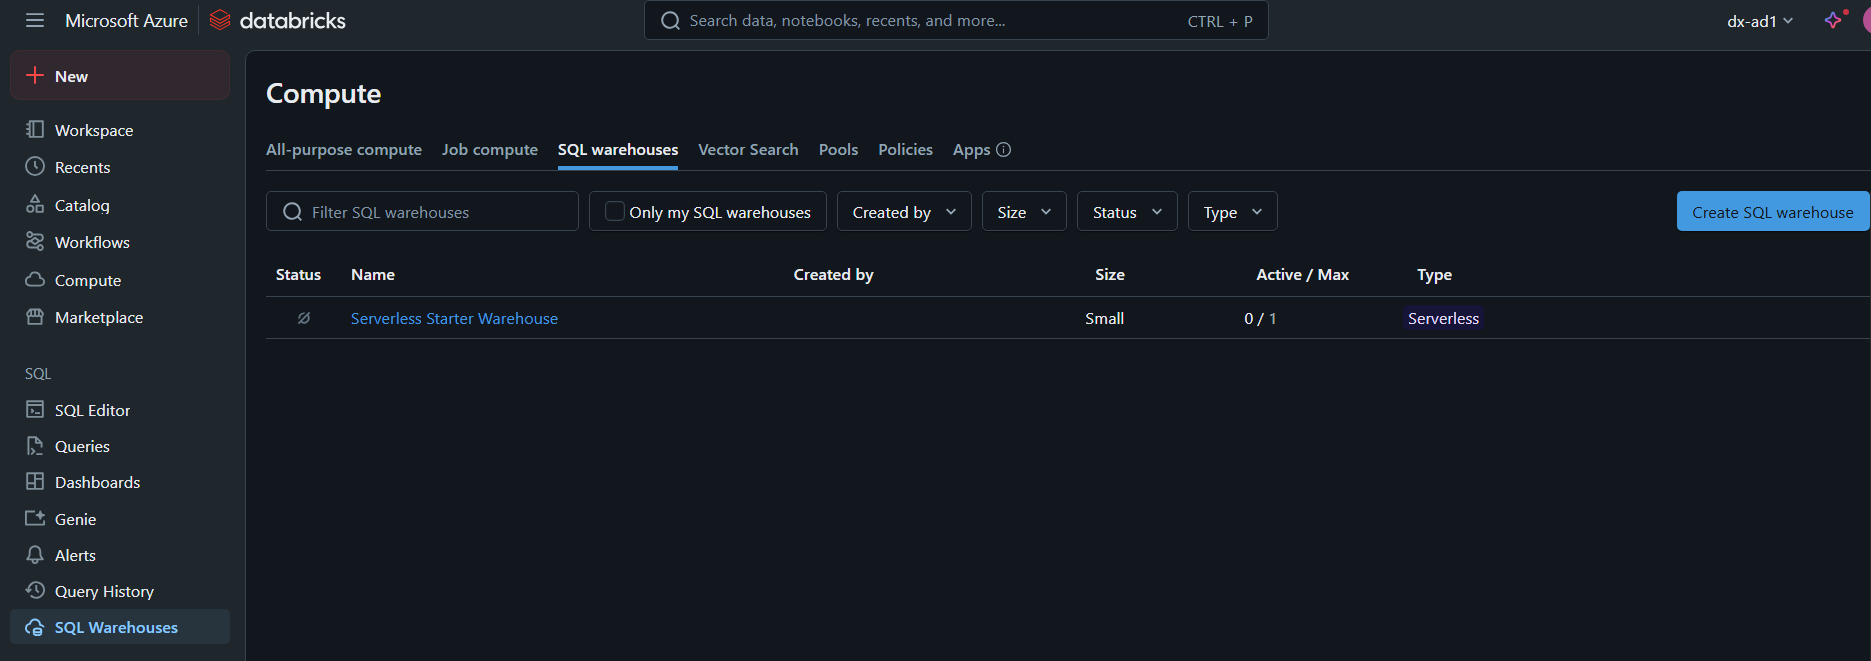
Click on the existing SQL Warehouse which you wanna connect
-
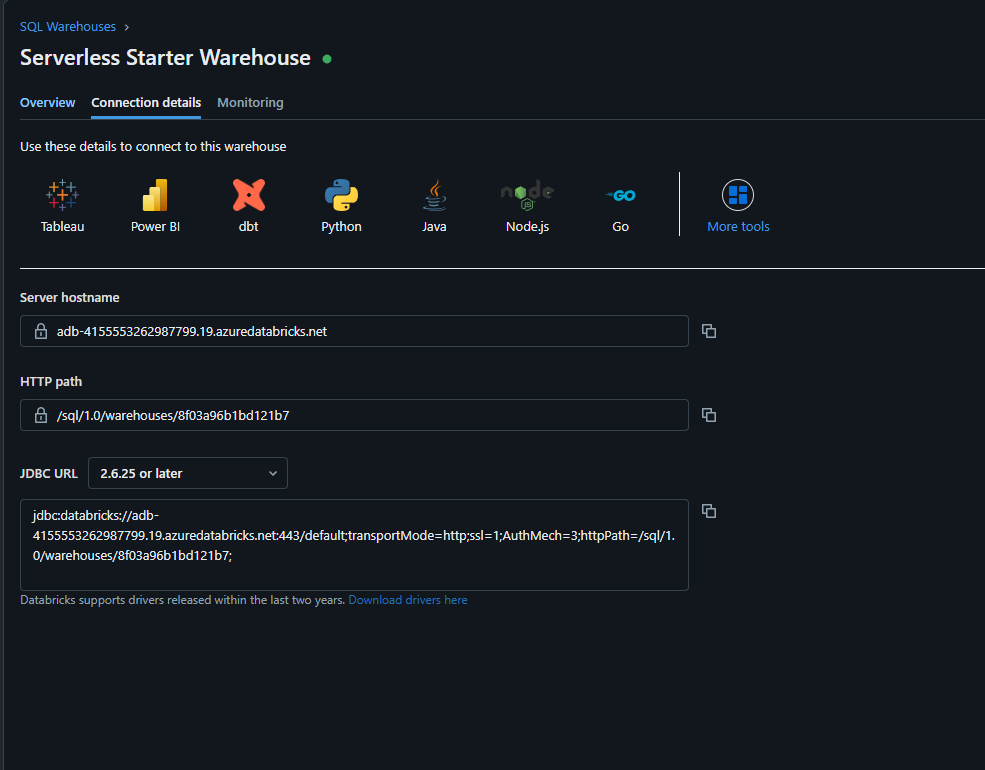
Go to the connection details and copy the JDBC URL
Step 5: Integrate into Mavvrik portal
-
Go to Mavvrik portal and click on admin and then SaaS
-
Click on +account and then select databricks
-
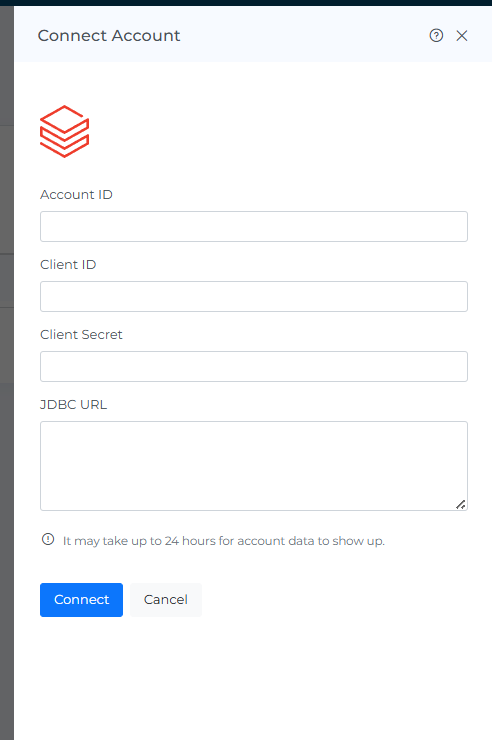
Enter the details captured above and click connect
-
Account id
-
Client id
-
Client Secret
-
JDBC URL
-
Troubleshooting
-
If the account does not connect, verify the account ID, client ID, client secret, and JDBC URL entered in Mavvrik.
-
If a permission error appears, confirm that the service principal and SQL permissions were configured as described above.
FAQs
What access does the service principal get in Databricks?
Only read-only SELECT access to system.billing.usage, system.billing.list_prices, and system.access.workspaces_latest, granted via the SQL script above — no write access to any table.
What is the JDBC URL used for?
It points Mavvrik at the specific SQL warehouse used to query the billing and access tables set up in the previous step.
Why do AI workloads increase Databricks costs?
AI workloads increase Databricks costs because they use compute for more than analytics. Embedding jobs, model serving, Vector Search, fine-tuning, batch inference, and storage all consume resources. Costs rise further when production workloads keep using compute patterns that were originally meant for experimentation.