.png)
Why this matters: the Agent ID you set here is what ties every cost event back to a specific agent in your code; get it wrong or change it later, and Mavvrik loses the thread between what your agent is doing and what it's costing.
-
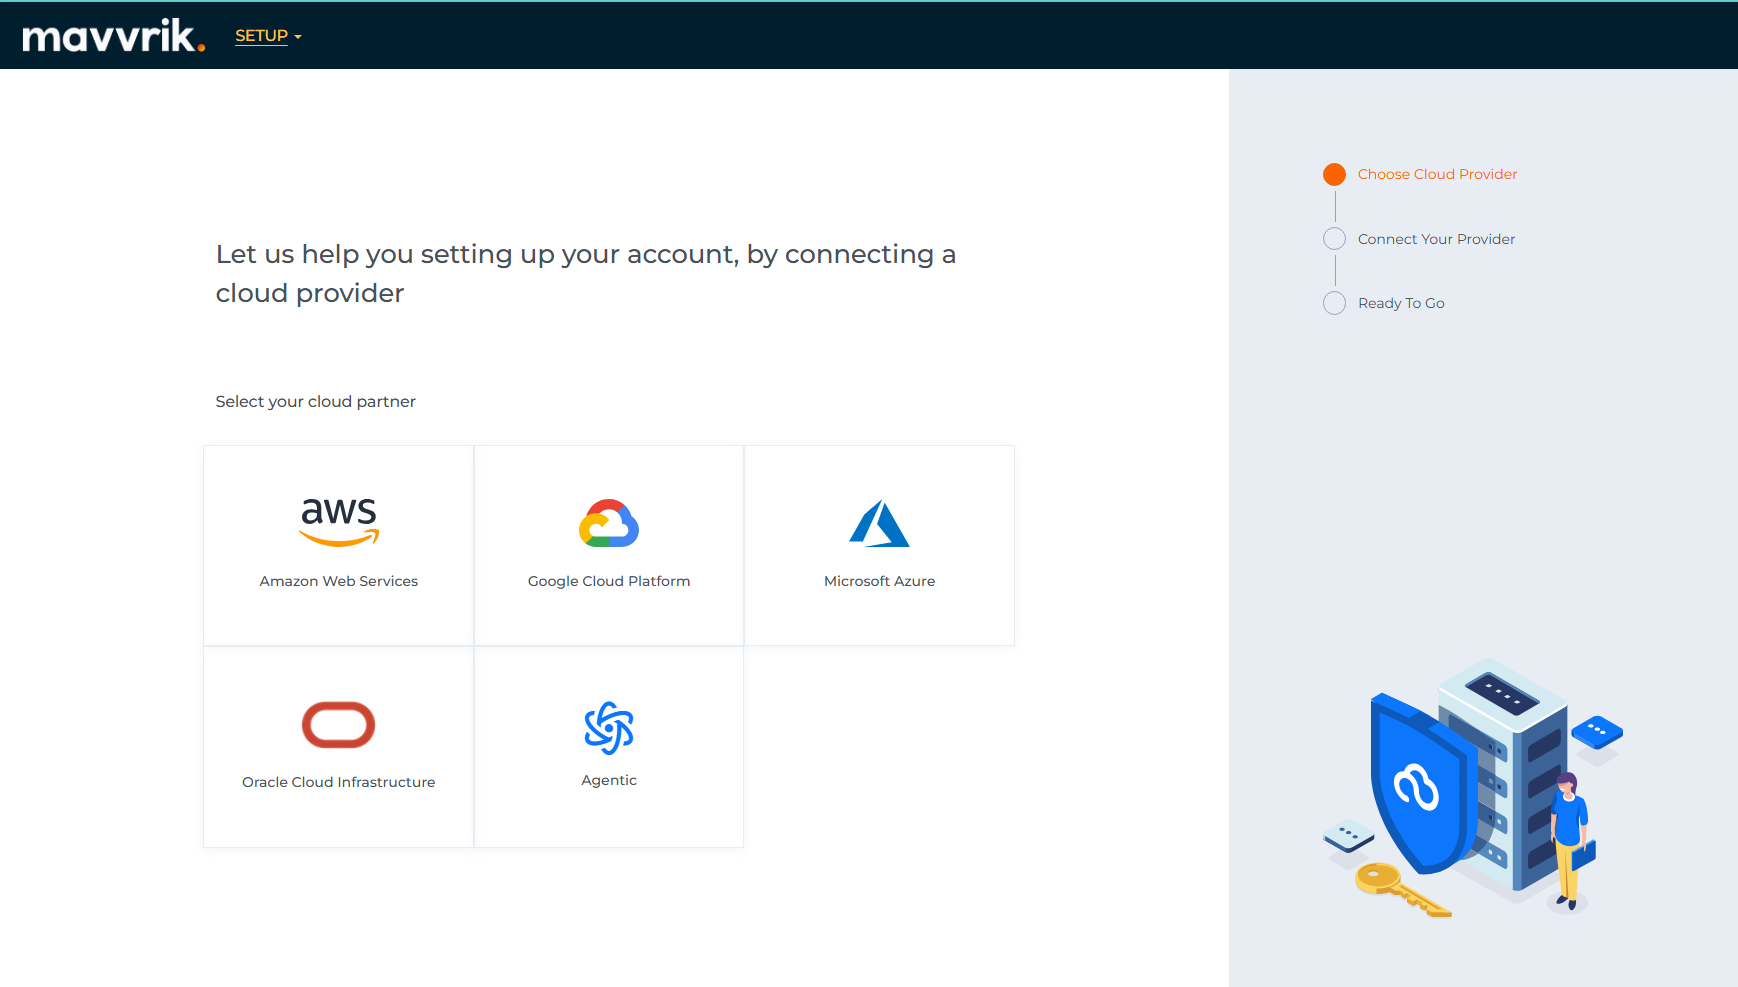
Login to your account, it will navigate to setup page
-
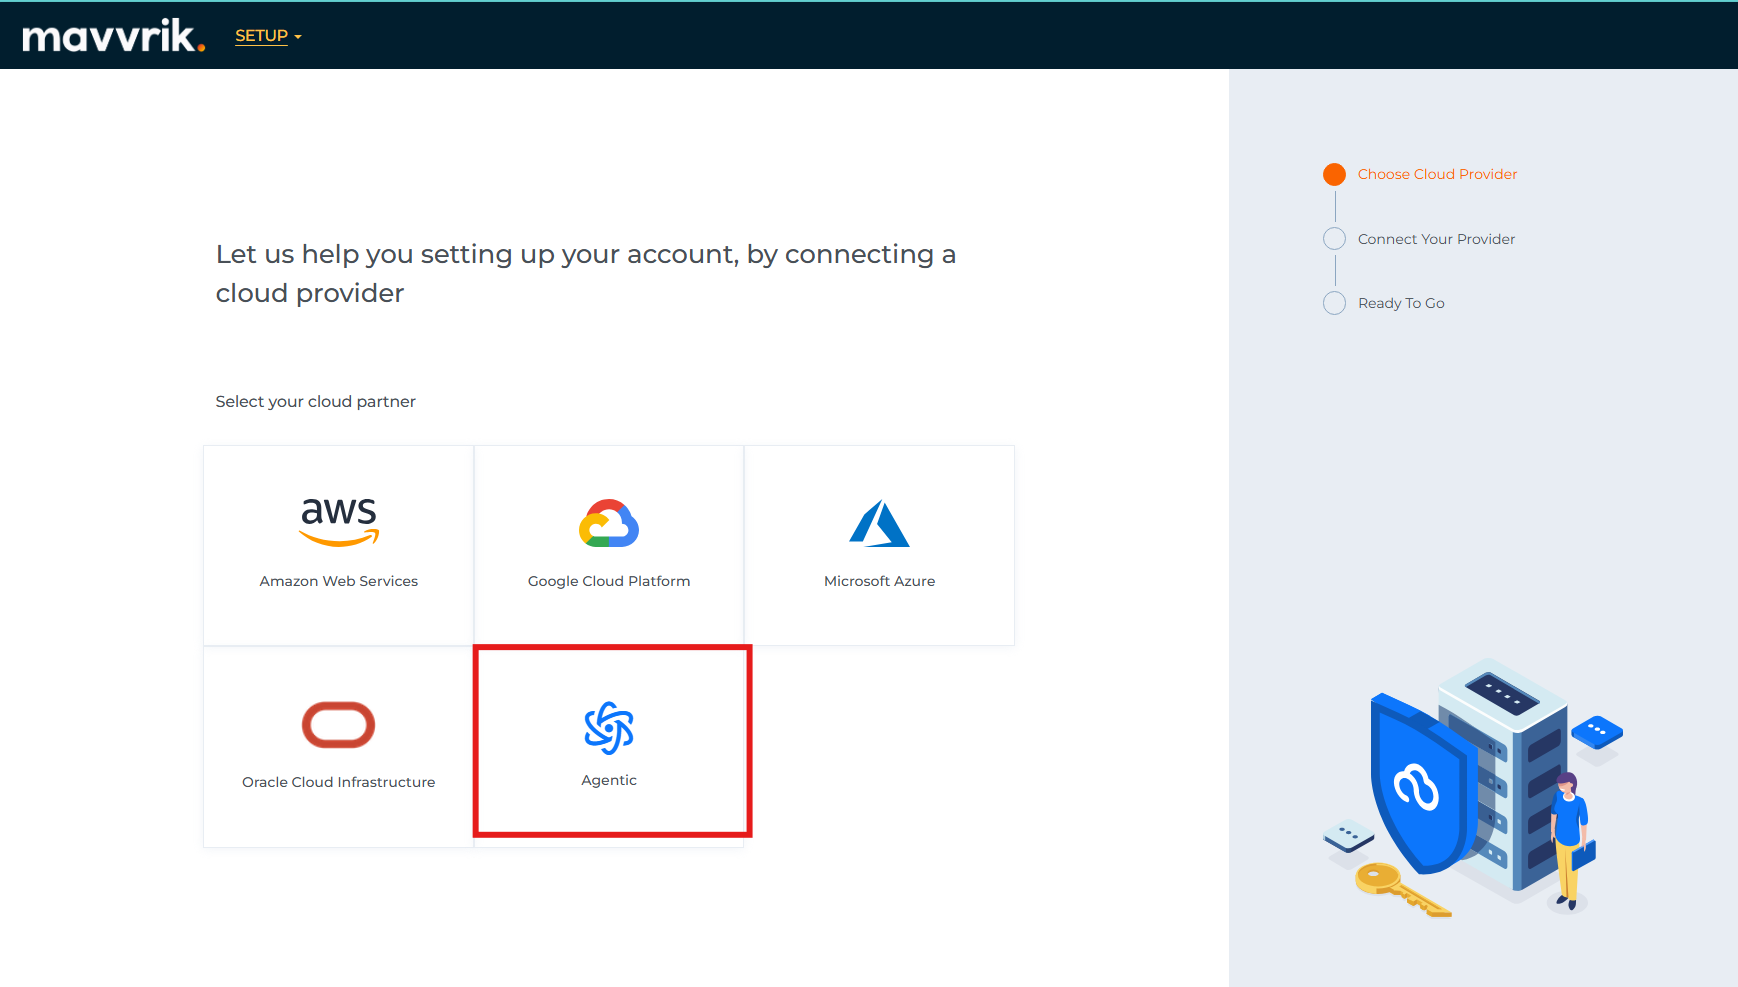
Click on Agentic
-
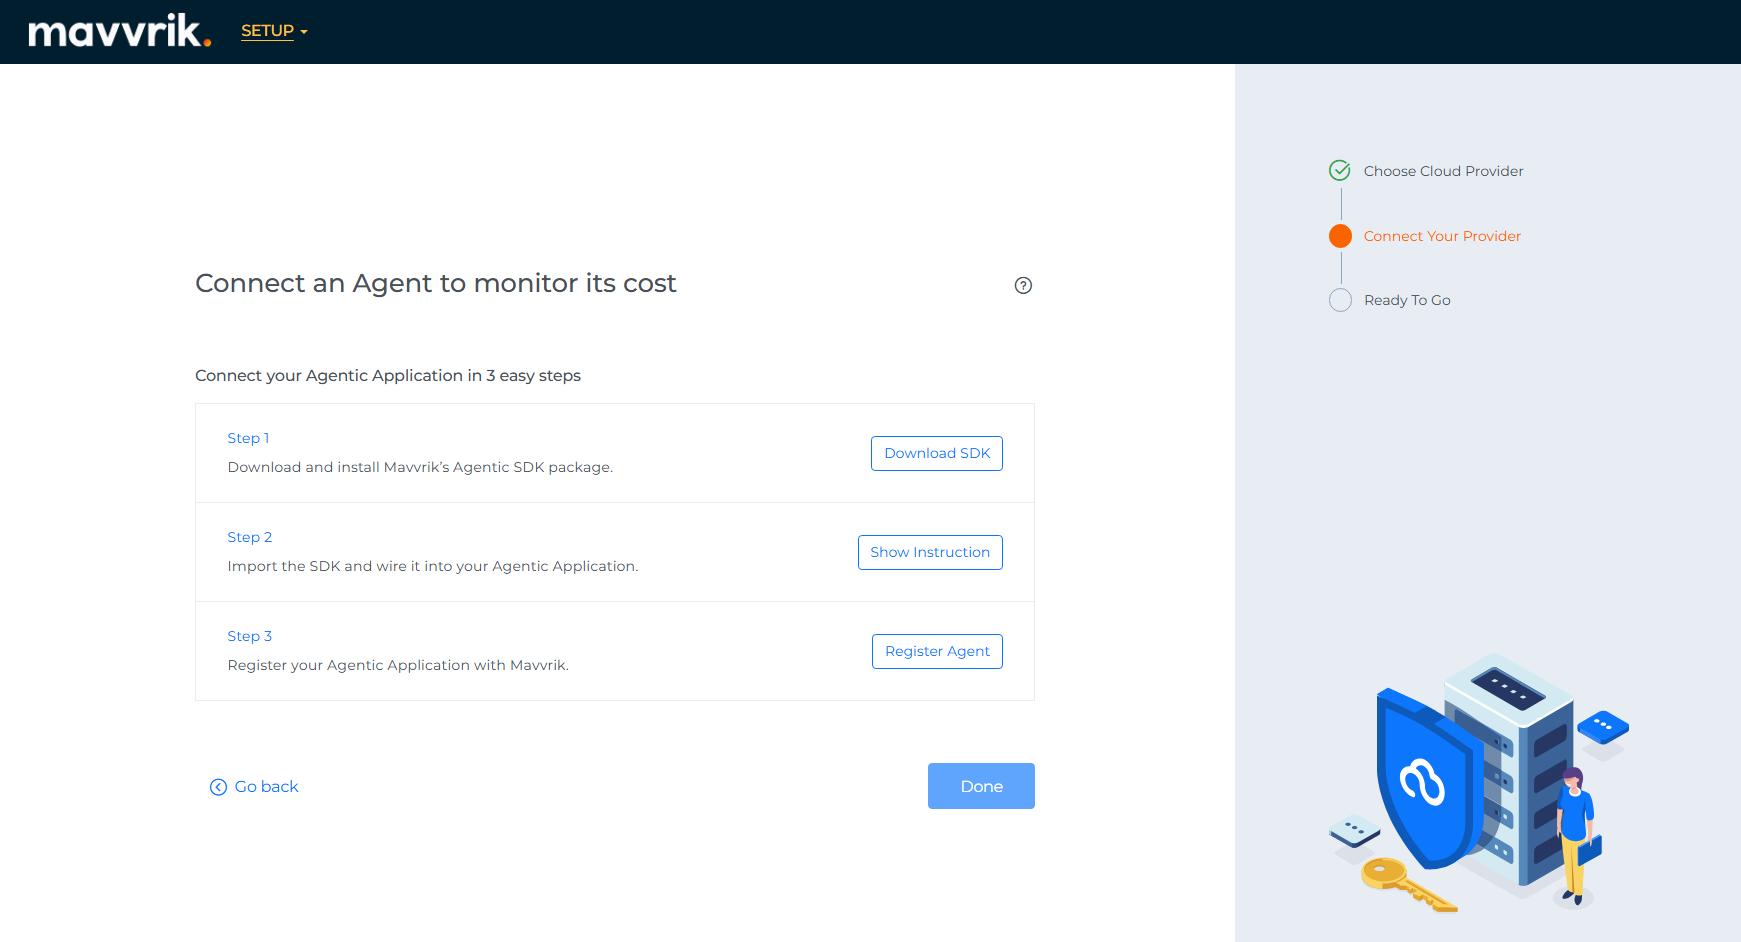
Follow the steps to connect your agentic application
-
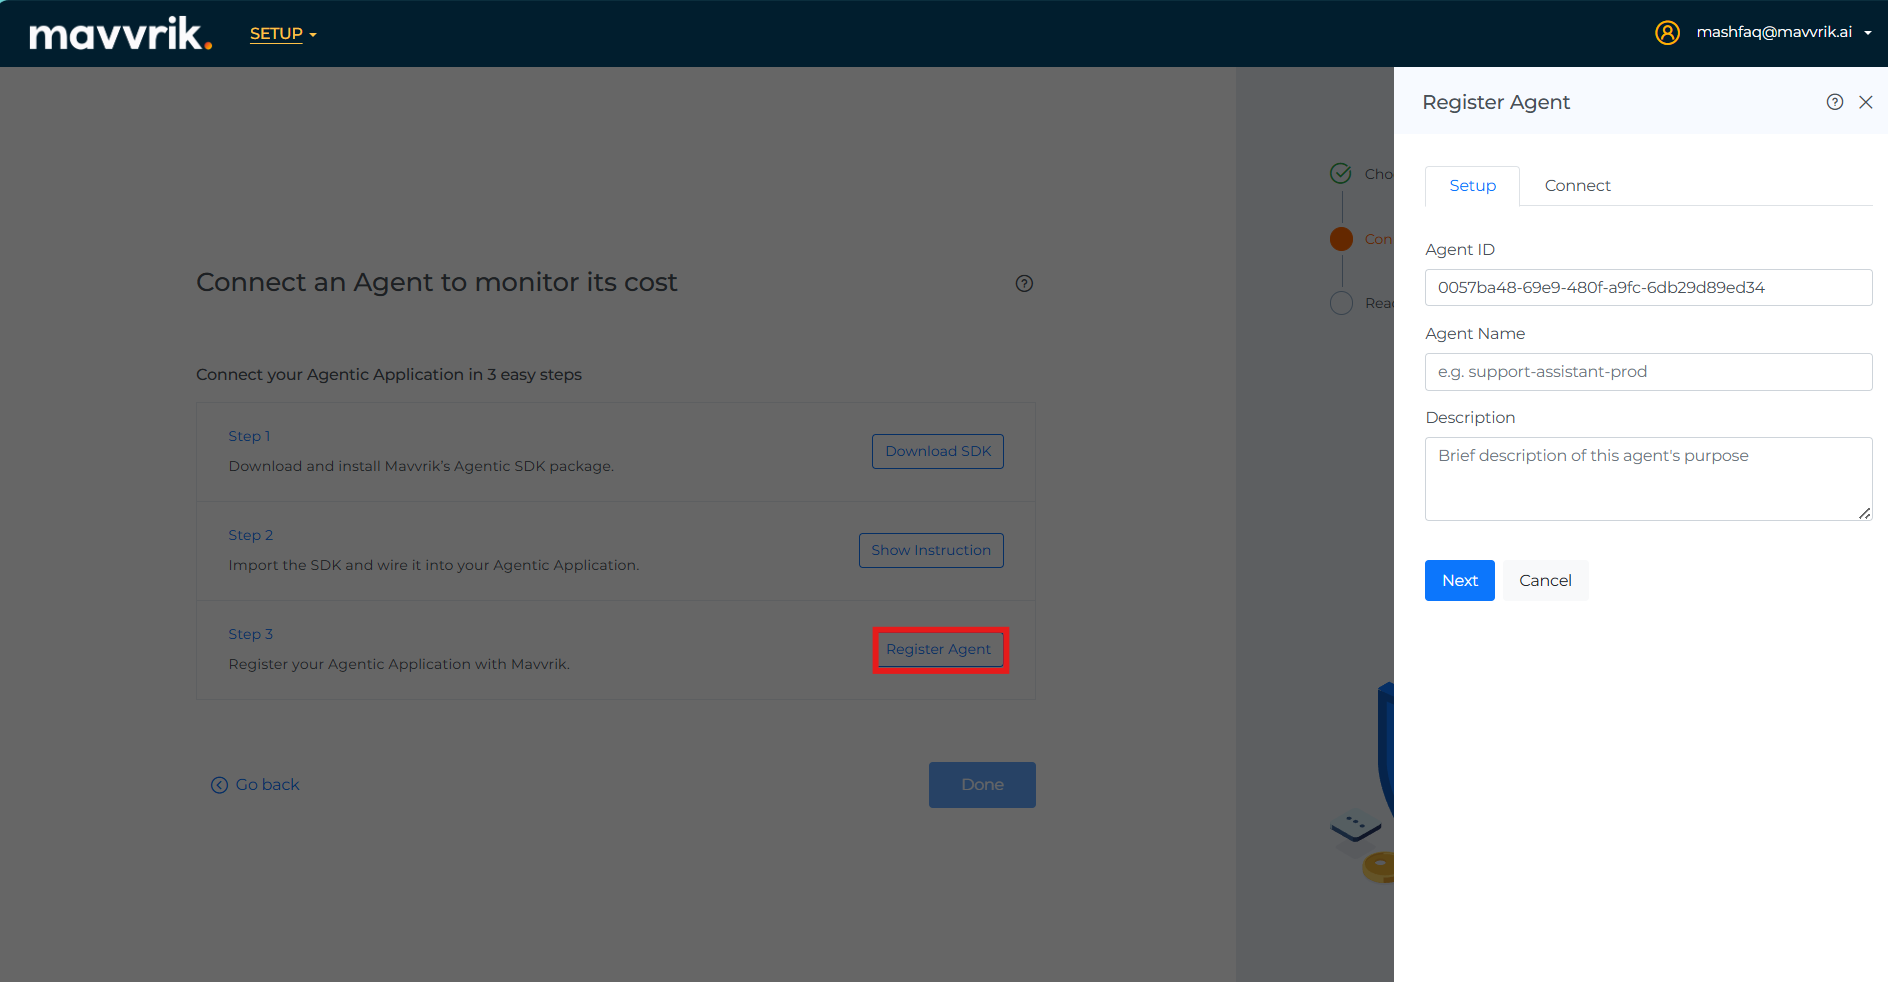
In Step-3 when you click on "Register Agent" a register form should be displayed
-
Agent ID: The unique identifier your app will use. It is auto generated, we can change it if you need custom ID in same pattern.
-
Enter Agent Name: a friendly name for the agent.
-
Enter Description: optional context
-
Click Next and move to the Connect tab.
-
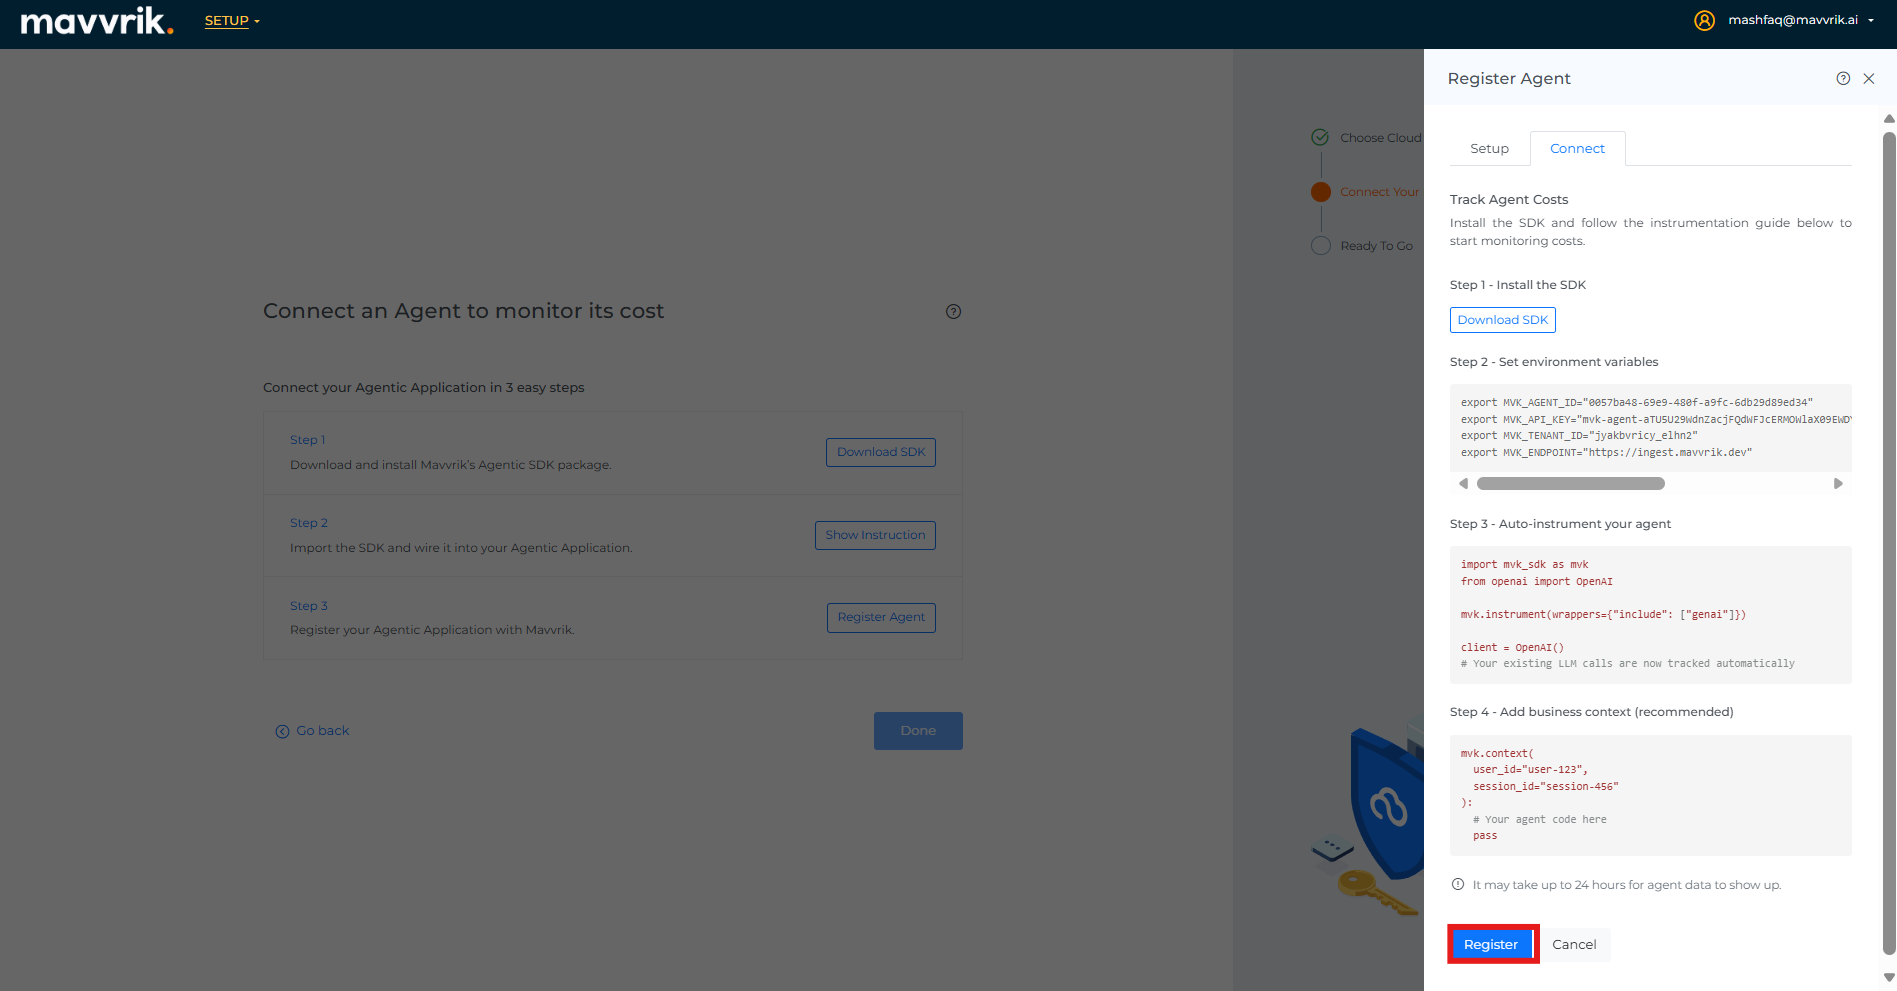
Click Download SDK to download the package, copy the environment variables, and then click Register to finish.
NOTE: Keep the Agent ID stable. Use this exact value in your code. It's how Mavvrik attributes every event and cost to the right agent.
-
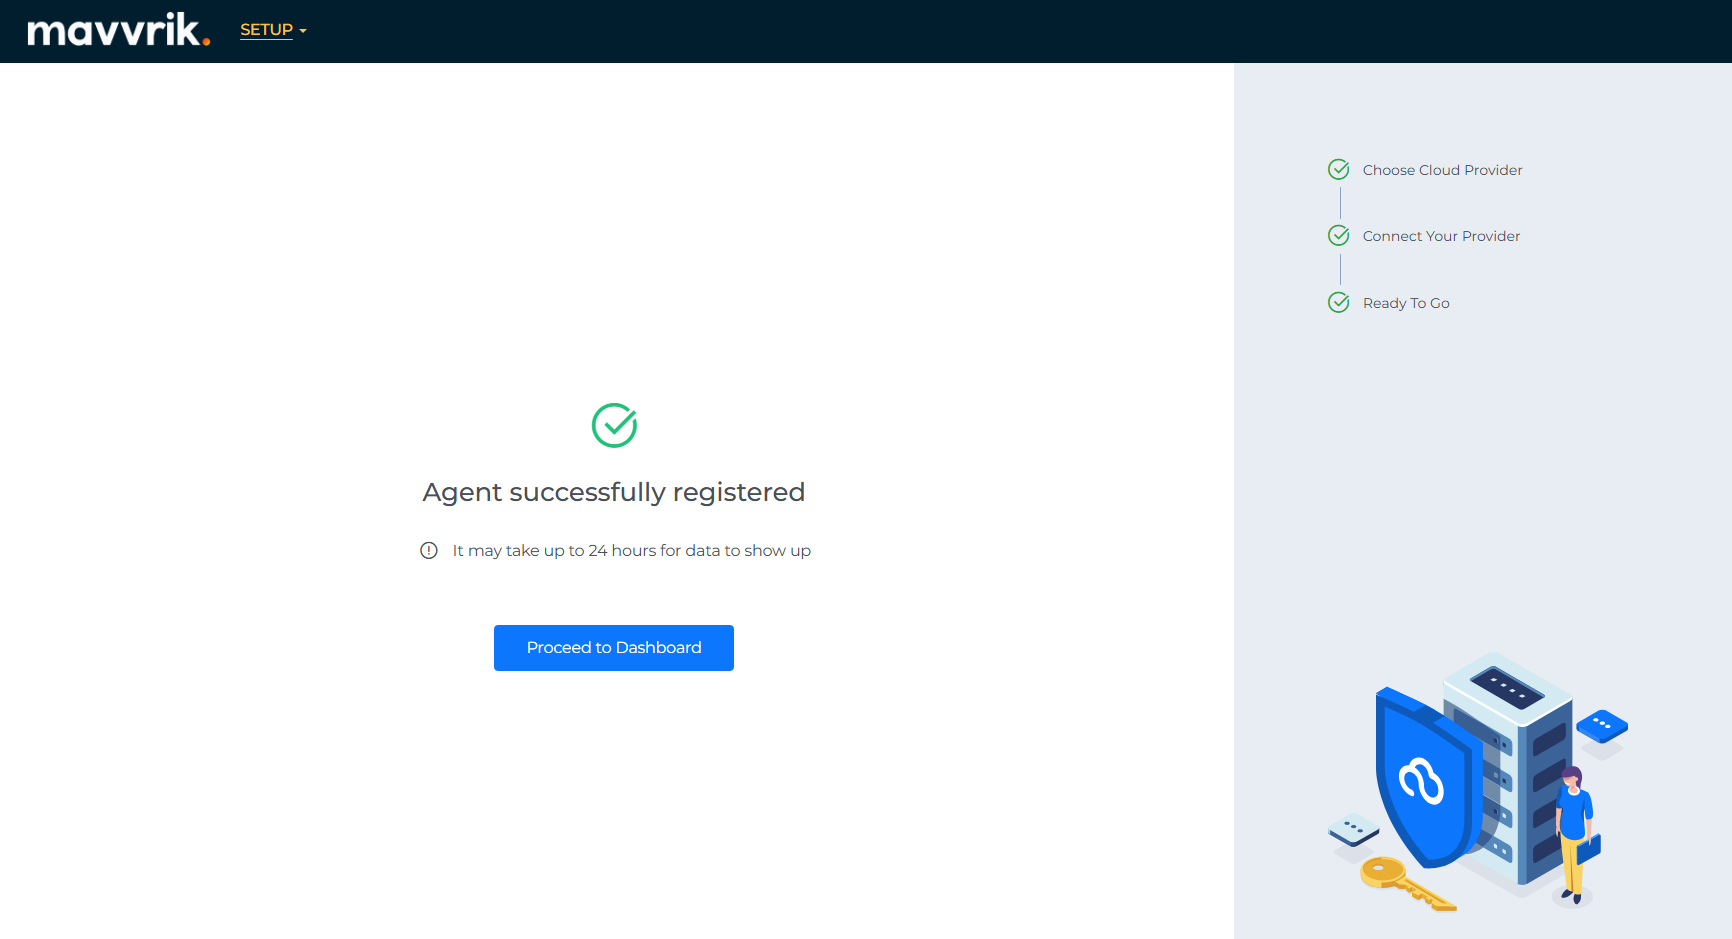
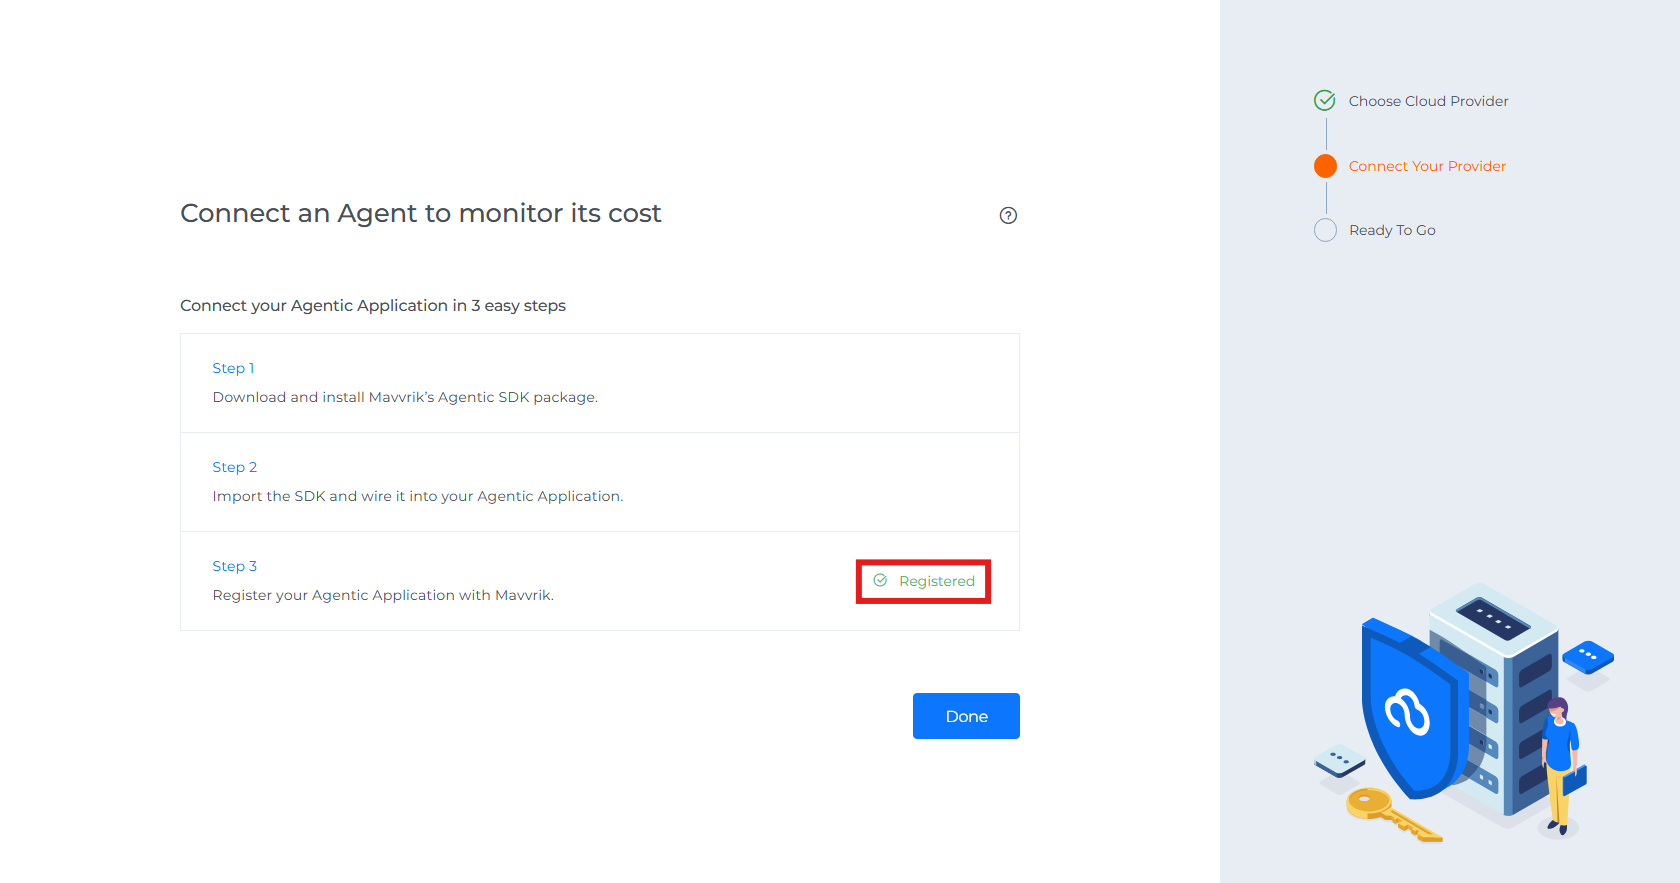
Once registration of agent is done it will show as registered
-
Click on Done
-
Click on "Proceed to Dashboard", you will navigate to agent management dashboard.