.png)
Once you have signed up and logged in for the first time, you will be presented with the setup page. From there, you can choose the provider you wish to onboard.
Prerequisites: you'll need admin or owner-level access on the cloud account you're connecting (AWS, Azure, or GCP) — both onboarding methods below require granting Mavvrik read access to billing and usage data, and that access has to be approved by someone with account-owner permissions.
Why this matters: the provider you pick here determines which of the pages below you'll need next, and each one gives you a choice between Automated and Manual onboarding. Automated is generally faster — Mavvrik provides a template that sets up the necessary access for you. Manual takes a bit longer but gives you full visibility into exactly what access is being granted, step by step, which some security teams prefer to review before approving.
Who uses this page:
-
FinOps managers typically pick Automated onboarding to get cost visibility flowing as quickly as possible.
-
Finance and security leaders care which method is chosen, since Manual gives their review process full visibility into the access being granted before it's approved.
-
Cloud/platform engineers are the ones who'll execute the steps on the provider-specific page, so they'll want to know upfront whether it's a template deploy (Automated) or manual IAM/role configuration (Manual).
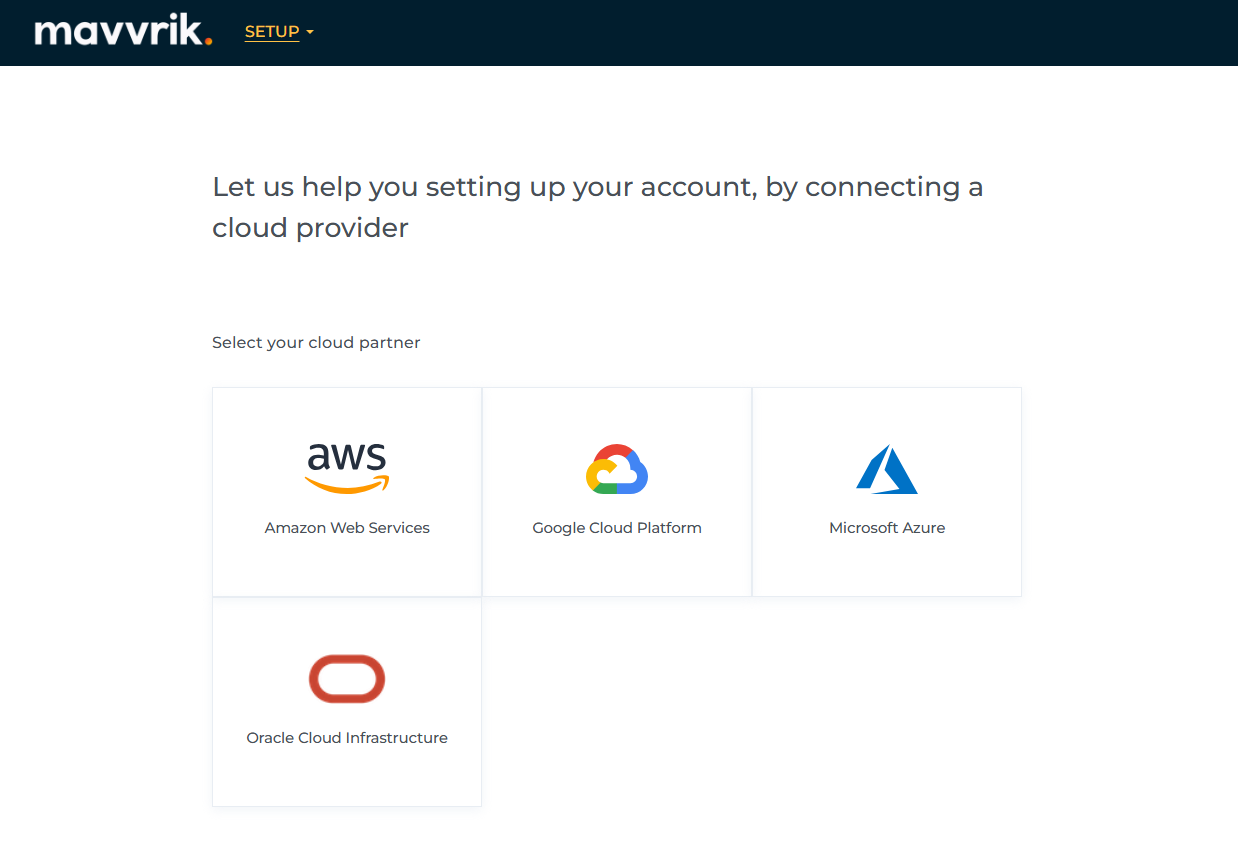
If you selected wrong provider, you can click on >Go back button to go backward on setup page.
FAQ
What's the difference between Automated and Manual onboarding?
Automated deploys a Mavvrik-provided template that sets up the necessary access for you — it's faster. Manual walks you through granting the same access step by step, which gives your security team full visibility to review before approving.
What if I pick the wrong cloud provider?
Use the "Go back" button on the setup page to return and choose a different provider — nothing is committed until you complete the steps on the provider-specific page.