.png)
Step 1 : Enable usage attribution
Before you see the option or enable it, make sure:
-
Your Datadog account is on an Enterprise plan. Usage Attribution is an advanced feature.
-
You have either Administrator privileges or at least the Usage Read permission.
If your plan is not Enterprise, you may need to contact your Datadog account representative or success@datadoghq.com to enable it.
Steps to Enable Usage Attribution in Datadog
-
Log in to your Datadog account with an Administrator or a user that has Usage Read permissions.
-
In the left-hand menu, click on your username / account menu (bottom left corner).
-
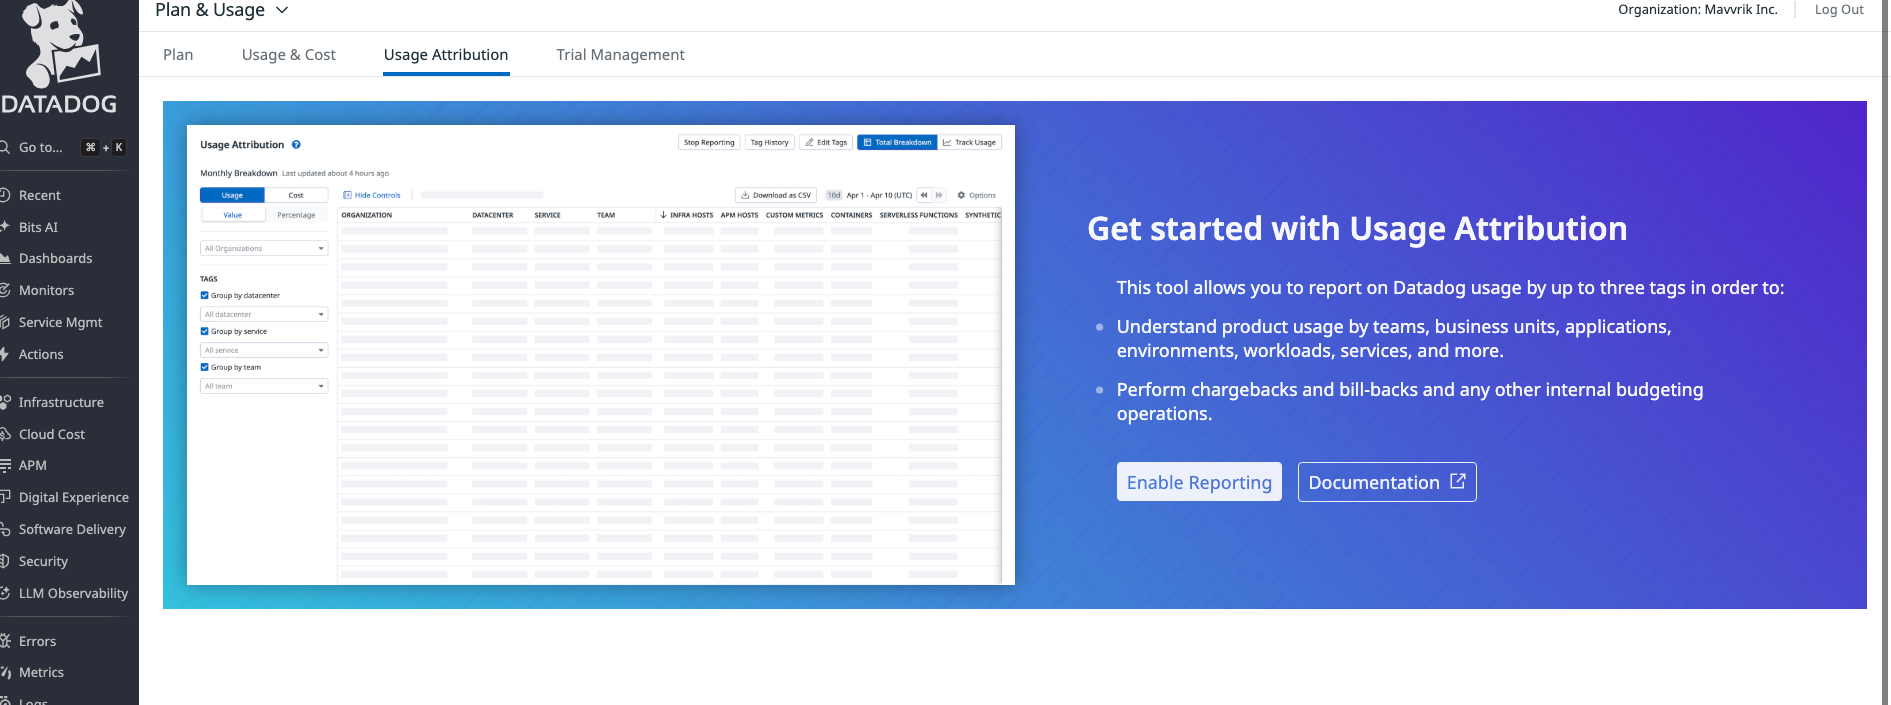
Select Plan & Usage, then navigate to the Usage Attribution tab.
-
Click Enable Reporting
Step 2 : Log in to Datadog and Create a Reader Role
-
Log in to Datadog as an admin:
https://<region>.datadoghq.com/ -
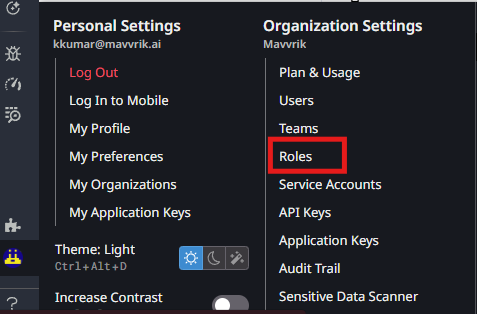
Click on the profile icon (bottom-left corner) → Roles.
-
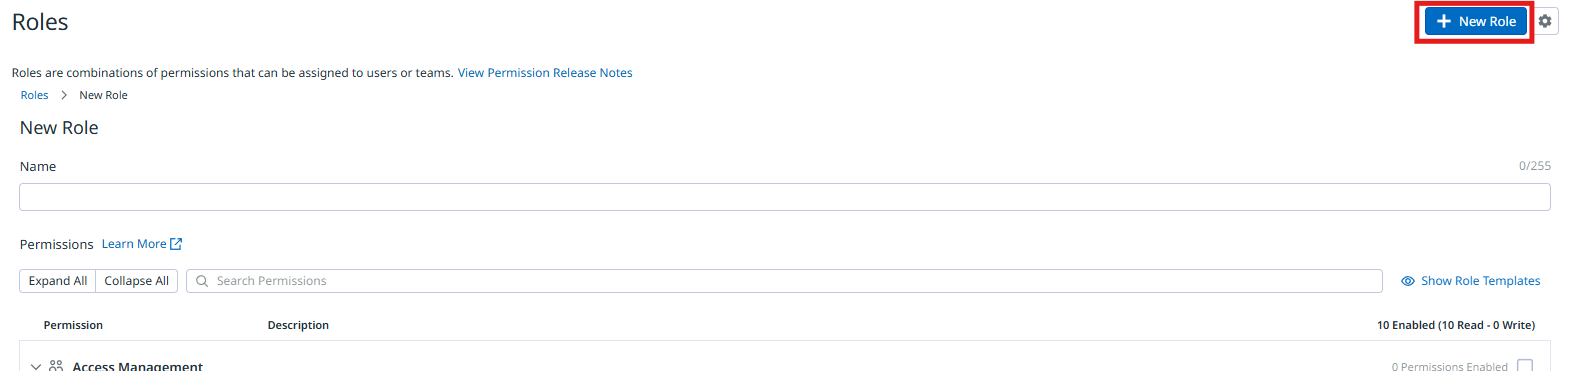
Click on New Role
-
Enter the role name. (Recommended: Mavvrik Reader Role)
-
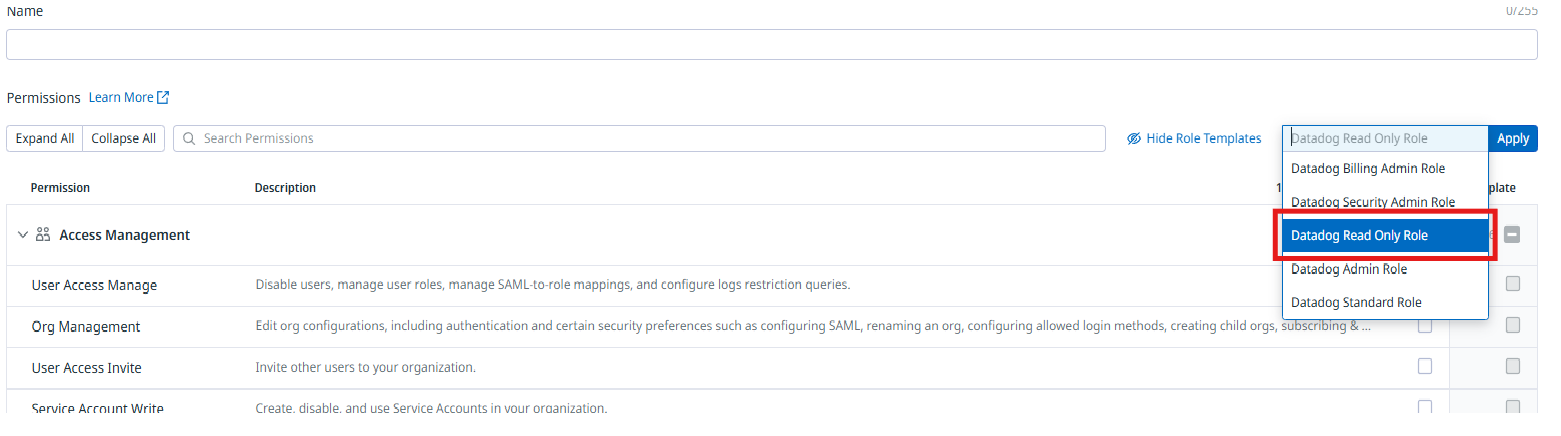
Click Show Role Templates

-
From the dropdown, select Datadog Read Only Role.
-
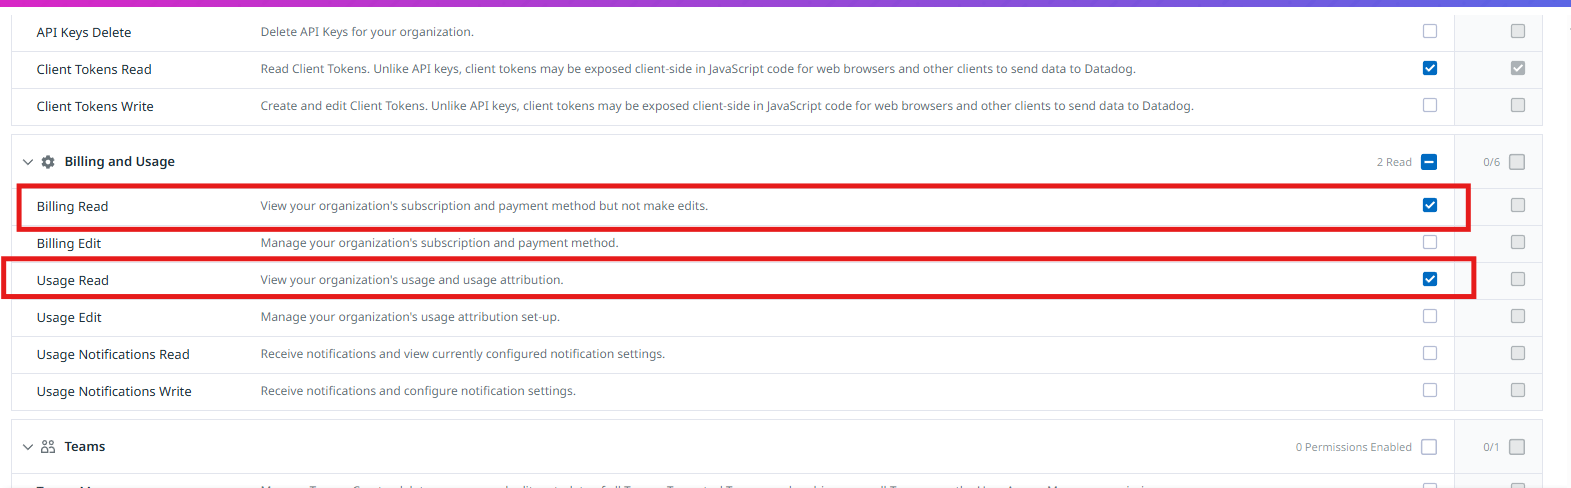
In the Billing and Usage section, select below custom roles:
-
Billing Read
-
Usage Read
-
-
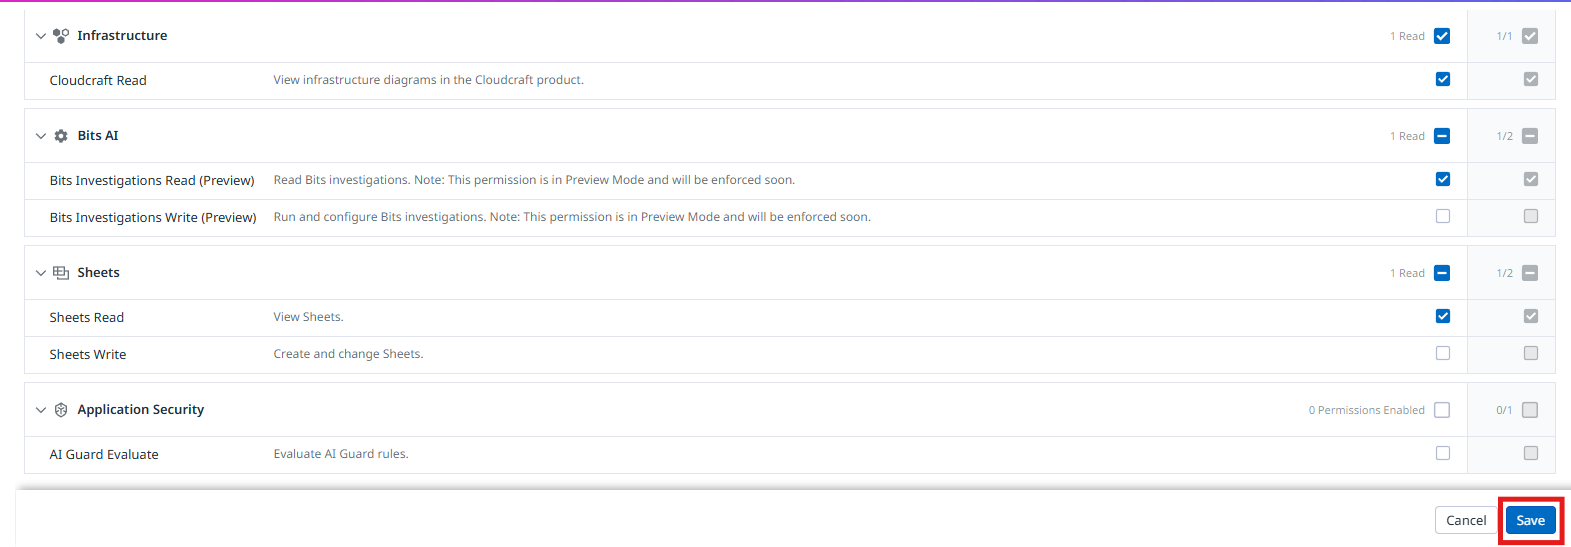
Click Save.
-
The new role will now appear in the list.
-

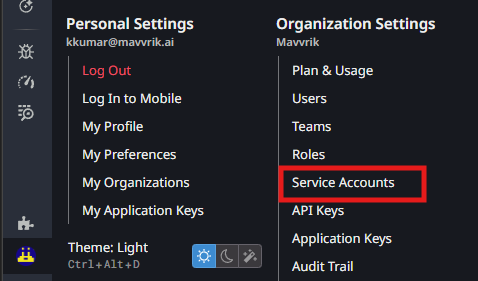
Step 3 : Create Service Account
-
From the profile icon, select Service Accounts
-
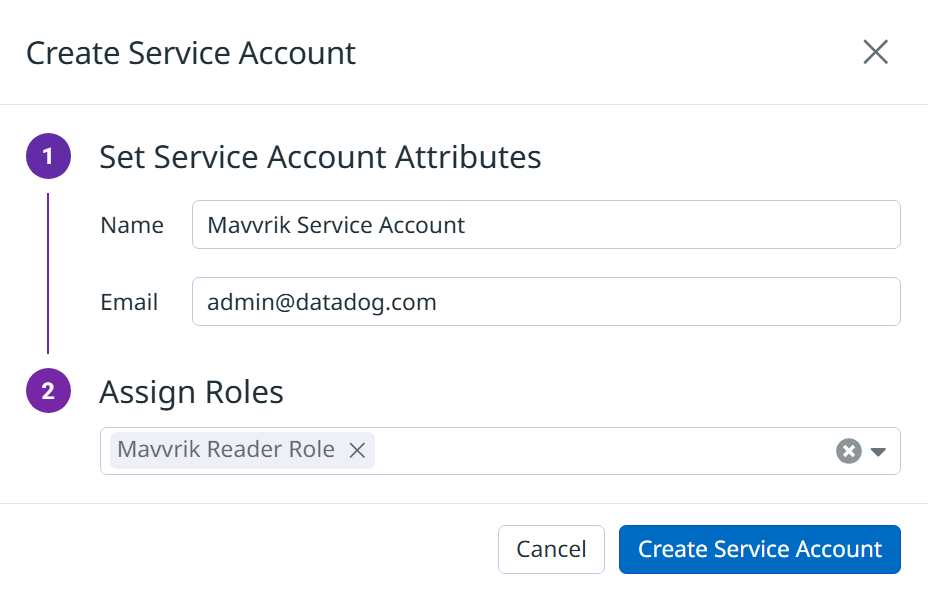
Click New Service Account

-
Enter the Name and Email
-
We recommend using the a Datadog admin role email.
-
-
Assign Mavvrik Reader Role created in Step 1
-
Click Create Service Account
-
Click on the created service account → click + New Key.
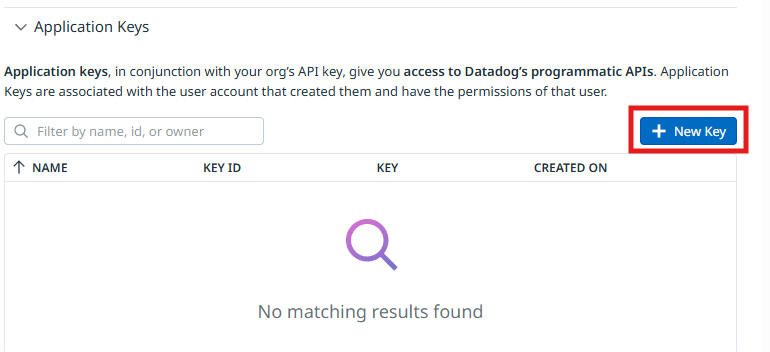
-
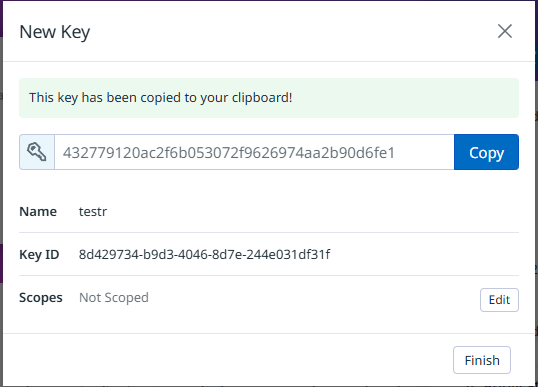
Enter the Application Key Name → click Create Key.
-
Copy the key as it will be used in subsequent steps
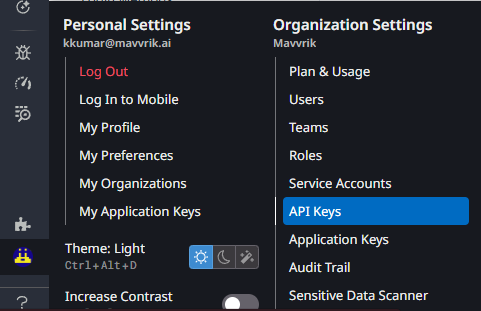
Step 4 : Create an API key
-
From the profile icon, select API Keys
-
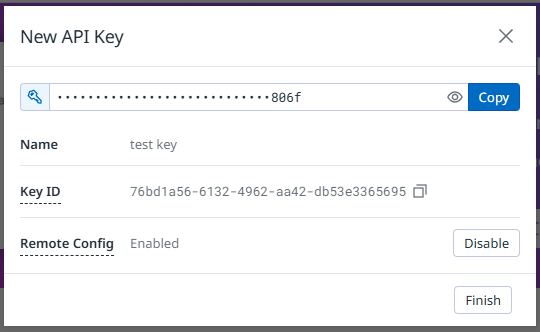
Click + New Key.

-
Enter a name → click Create Key.
-
Copy the api key as it will be used in subsequent steps
Step 5 : Capture Region
-
Identify the region from your Datadog URL.
Example: https://us5.datadoghq.com/ → region is us5.
Step 6 : Integrate into Mavvrik portal
-
Log in to the Mavvrik portal.
-
Navigate to Admin → SaaS.
-
Click + Account → select Datadog.
-
Enter the following details:
-
API Key
-
Region
-
Application Key
-
-
Click Connect.
