.png)
Why this matters: this appliance is what actually connects your vCenter environment to Mavvrik — until it's running, Mavvrik has no visibility into on-prem VMware at all. Getting the network and config settings right during this install is what determines whether data starts flowing cleanly or you end up troubleshooting a connection issue afterward.
Before you start: you'll need admin access to vCenter, and the Mavvrik config parameters generated during datacenter onboarding (see VMware Datacenter Onboarding) ready to paste in during setup.
Below are the steps to install the vCenter application :
-
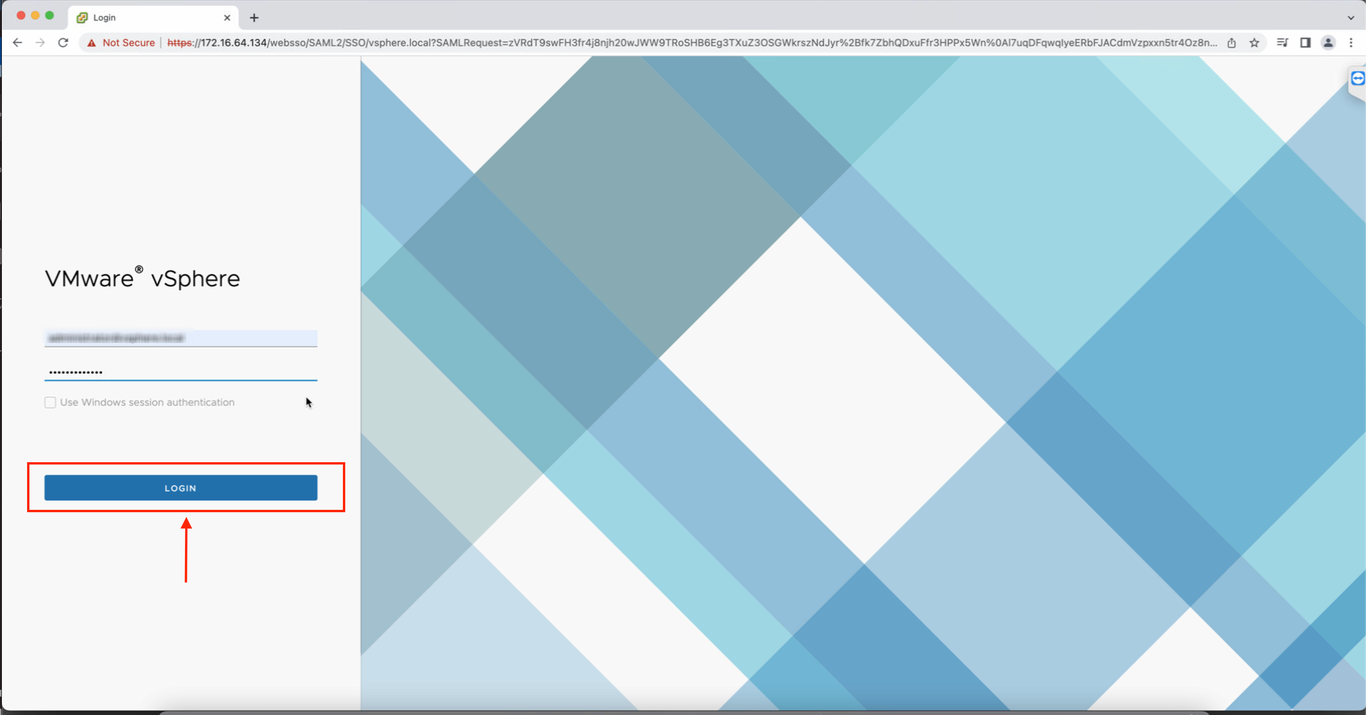
Login to vCenter Console.
-
Select the Datacenter/Cluster/Host to deploy the appliance Right on the Datacenter/Cluster/Host Resource and select Deploy OVF template. (follow the steps in https://masteringvmware.com/how-to-deploy-ovf-or-ova/ )
-
Click on next for further steps till the Select networks.
-
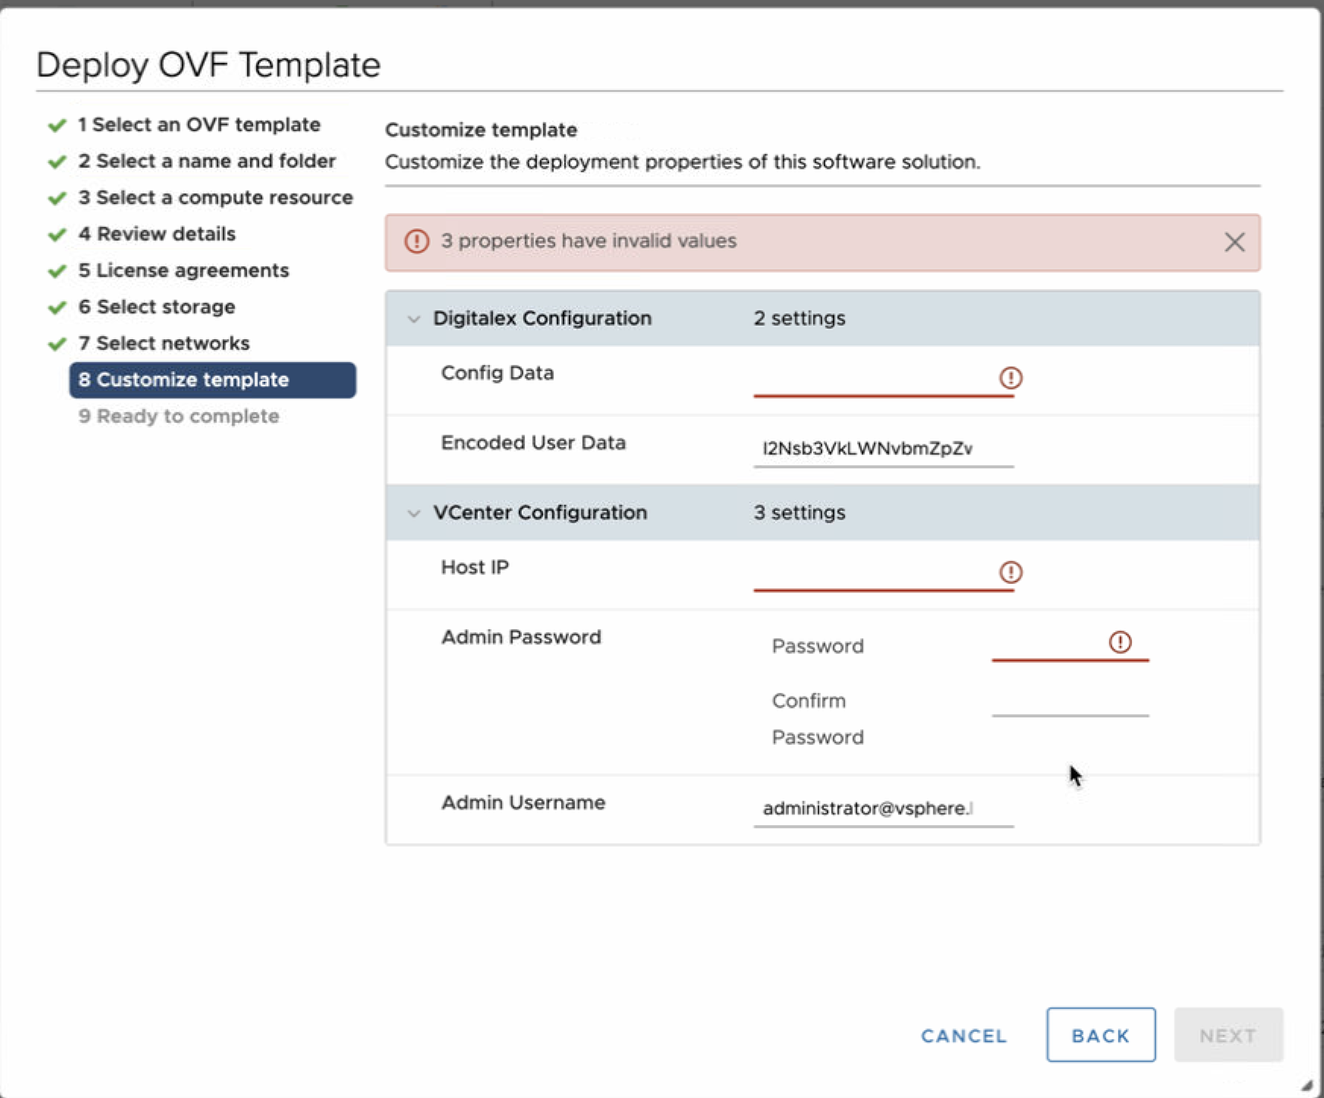
On Customize template, enter your vCenter host IP, admin password, and admin username under vCenter Configuration.
-
Paste the configuration parameters copied from Mavvrik into the Config Data field under Mavvrik Configuration.
-
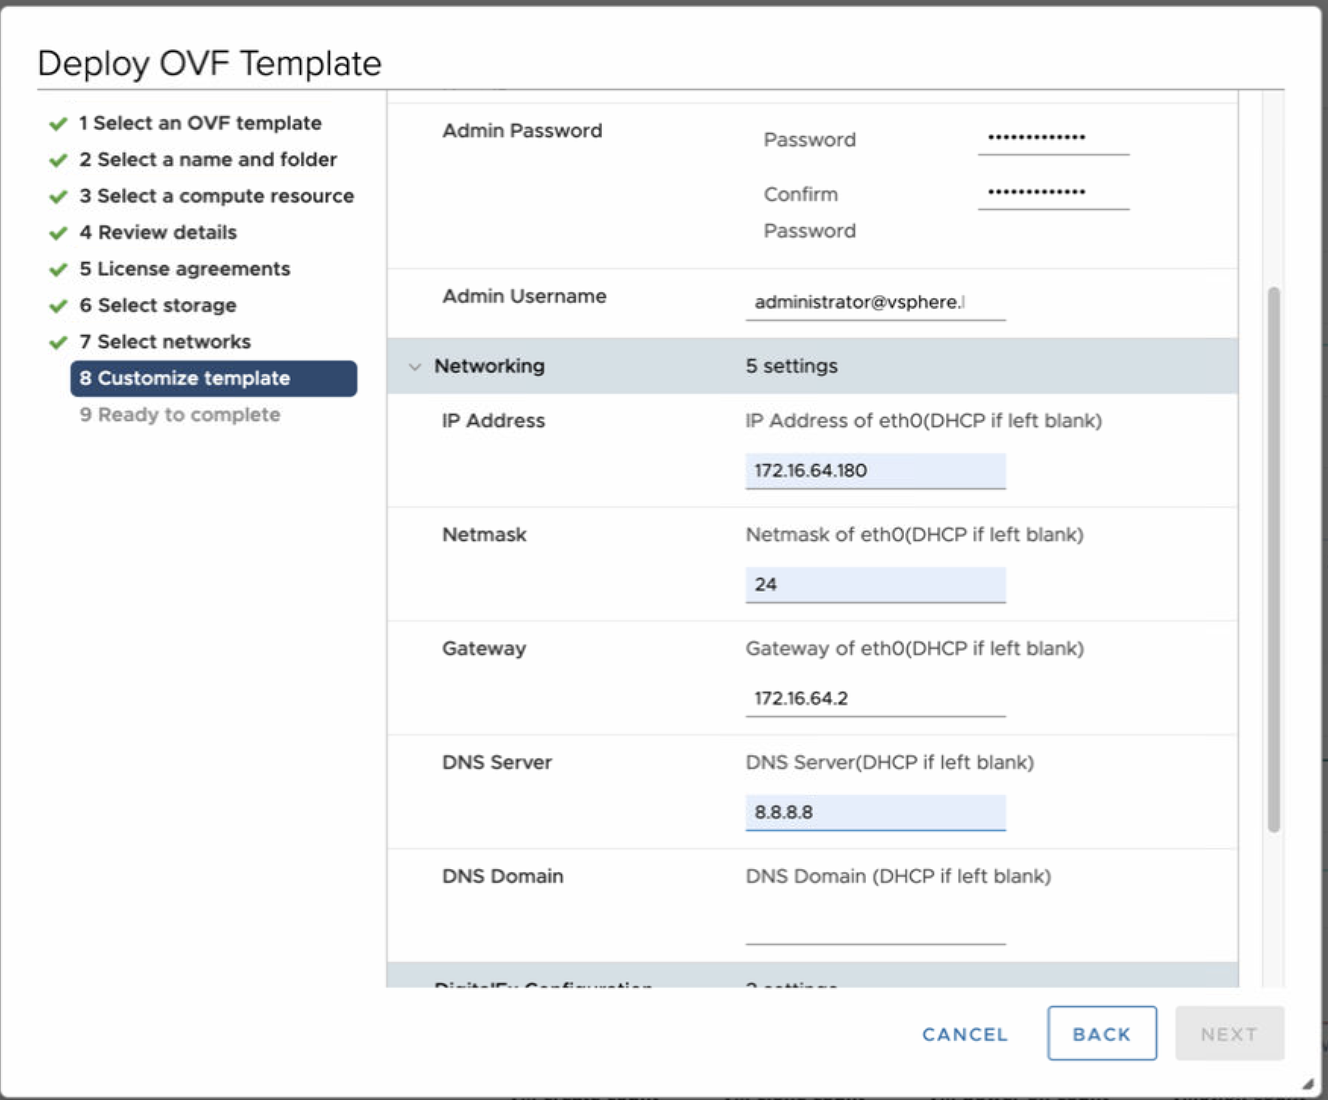
To configure static networking in the appliance, please enter your static ip address, netmask(between 24 to 36), gateway, and DNS server(if multiple add with “,“)
-
If you don’t want the appliance to auto-update automatically, uncheck the box.
-
Click on next to finish the OVF template installation.
-
Turn on the VM and wait for some time for Datacenter data to show up, Once successful it will start showing up on the Datacenter page.