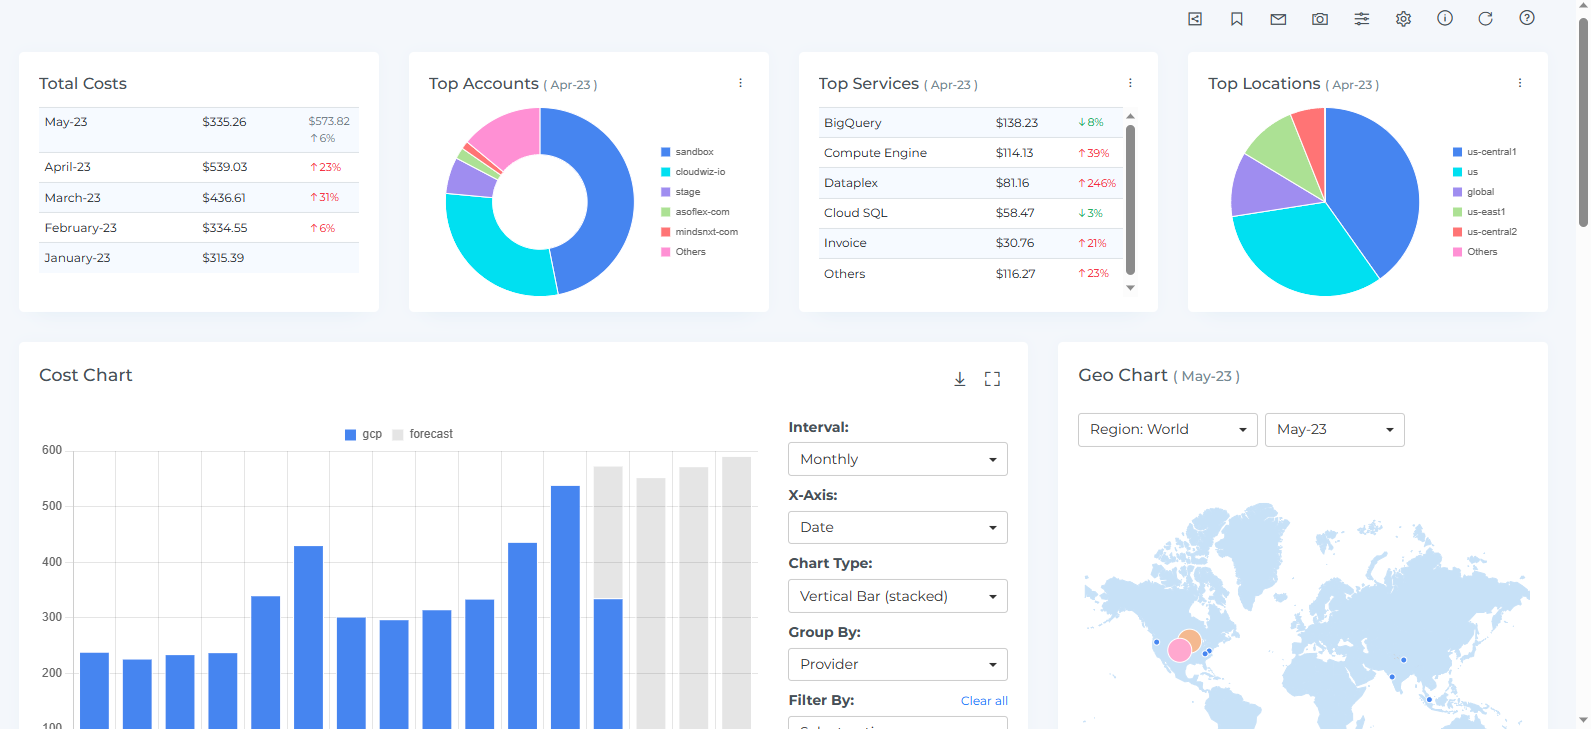
.png)
Steps to Execute the Script from GCP Cloud Shell
-
Copy the script and Execute the command provided below from within the GCP Cloud Shell terminal window, which is shown at the bottom part of the GCP Console launched in the earlier step.
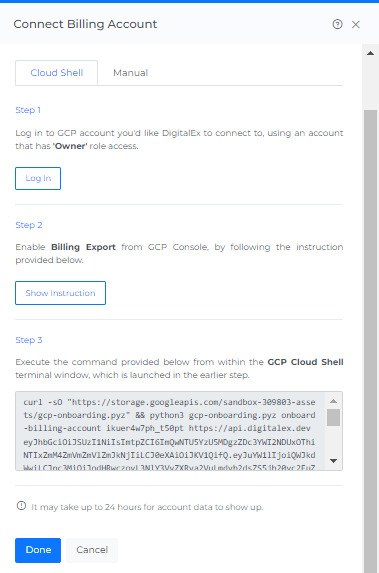
-
Paste the copied Script and click Enter.
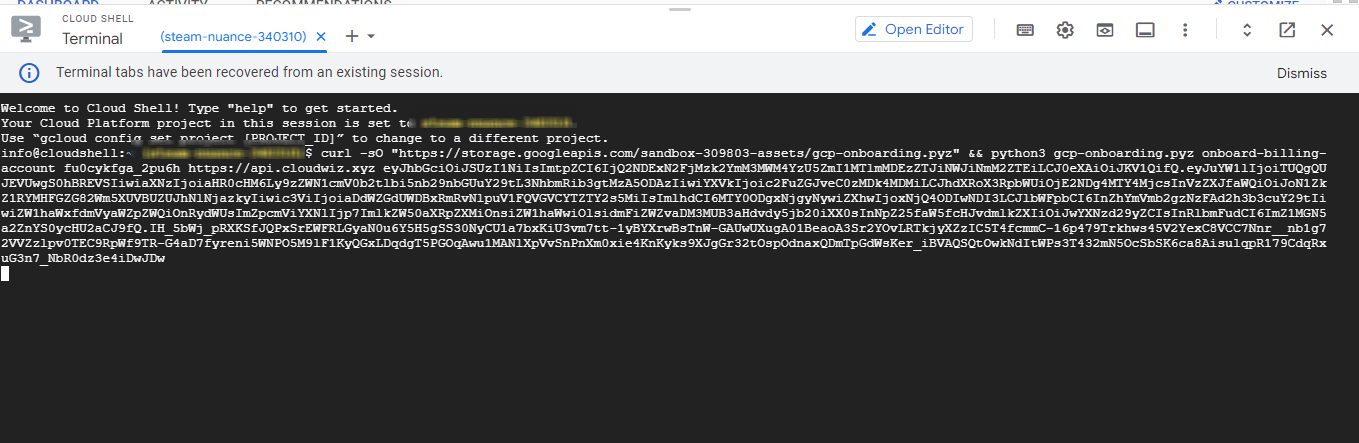
-
Click on AUTHORIZE
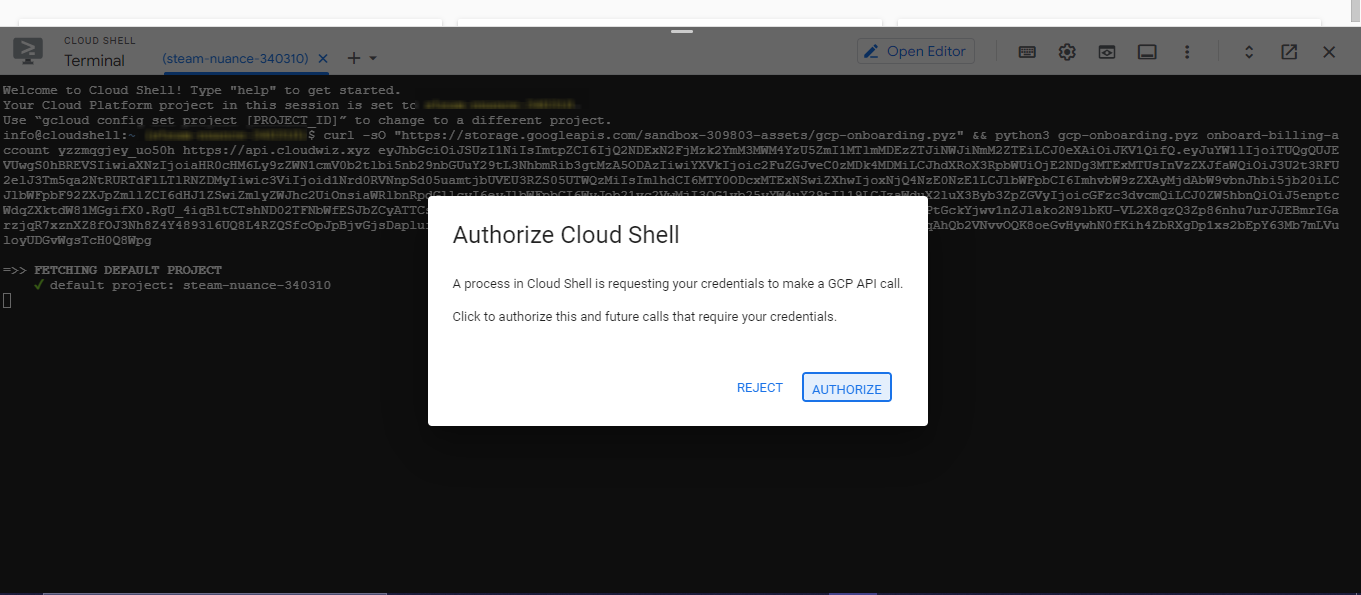
-
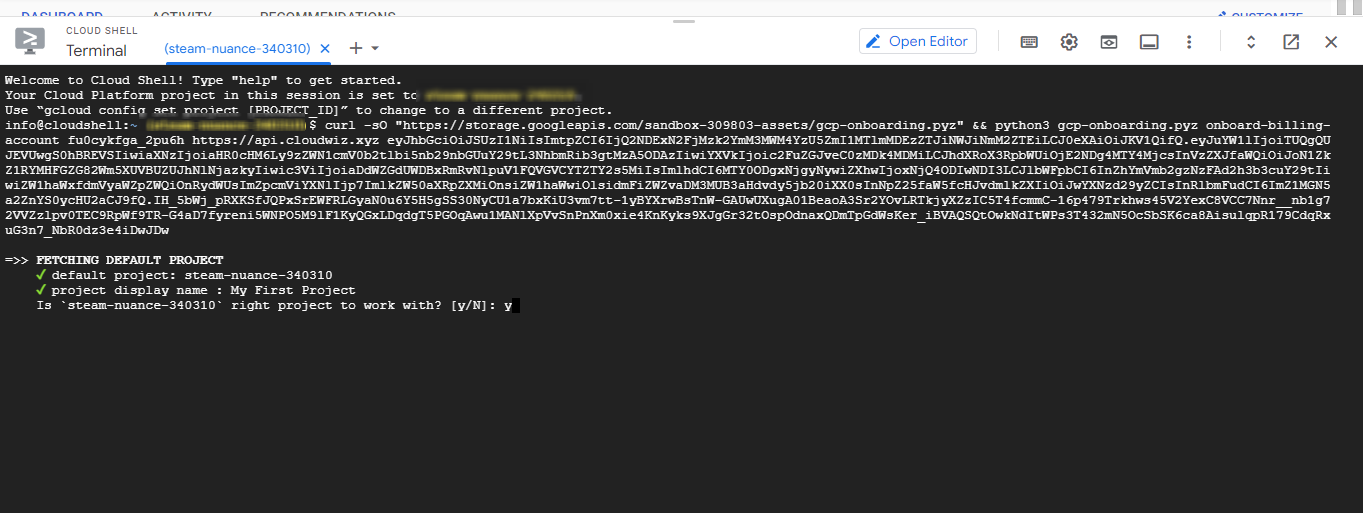
Enter 'y' to confirm the project.
-
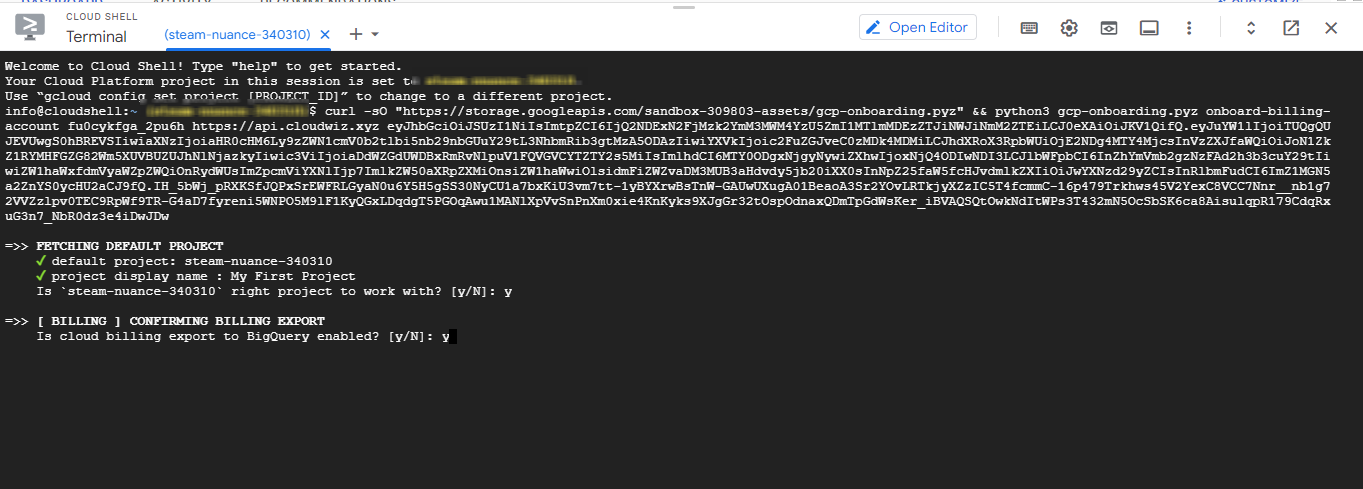
Enter 'y' to confirm the billing export.
-
Script will run automatically
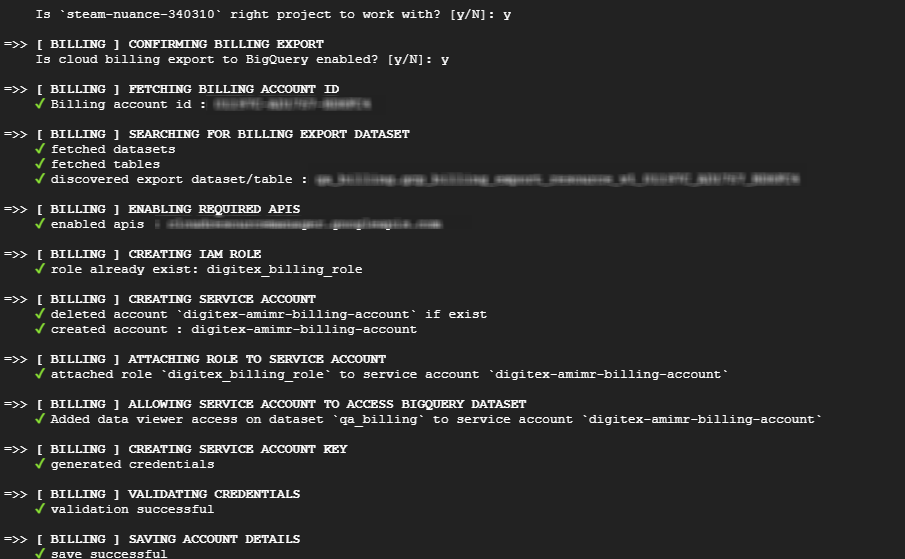
Ignore Bad request syntax or unsupported method retrying messages.
If you encounter any error at the time of onboarding, please rerun the script once again.
-
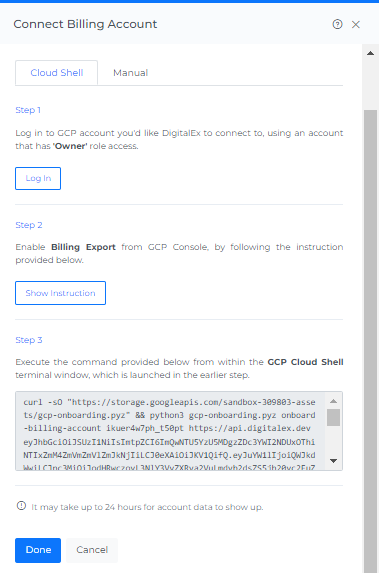
Click on the Done button in Mavvrik, after script running is successfully completed.
-
After completing the ingestion, the onboarded Billing Account will be displayed in the list as shown below.

-
Go to the Menu option and Click Cost
-
Data will display immediately after successful ingestion.