.png)
The steps below need to be executed in the Azure Cloud Shell. Please log in to the Azure portal and launch the Cloud Shell from the navigation bar.
To create a Microsoft Entra ID app, it is recommended to have the Owner role. Alternatively, you can have both the Contributor and User Access Administrator roles.
Configuration steps
Step-1: Create Microsoft Entra ID application
-
Execute the following command to create Microsoft Entra ID app
az ad sp create-for-rbac --display-name "<APP_NAME>" --years=2 -o table
-
<APP_NAME>: Microsoft Entra ID app name of your choice -
After executing the command, capture the App id, Password(secret) & Tenant.
To assign permissions to the Microsoft Entra ID app, it is recommended to have the Owner role. Alternatively, you can have both the Contributor and User Access Administrator roles.
Step-2: Assign permission to the app
If you are onboarding billing scope as billing, Follow the below steps for assigning permission to the app
a. Login to Azure console > Click on Menu > Cost Management + Billing > Access Control (IAM)
b. Click Add > Select the Billing account reader > Enter the app created in Step-1 above.
Follow this link to get detailed steps Step-2: Assign permissions to the app
If you are onboarding subscription scope as billing. Execute the following command to assign permission to the app.
az role assignment create --assignee "<APP_ID>" --role "Cost Management Reader" --scope /subscriptions/<SUBSCRIPTION_ID>
-
<APP-ID>: Microsoft Entra ID app id captured in Step-1 -
<SUBSCRIPTION_ID>: Your subscription id you wish to onboard
Step-3: Retrieve Account ID
Follow the steps to get the account id Step-3: Retrieve Account ID
Step-4: Submit Details in Mavvrik
Get the details Tenant ID, Client ID, Client Secret, Account ID.
Follow the below steps to onboard the billing account in Mavvrik.
Onboard the first provider
If one of the providers is onboarded, follow the link Azure Connect Billing Account for Partner to onboard additional providers
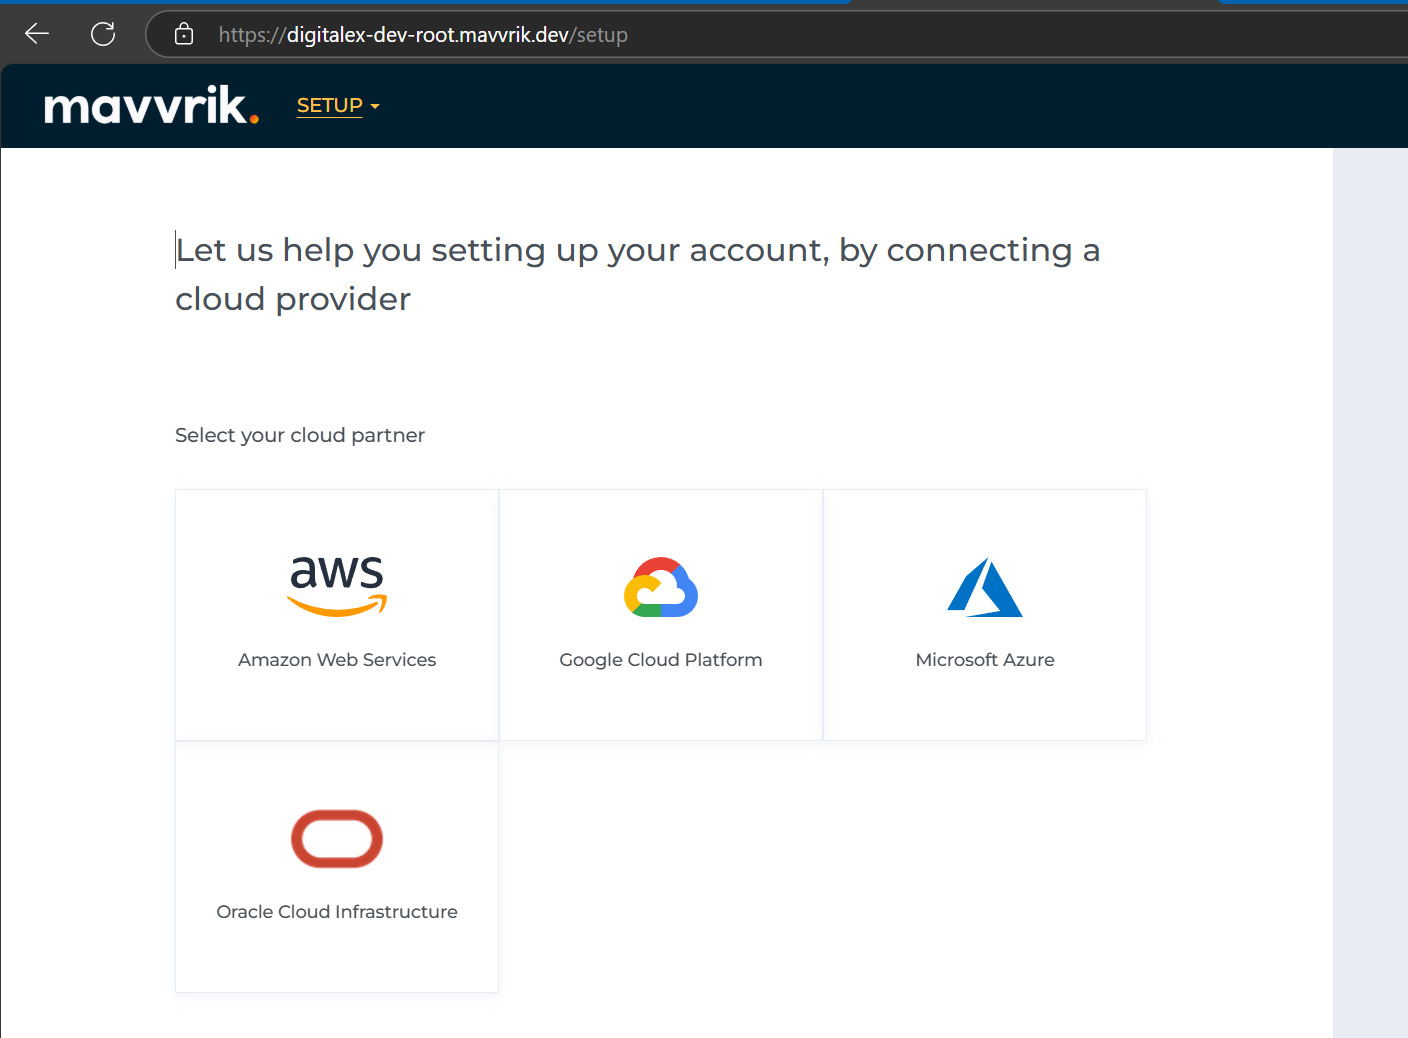
-
Click on Azure Provider
-
Click on Connect manually
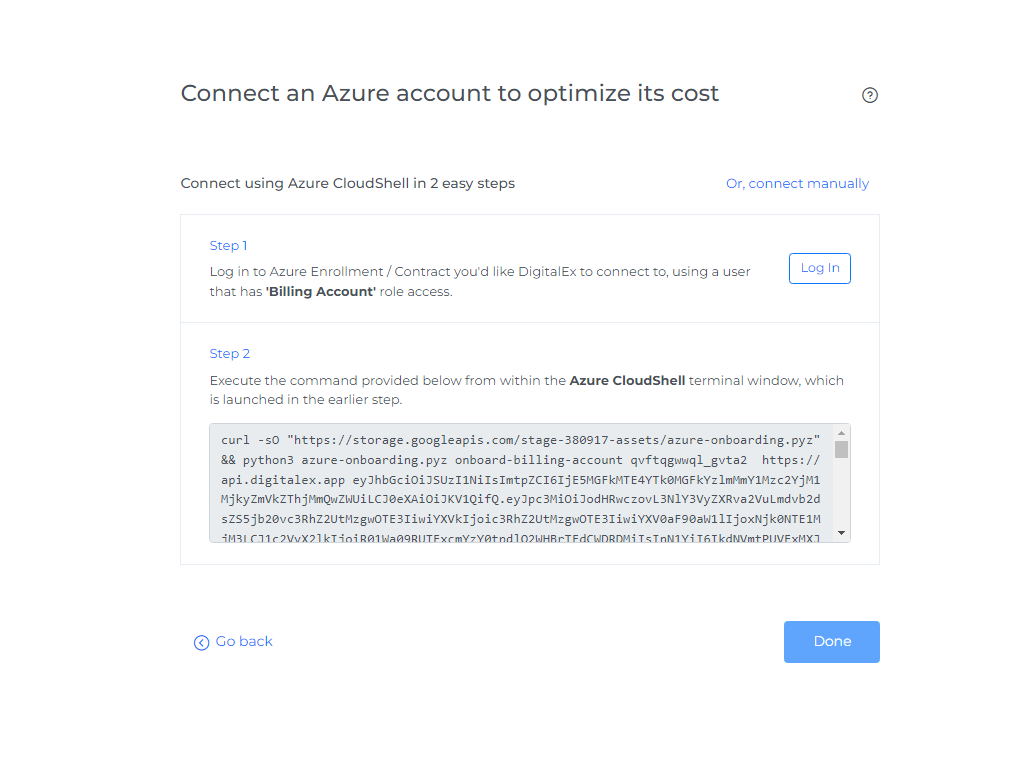
-
Click on Connect Billing Account
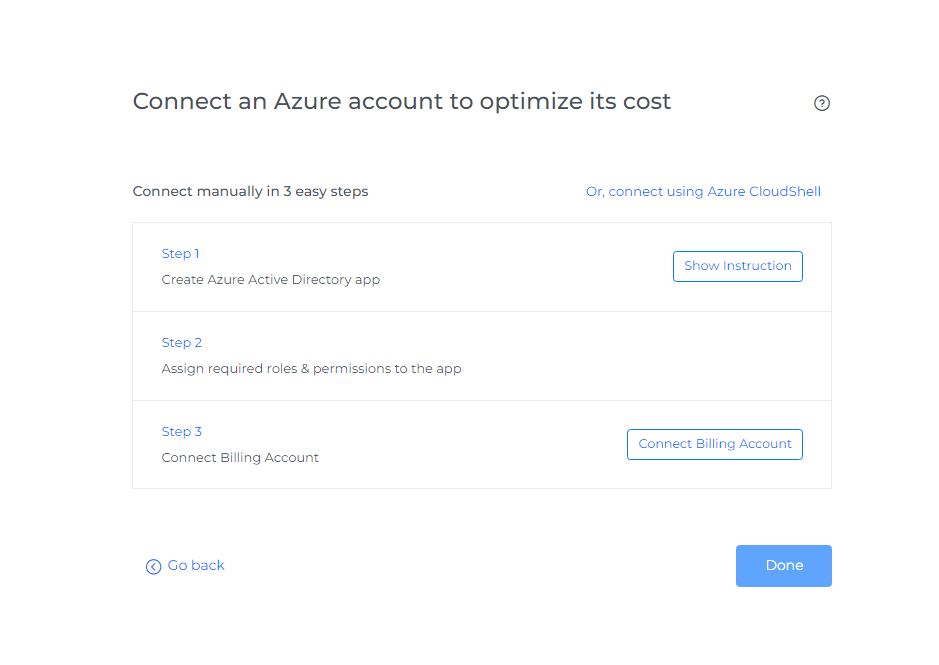
-
Enter the details which you have captured above.
-
Click on connect & done.
Onboard additional providers
-
Navigate to Menu > Admin > Public Clouds > +Account.
-
Click on Azure Provider & Click on Manual tab
-
Enter the details which you have captured above.
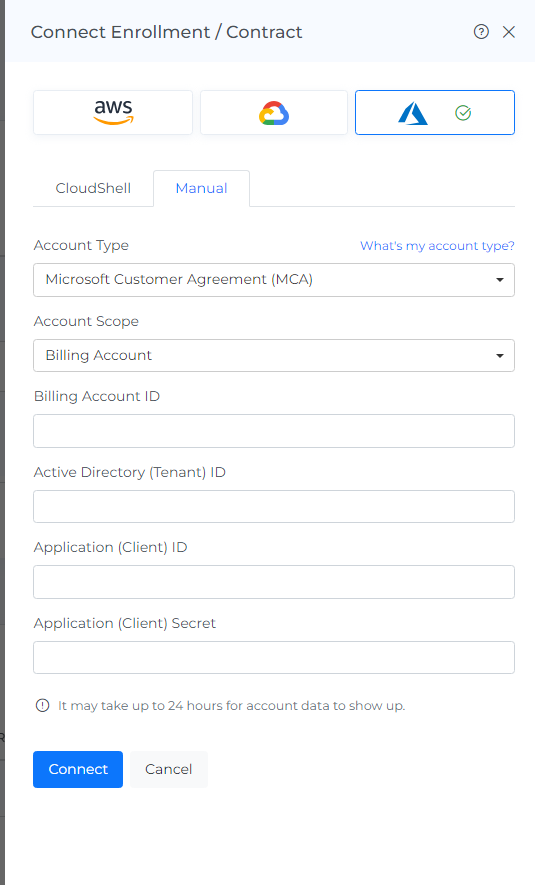
-
Click Connect
-
The onboarded Billing Account will be displayed with the list of All linked Subscription accounts.
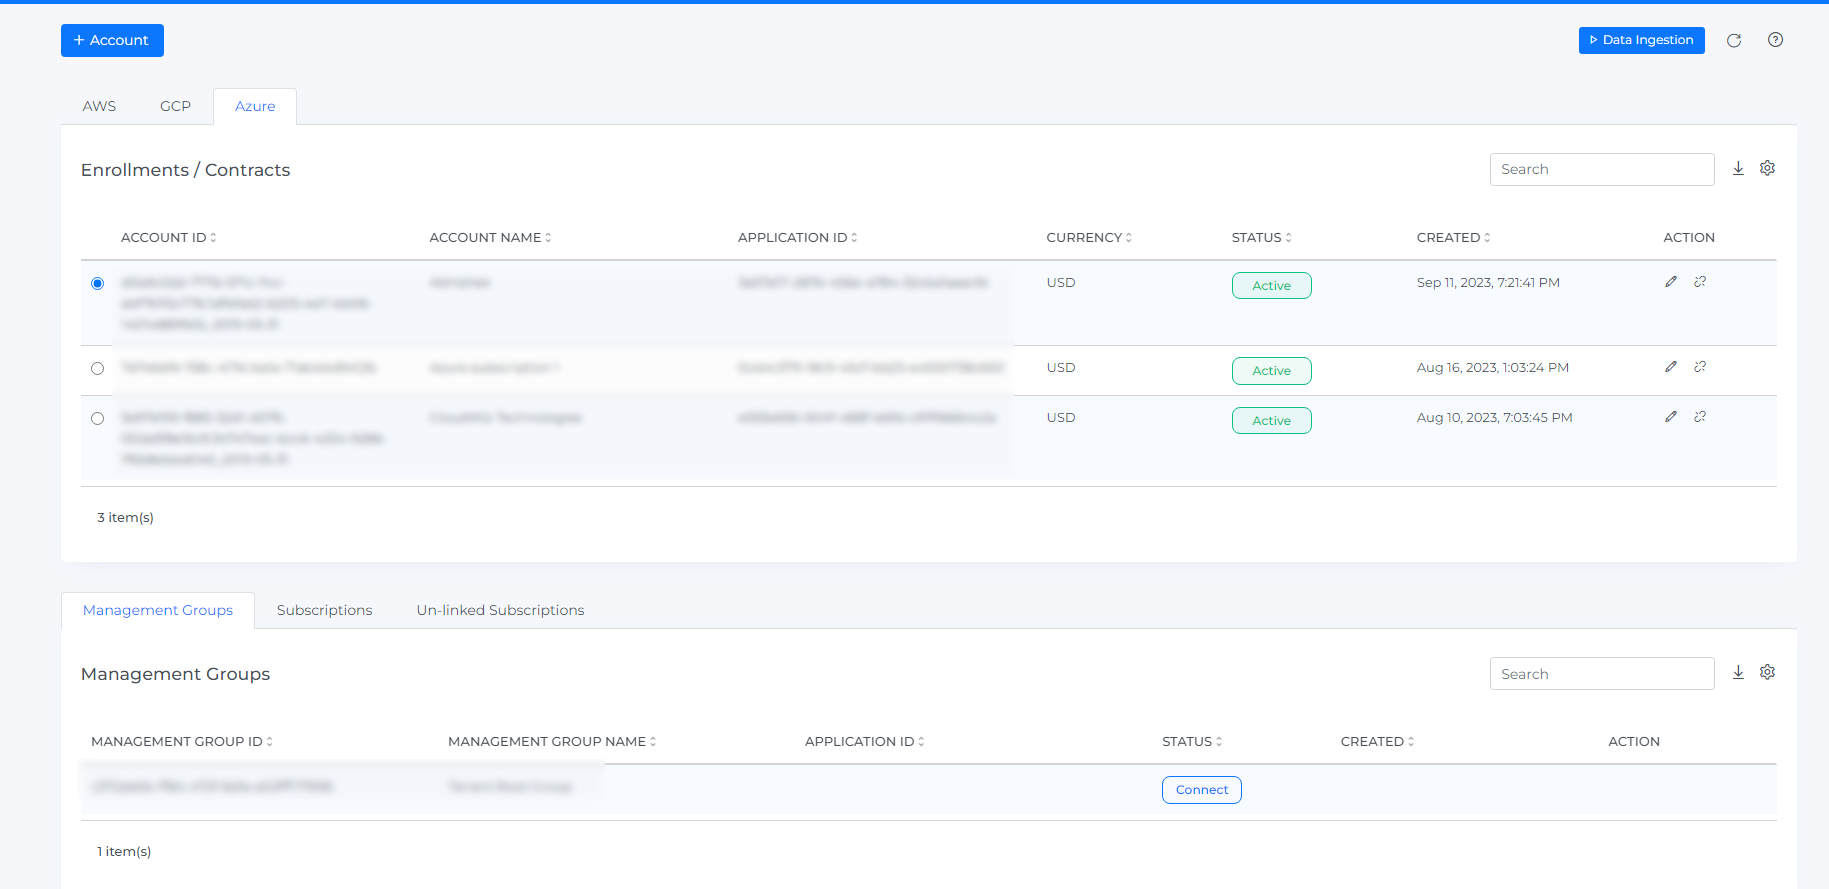
After adding a new account, it may take up to 30 minutes for the system to discover and process the data.
-
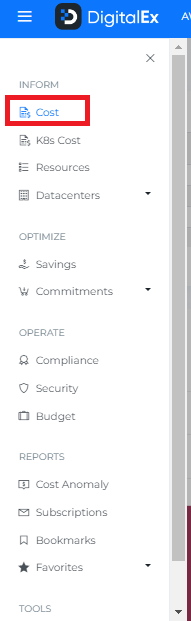
Go to the Menu option and Click Cost.
-
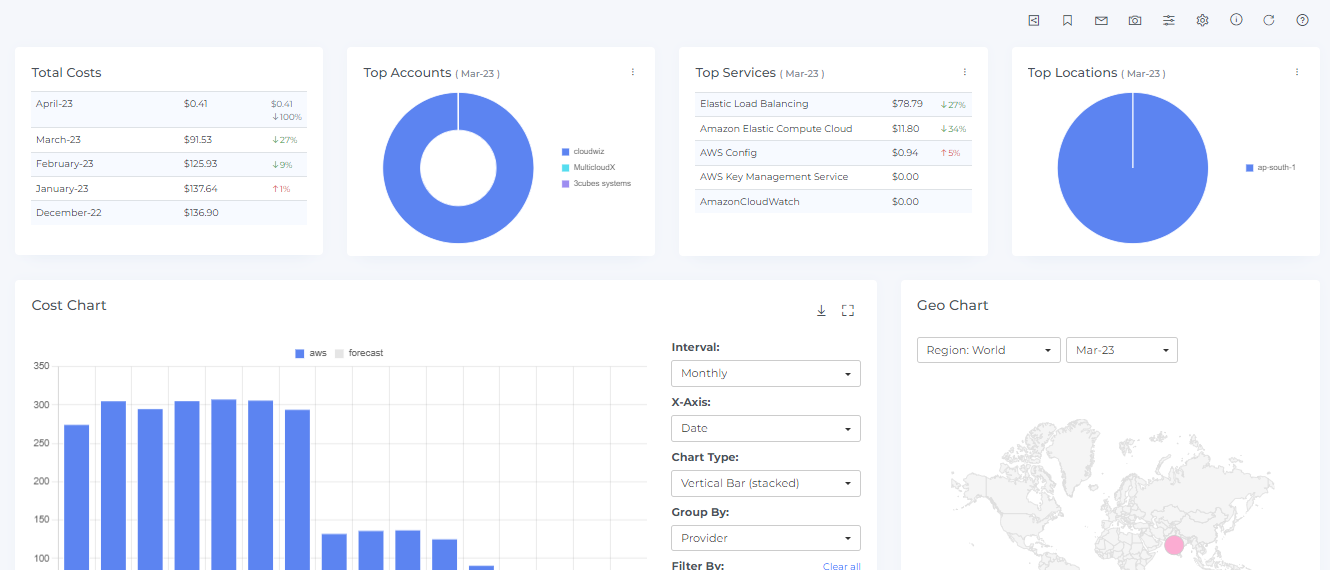
Data will display immediately after successful ingestion.
Troubleshooting
-
If an Azure CLI command fails, confirm that you are signed in to the correct Azure tenant and subscription.
-
If the account does not connect, verify the tenant ID, client ID, client secret, account details, and required role assignments.