.png)
There are following two ways to onboard Azure CSP using a Root Tenant as the billing scope.
Steps to onboard through CLI
To manage an Azure Active Directory (AAD) app and create a client secret, the Active Directory administrator role is required
Create AAD
az ad sp create-for-rbac --display-name "<APP_NAME>" --years=2 -o table
-
<APP_NAME>: Enter the unique name. Recommended (mavvrik_management_group)
-
Capture App id, Password and Tenant id which will be used in subsequent steps
To assign permissions to the Azure Active Directory (AAD) app, it is recommended to have the Owner role. Alternatively, you can have both the Contributor and User Access Administrator roles.
Assign Permissions to the App (Mandatory)
az role assignment create --assignee "<APP_ID>" --role "Reader" --scope "/providers/Microsoft.Management/managementGroups/<MANAGEMENT_GROUP-ID>" -o table
-
<APP_ID> : Enter App id created in above step
-
<MANAGEMENT_GROUP-ID>: Enter your Root Tenant Id(To Get Root Tenant id Navigate to Azure Console > Search Root Tenant > Capture the id)
Assign Additional Permissions to the App (Mandatory for Tier2 Customers)
az role assignment create --assignee "<APP_ID>" --role "Reservations Reader" --scope "/providers/Microsoft.Capacity" -o table
az role assignment create --assignee "<APP_ID>" --role "Savings Plan Reader" --scope "/providers/Microsoft.BillingBenefits" -o table
-
<APP_ID> : Enter App id created in above step
Connect Billing Account
-
Login to Mavvrik
-
Go to Menu > Admin > Public Clouds
-
Click on +Account
-
Select CSP as Account type and Billing Scope as Root Tenant
-
Enter required details
-
Click Connect
You can use the same credentials to onboard the Root Tenant as a usage account. Azure CSP Root Tenant Manual CLI Onboarding
Steps to onboard through UI
1) Create the Azure AD App
A. Register the app
-
Sign in to Azure Portal
-
Go to Microsoft Entra ID (Azure AD)
-
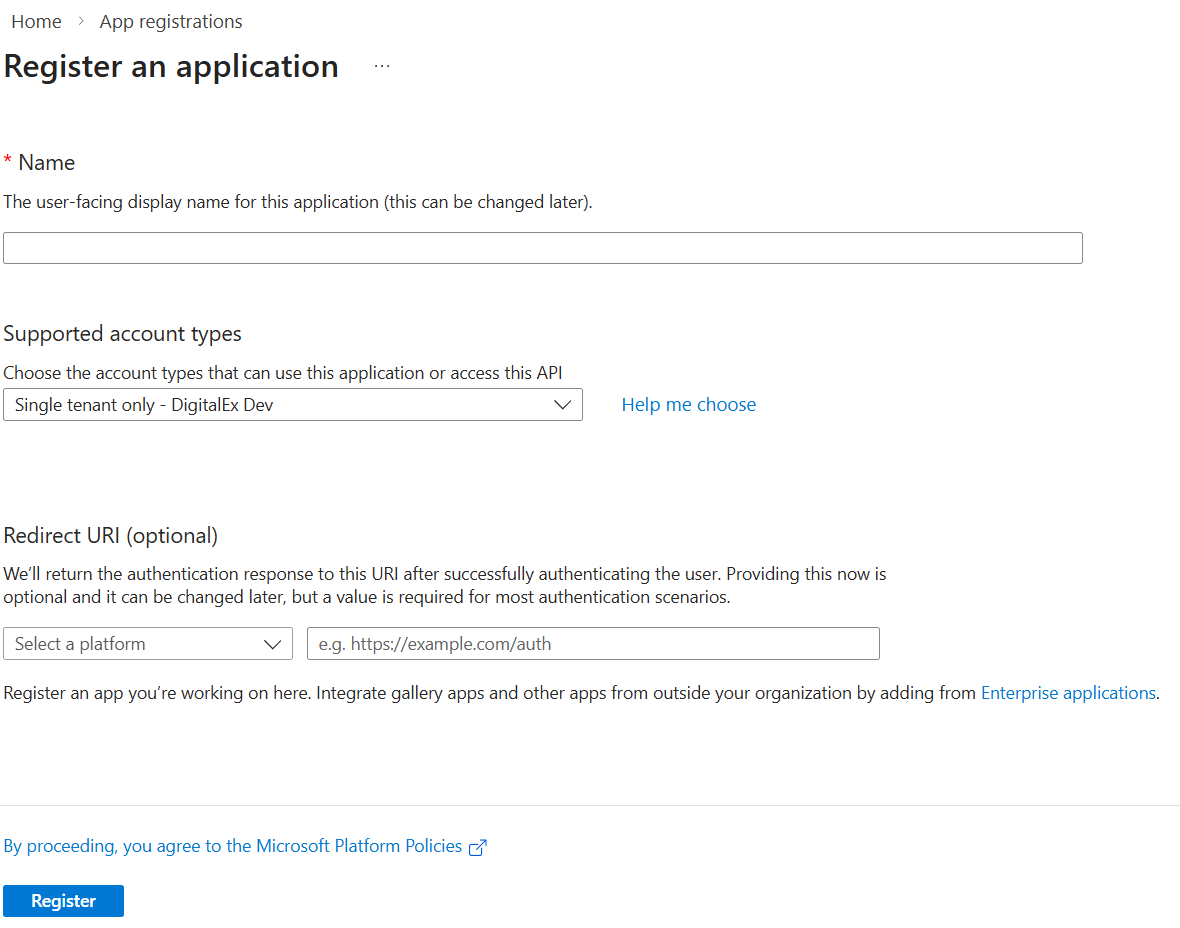
Select App registrations → + New registration
-
Fill:
-
Name:
mavvrik_management_group(or your preferred unique name) -
Supported account types: choose Accounts in this organizational directory only (recommended for CSP tenant)
-
Redirect URI: leave blank (not required)
-
-
Click Register
B. Capture required IDs
After registration, go to the app’s Overview page and copy:
-
Application (client) ID ✅ (this is your APP_ID)
-
Directory (tenant) ID ✅
C. Create the client secret
-
Inside the same app, go to Certificates & secrets
-
Under Client secrets, click + New client secret
-
Fill:
-
Description:
mavvrik_secret -
Expires: choose 24 months / 2 years (match your CLI
--years=2)
-
-
Click Add
-
Immediately copy the Value (NOT the Secret ID)
-
This copied Value is your Client Secret ✅
-
You won’t be able to view it again later.
-
2) Assign Permissions to the App at the Root Tenant (Mandatory)
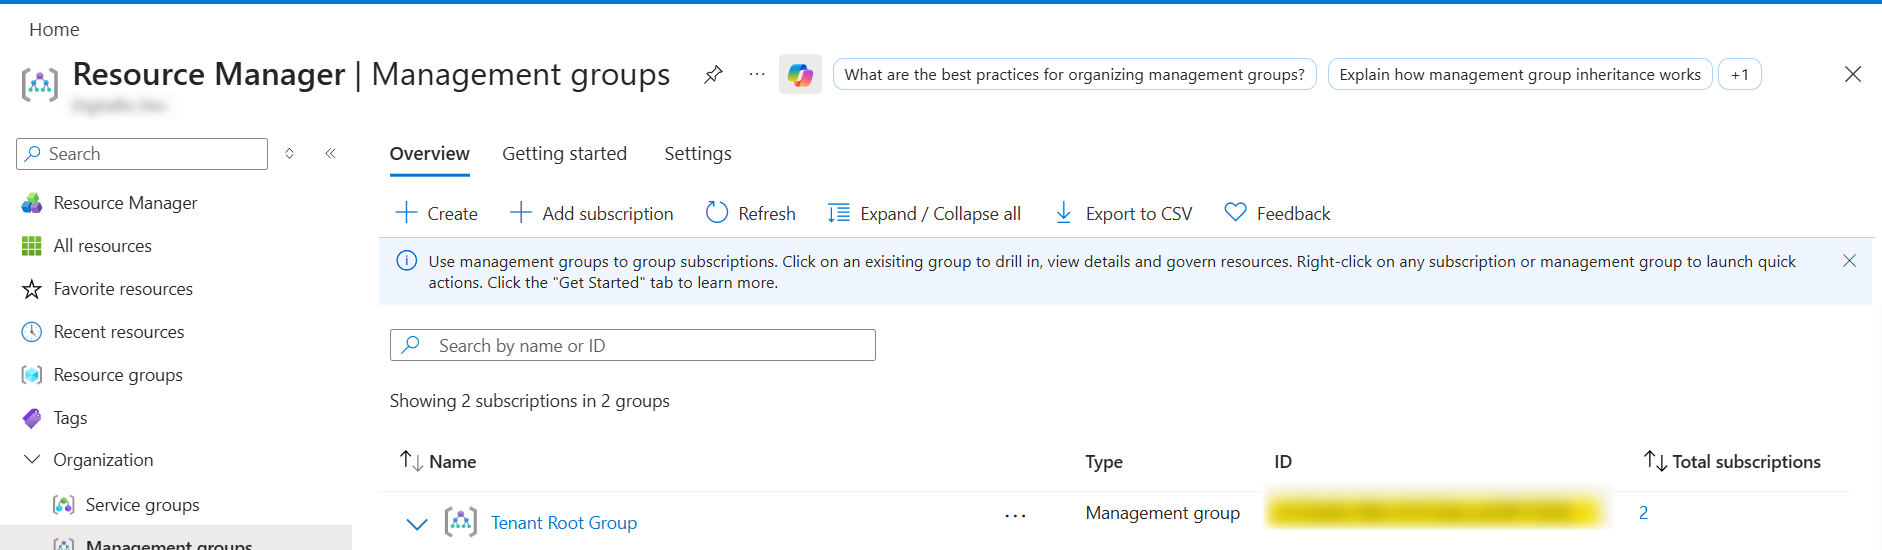
A. Get your Root Tenant ID
-
In Azure Portal search: Management groups
-
Select the Root Tenant you want
-
Copy the Management Group ID (not the display name)
B. Assign “Reader” role on the Root Tenant
-
Open Management groups
-
Click the Tenant root Management Group
-
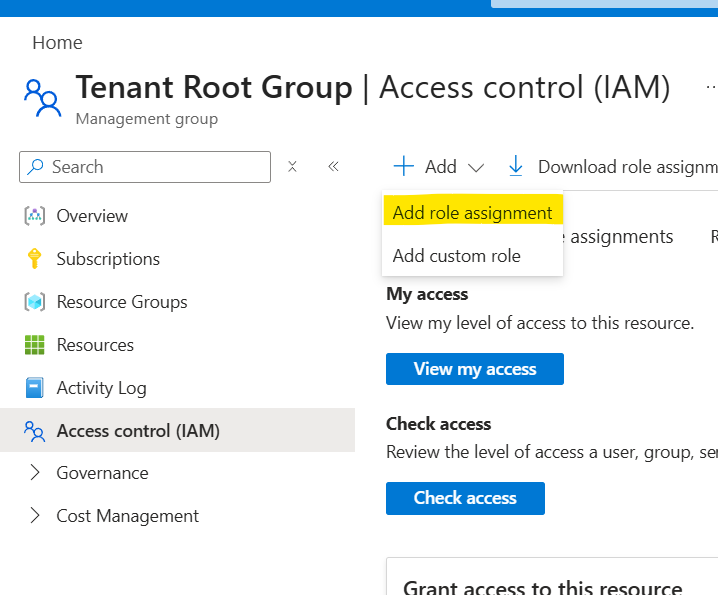
Go to Access control (IAM)
-
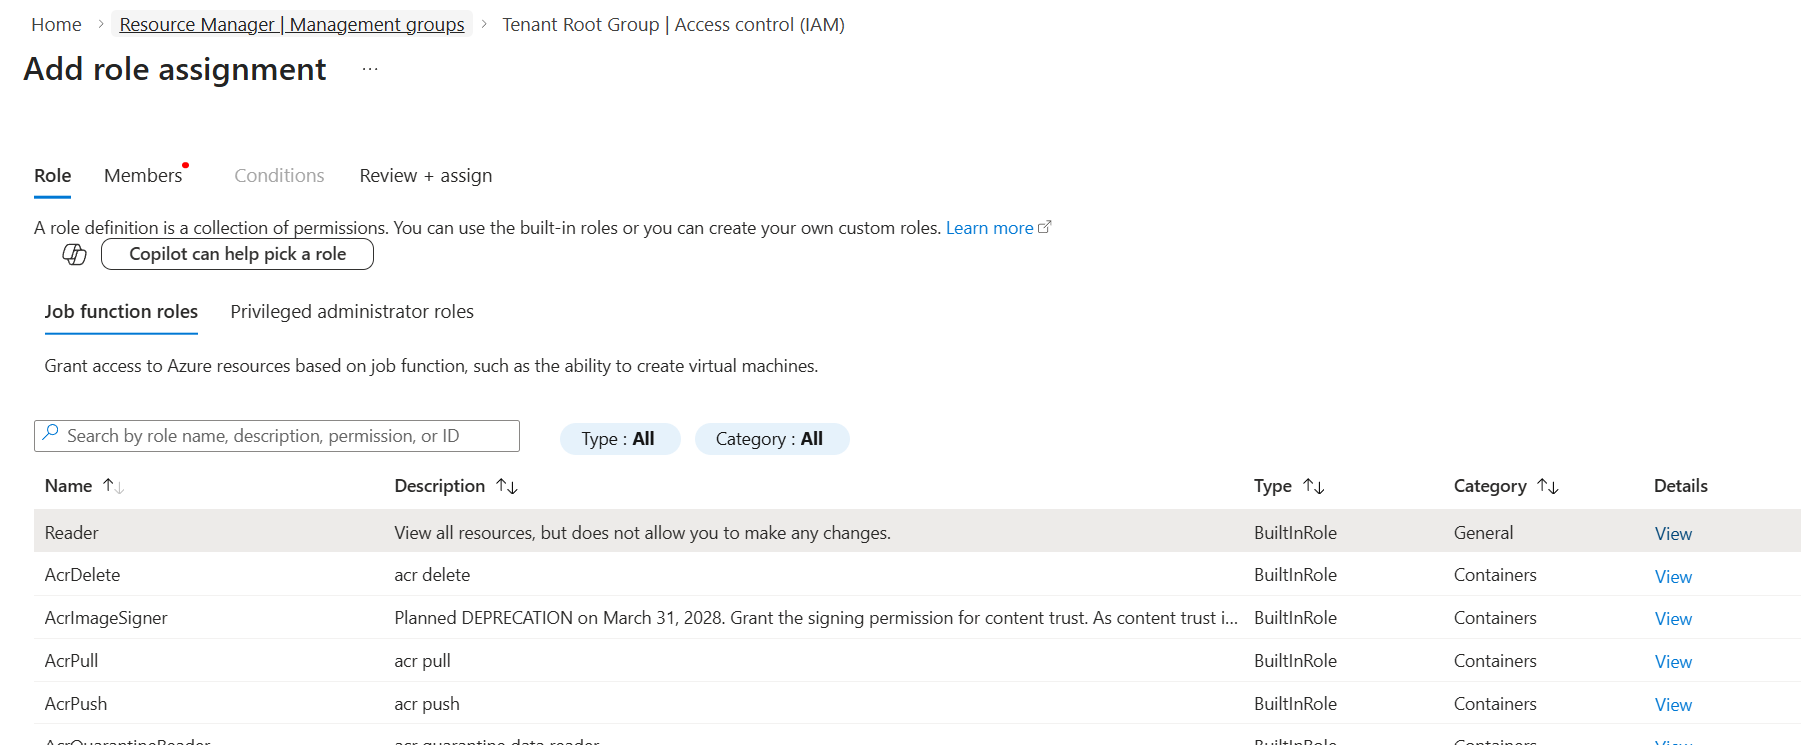
Click + Add → Add role assignment
-
In Role: select Reader
-
In Members:
-
Click Select members
-
Search your app name (example:
mavvrik_management_group)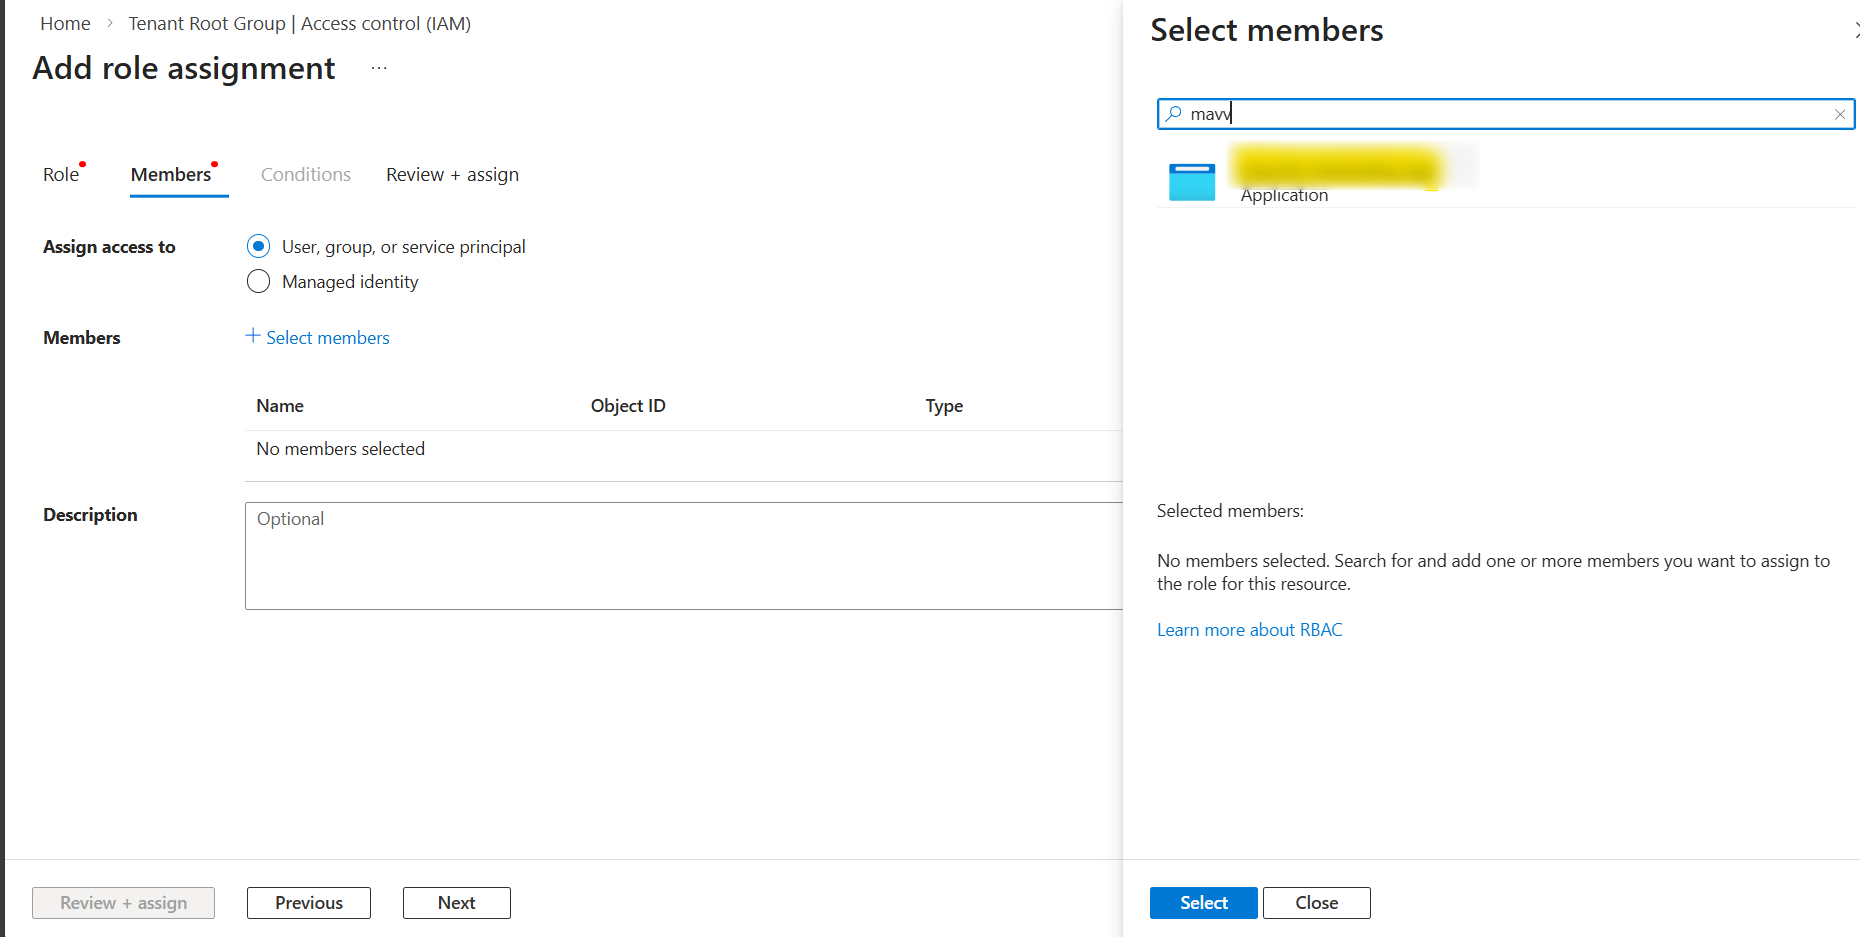
-
Select it
-
-
Click Review + assign → Assign
3) Assign Additional Permissions to the App (Mandatory for Tier2 Customers)
-
In Azure Portal search: Reservations and open it.
-
Click on Role Assignment

-
Click + Add → Add role assignment
-
Under Role, select Reservations Reader.
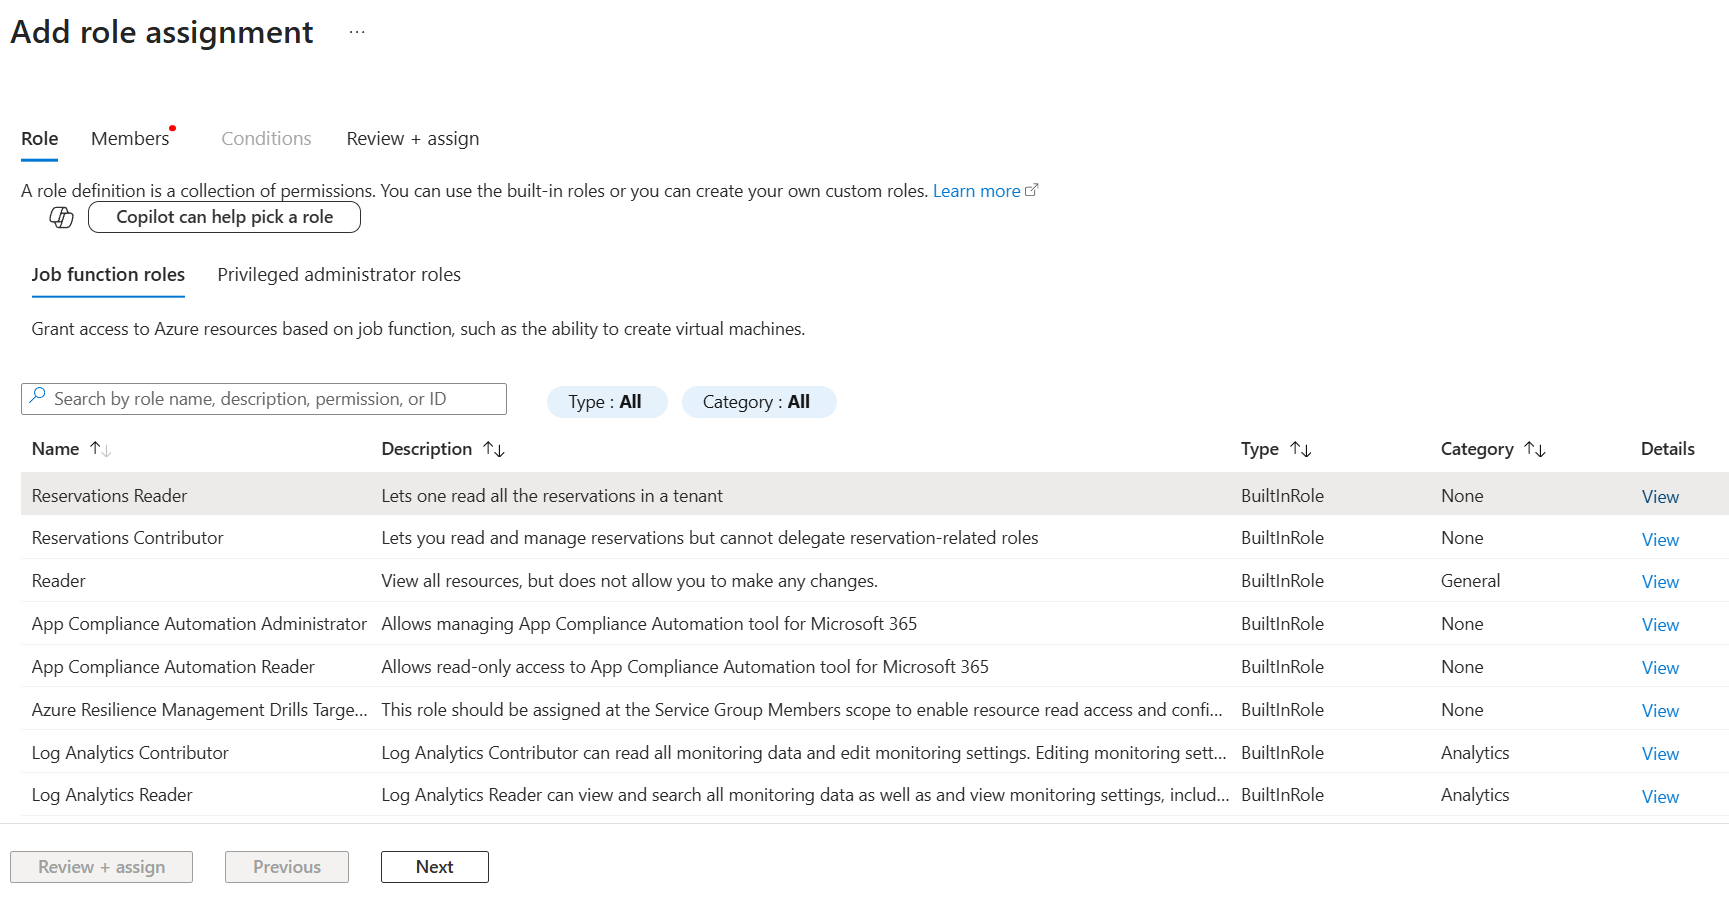
-
Click Next
-
Click Select members
-
Search your app name (example:
mavvrik_management_group) -
Select it
-
-
Click Review + assign → Assign
-
In Azure Portal search: Savings plans and open it.
-
Click on Role Assignment

-
Click + Add → Add role assignment
-
Under Role, select Savings Plan Reader.
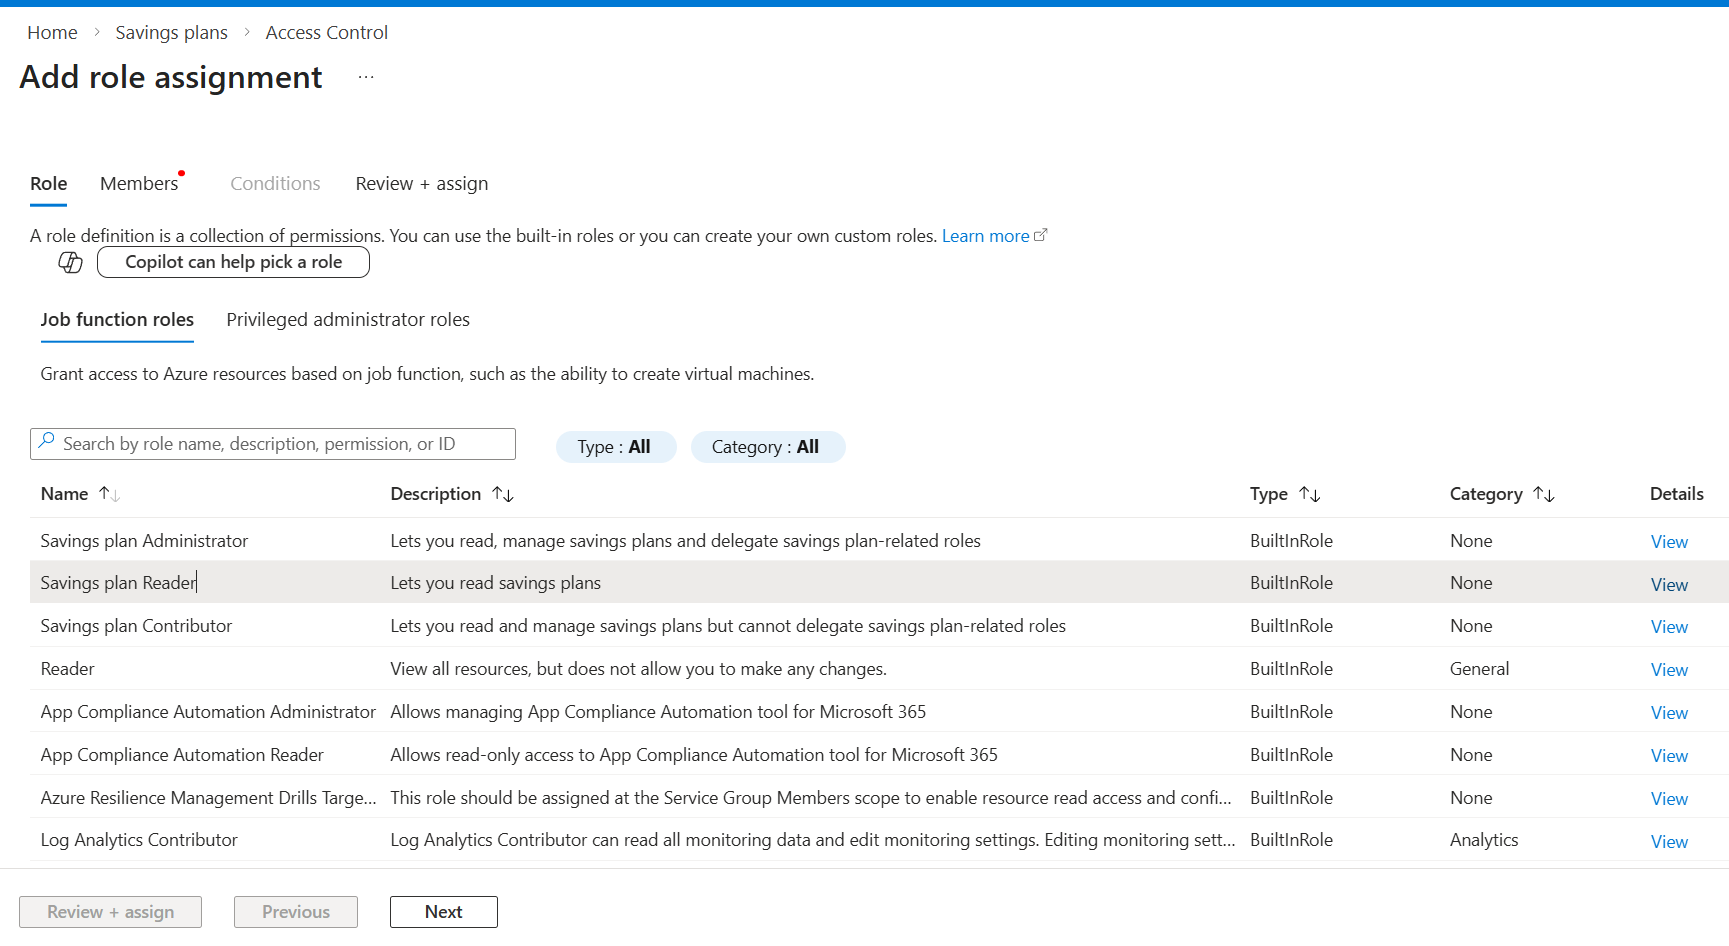
-
Click Next
-
Click Select members
-
Search your app name (example:
mavvrik_management_group) -
Select it
-
-
Click Review + assign → Assign