.png)
Below is the description of steps to Create SAML App in Jumpcloud:
-
Login to Jumpcloud as Admin
-
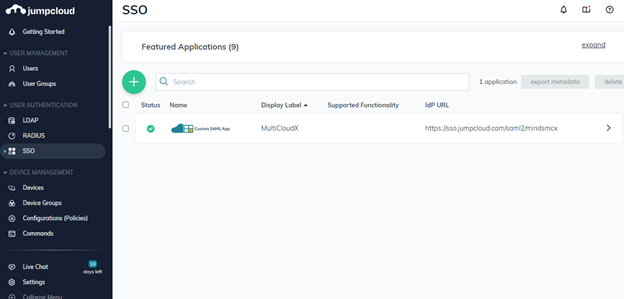
Click SSO from left side menu panel
-
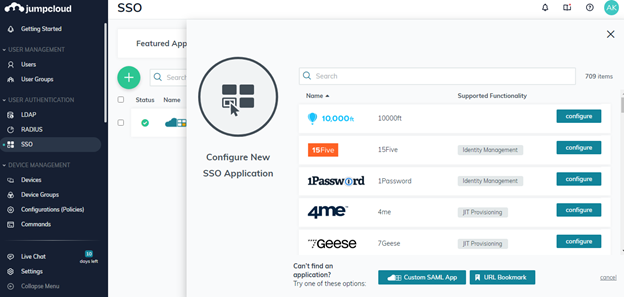
Click on + Icon to Add a new App
-
Click on Custom SAML App button
-
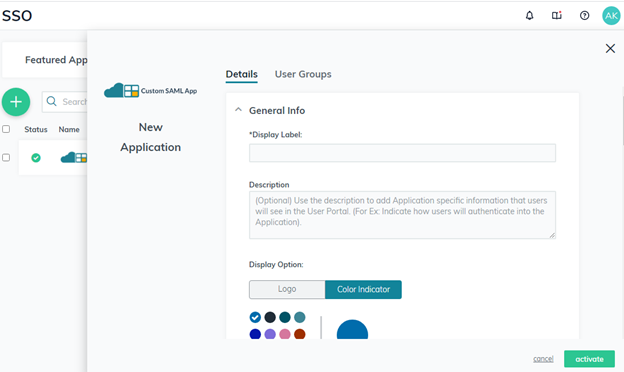
Clicking on Custom SAML App button navigates to below page
-
Enter Display Label and Description (optional)
-
Upload the logo or use color indicator
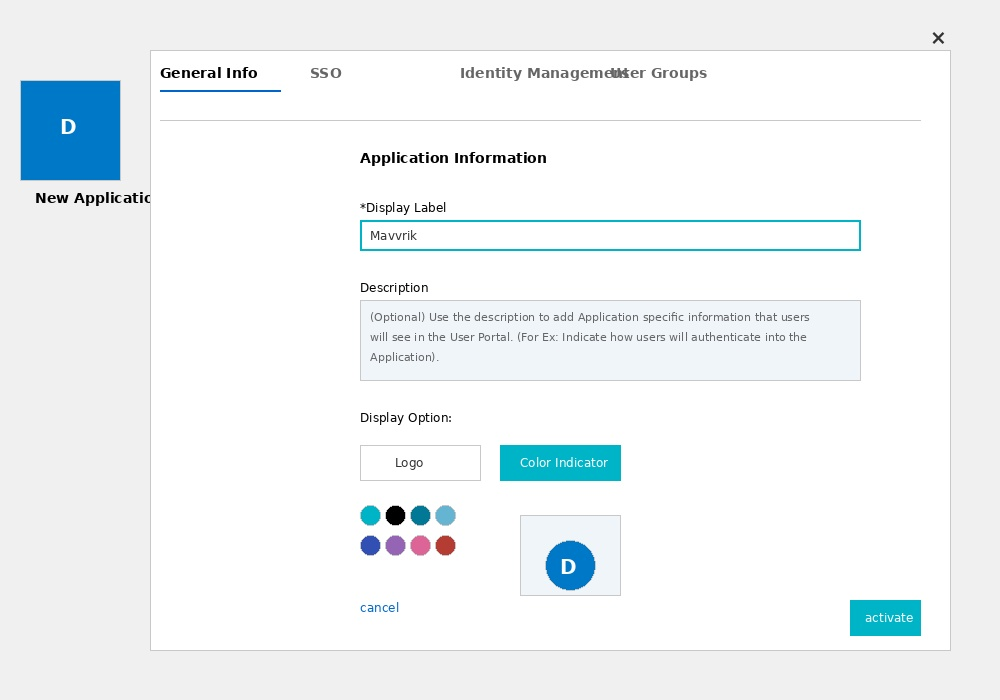
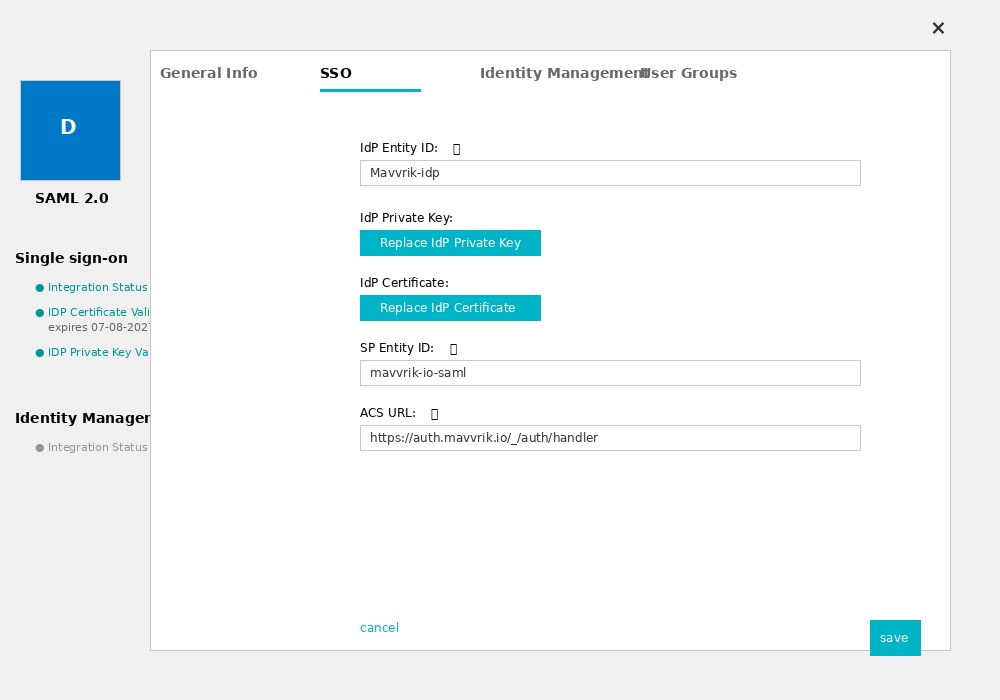
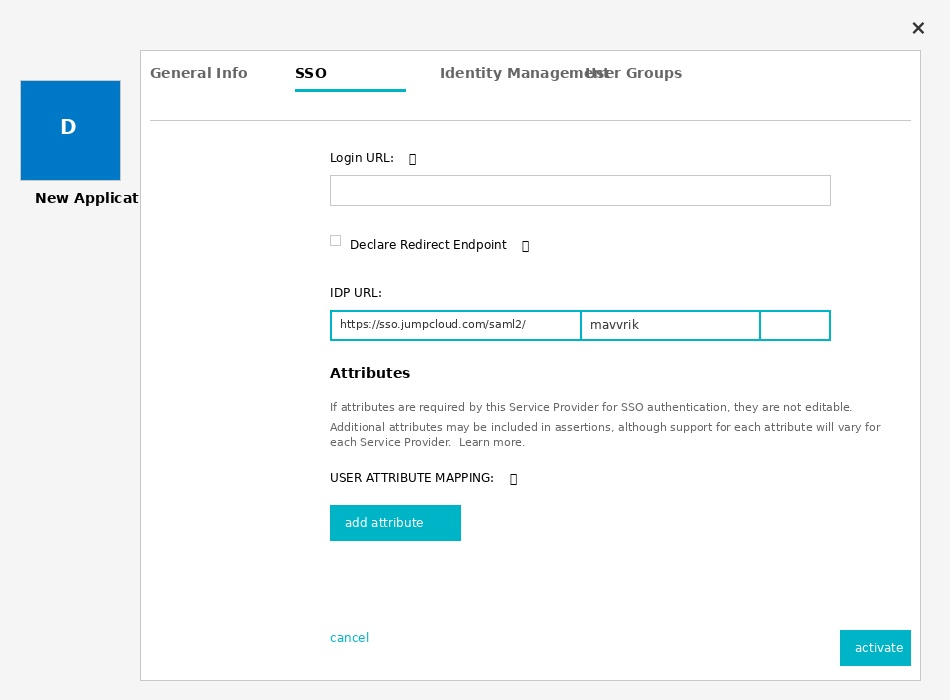
Under Single Sign-On Configuration Enter below details
-
Enter IDP Entity Id of your choice. Use this format for better understanding <organizationname> - idpEg: jumpcloud-idp or Mavvrik-idp
-
Enter Service provider Entity Id which you have copied in step-1.
-
Enter Service provider ACS URL which you have copied in step-1
-
Enter/Complete IDP URL which is preconfigured. Enter anything of your choice in text box.
-
Leave other fields as it is. Click on User Groups option