.png)
Mavvrik supports two ways to connect an GKE cluster, as shown in the Connect GKE Cluster screen:
-
Allocation-Based – recommended when you want quick onboarding and cost allocation visibility without deep cluster telemetry.
-
Appliance-Based – recommended when you need deeper telemetry and more detailed Kubernetes insights.
-
Auto-discover and connect — recommended when you want to connect clusters that are created frequently
Steps to onboard the GKE cluster(Appliance based)
Step-1: Install Helm and kubectl
If Helm and kubectl are already installed, skip the steps below and proceed to https://help.mavvrik.ai/content/gke-google-kubernetes-engine-onboarding#GKE-GoogleKubernetesEngineonboarding-Step-2:OnboardtheclusterinMavvrik
-
Login to in google cloud console
-
Go to GKE cluster project
-
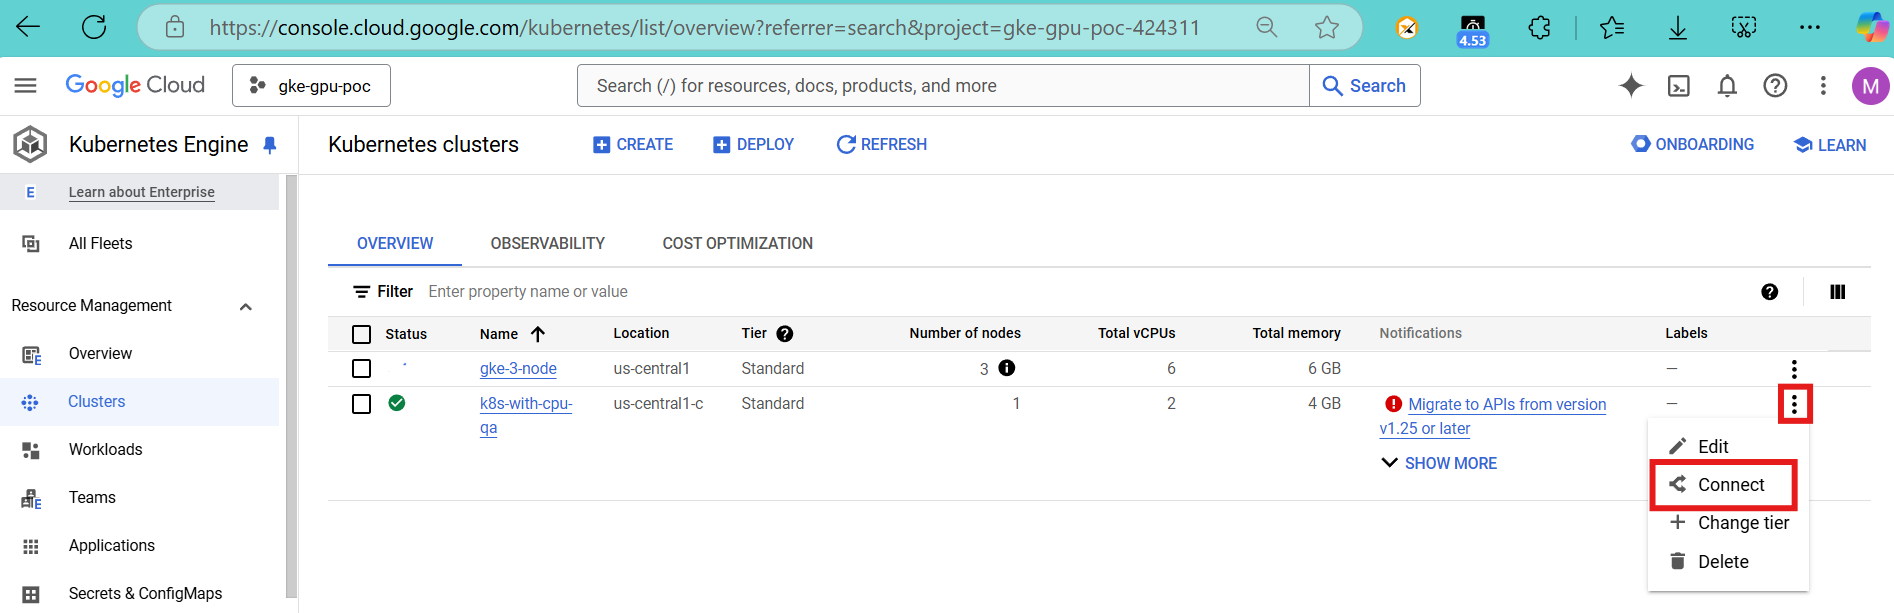
Navigate to k8s service -> Clusters
-
Click on Actions
-
Click on Connect
-
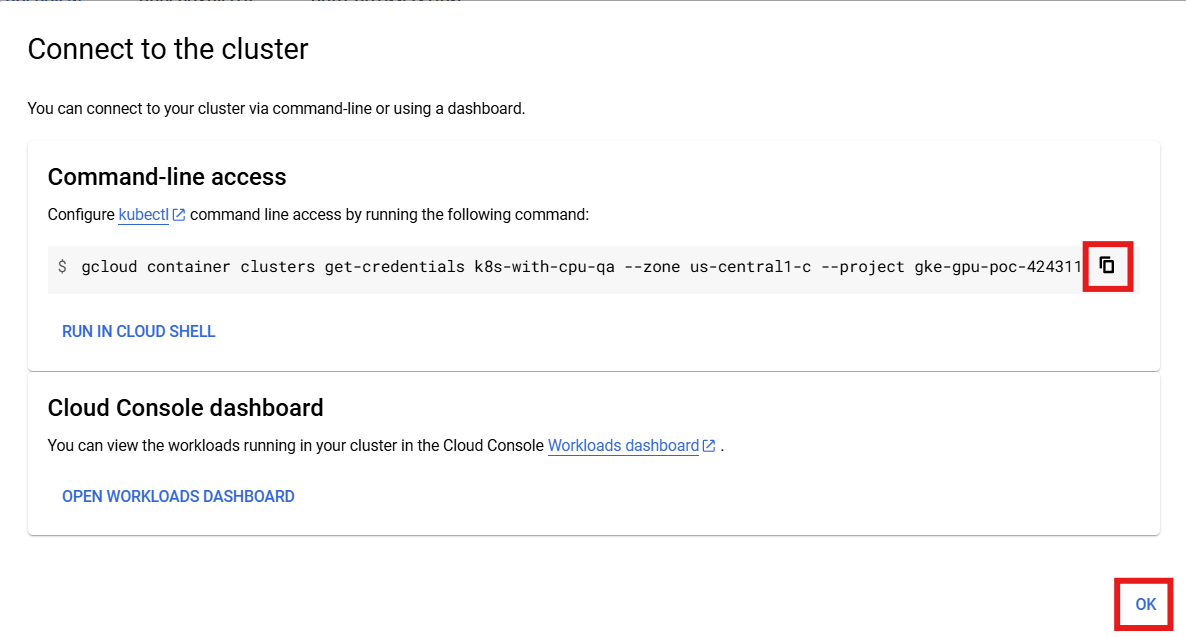
Copy command line access
-
Click on OK
-
Activate Cloud Shell
-
Paste the copied command line access in terminal

-
Press Enter
-
If the Kubectl and helm are not installed in the cluster then follow the below steps
-
Steps to install kubectl
$install via cloud gcloud components install kubectl #via brew brew install kubectl -
Steps to install helm
brew install helm
-
Step-2: Onboard the cluster in Mavvrik
-
Login to Mavvrik Portal
-
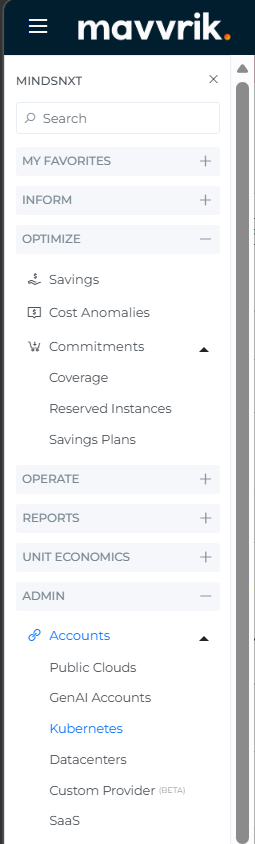
Click on Menu
-
In Admin section, Click on Accounts
-
Click on Kubernetes
-
Tap on GKE
-
Click on GKE Cluster connect button
-
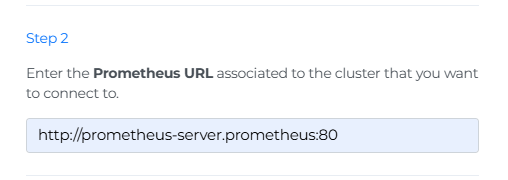
Enter your Prometheus URL .
Steps to get Prometheus URL
-
Capture the Prometheus URL associated with the K8s cluster:
a. Enter the following URL in Mavvrik UI
http://<prometheus-server-name>.<namespace>:<prometheus-internal-port>
b. To find the Prometheus service, run the following command in Kubernetes shell
kubectl get svc -n prometheus

-
In URL Replace
prometheus-server-name,namespace&prometheus-internal-portwith your data -
The following screenshot shows an example of a URL
-
Paste the copied script in Cloud Shell and enter
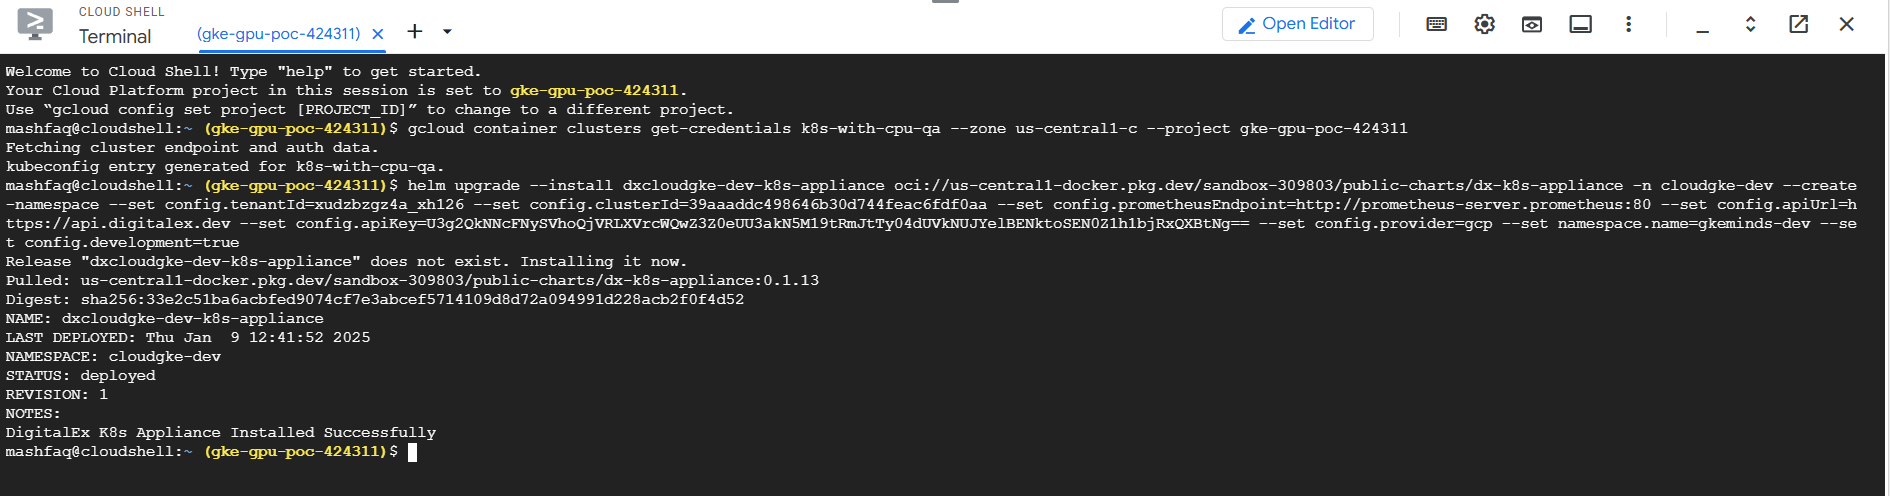
-
Click on the Connect button in Mavvrik.
-
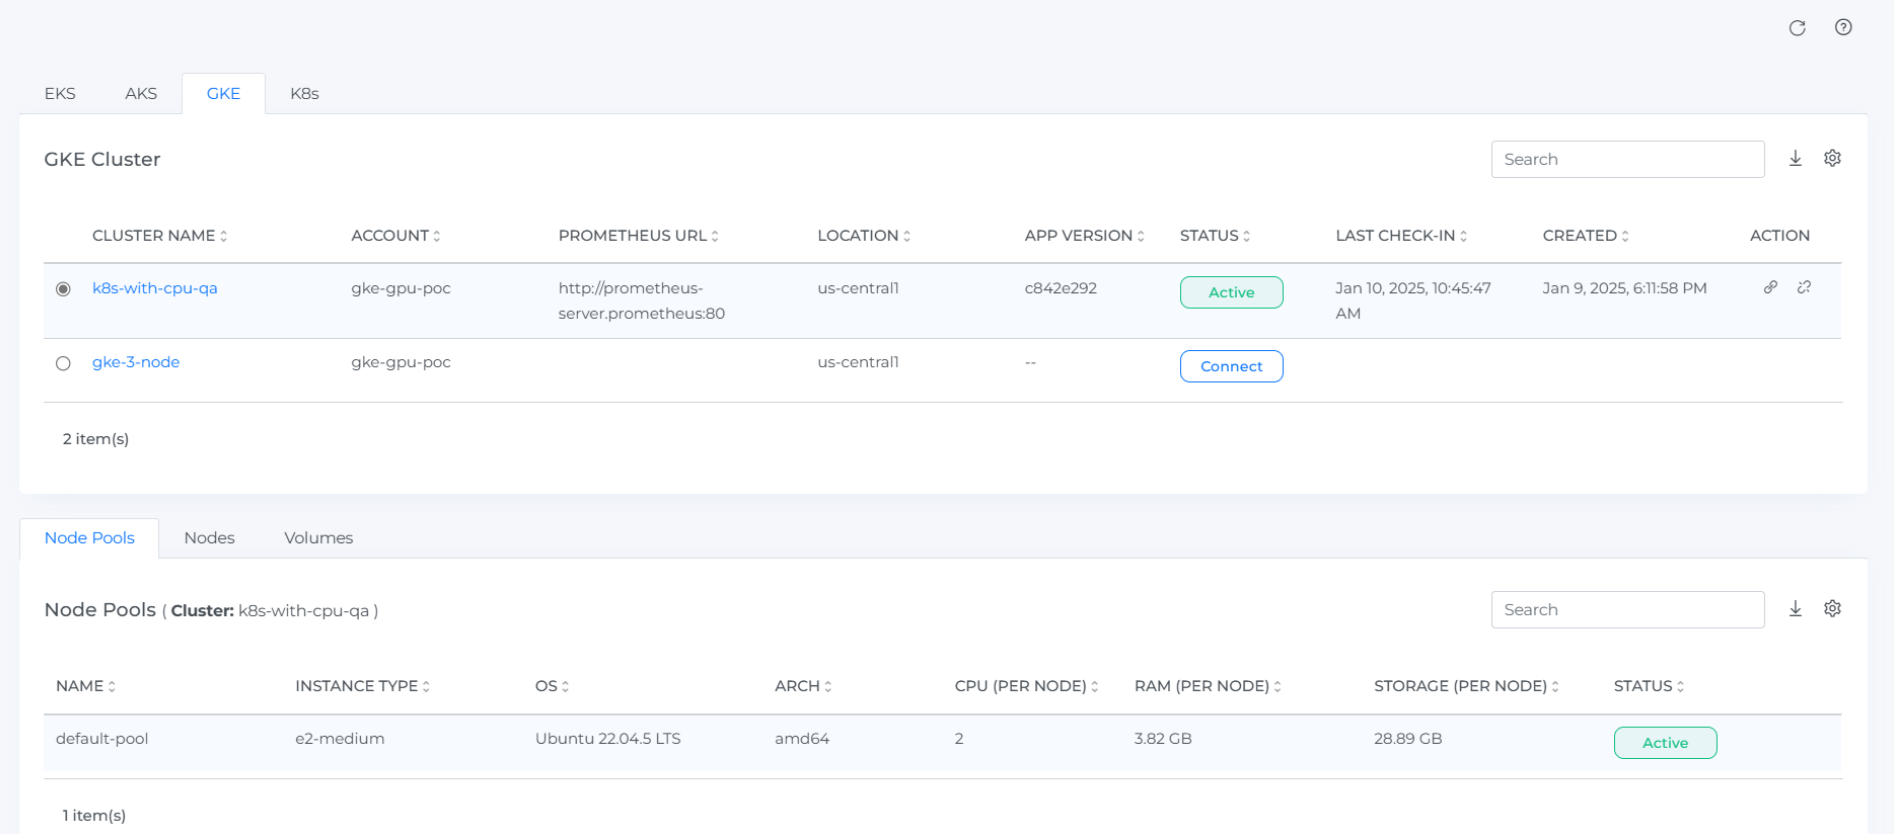
The onboarded GKE Cluster will be displayed, and the status will be ACTIVE.
Direct Cluster Navigation
There is a clickable link on the cluster names. This allows to seamlessly navigate to detailed cost insights for each cluster directly from the Kubernetes Admin page.
Instructions to Enable GKE Cost Allocation (Allocation based)
To enable cost allocation following the steps:
Using UI:
-
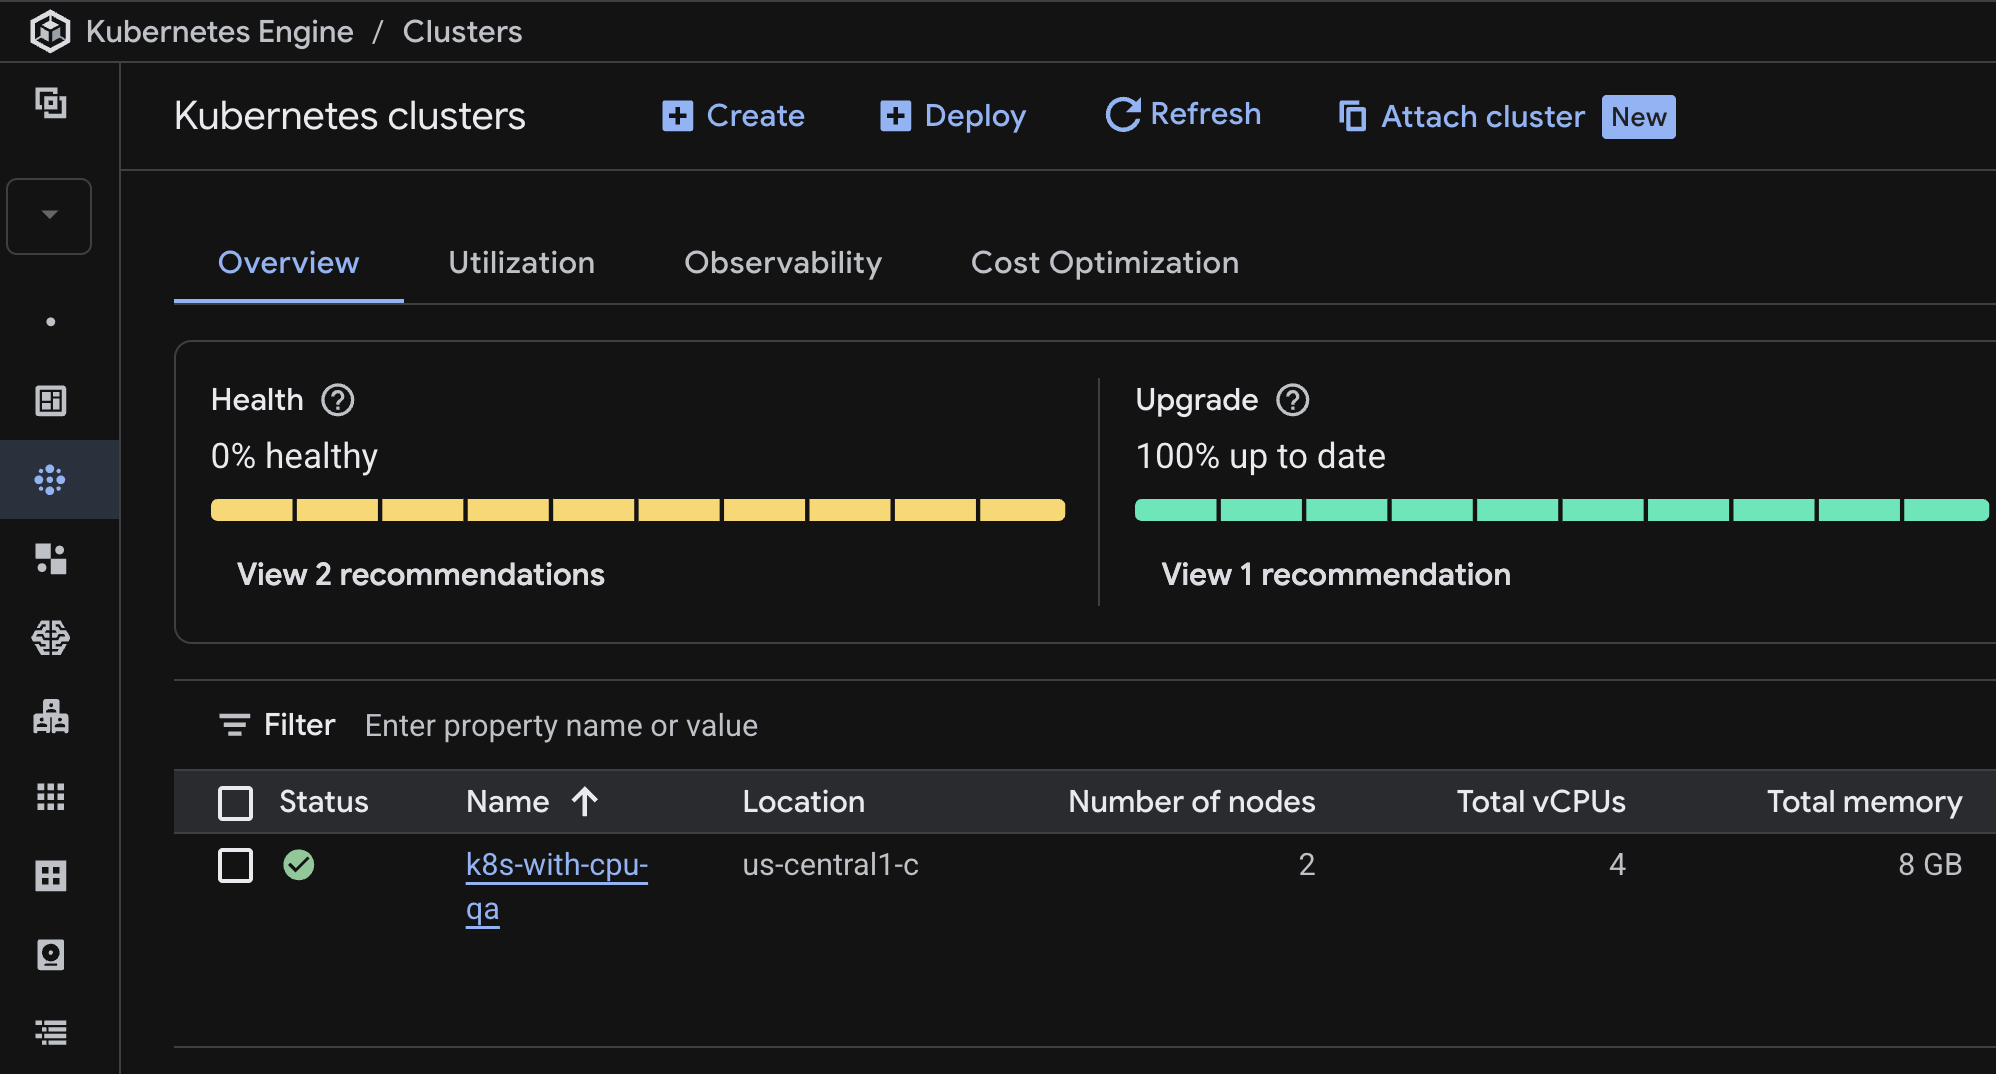
Go to Kubernetes Clusters
-
Select the Cluster for which you want to enable cost allocation
-
Click on Edit
-
Find the Cost Allocation option and click on Edit if its disabled,
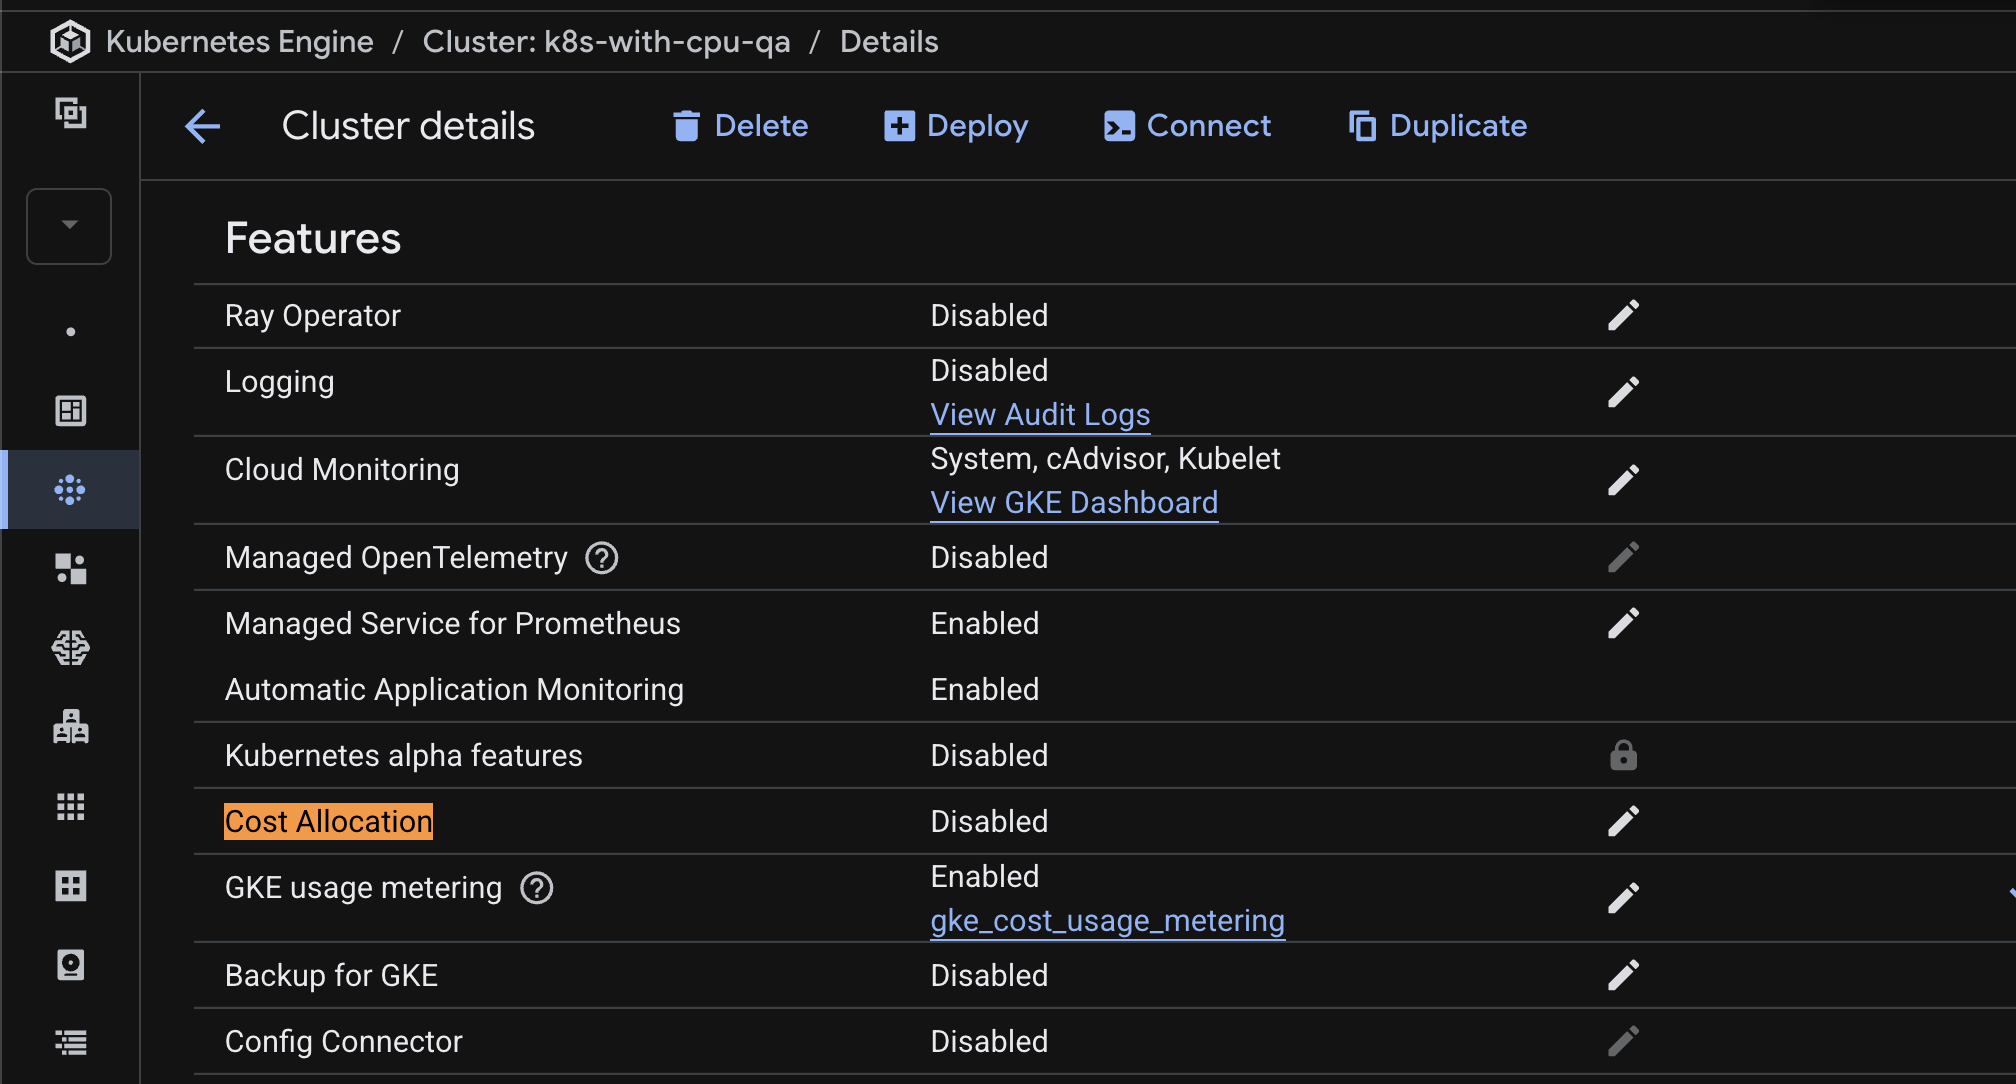
-
Select enable cost allocation option
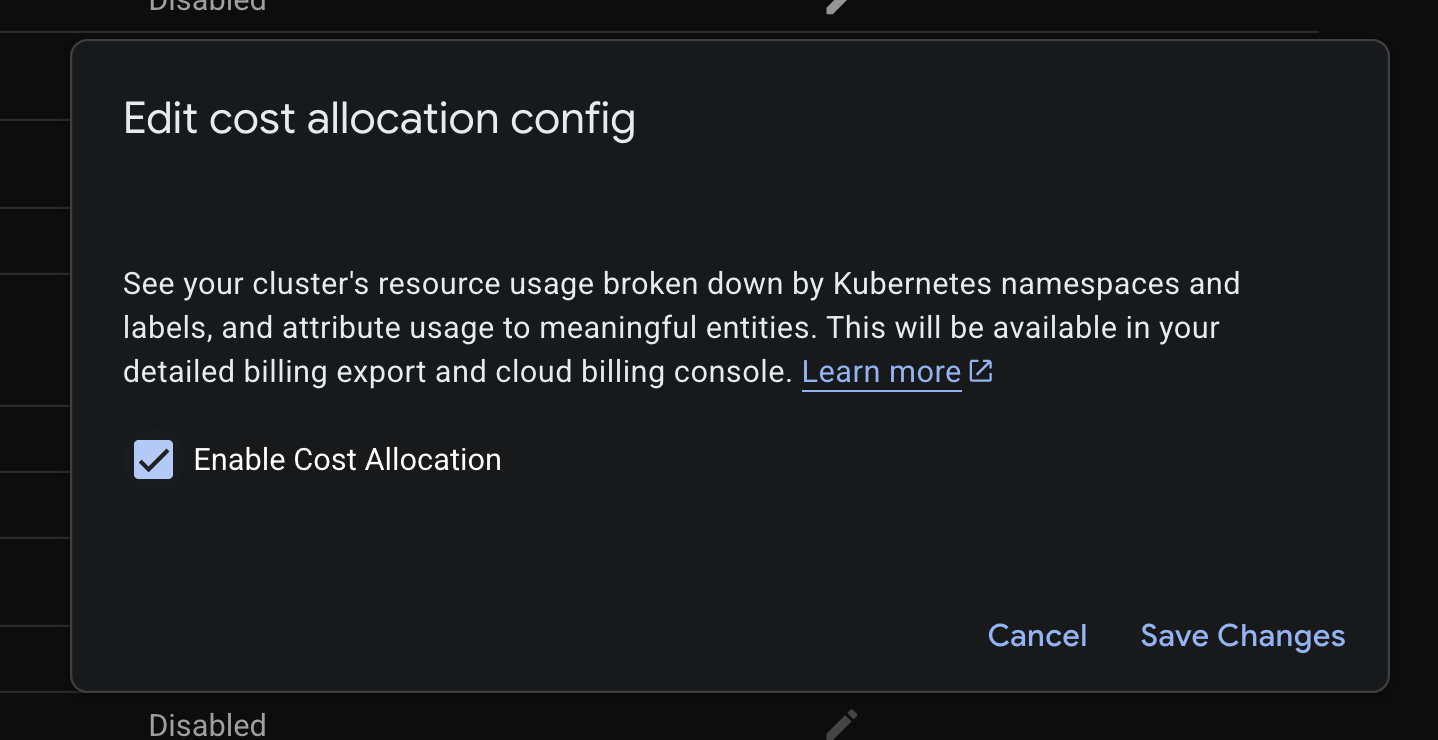
-
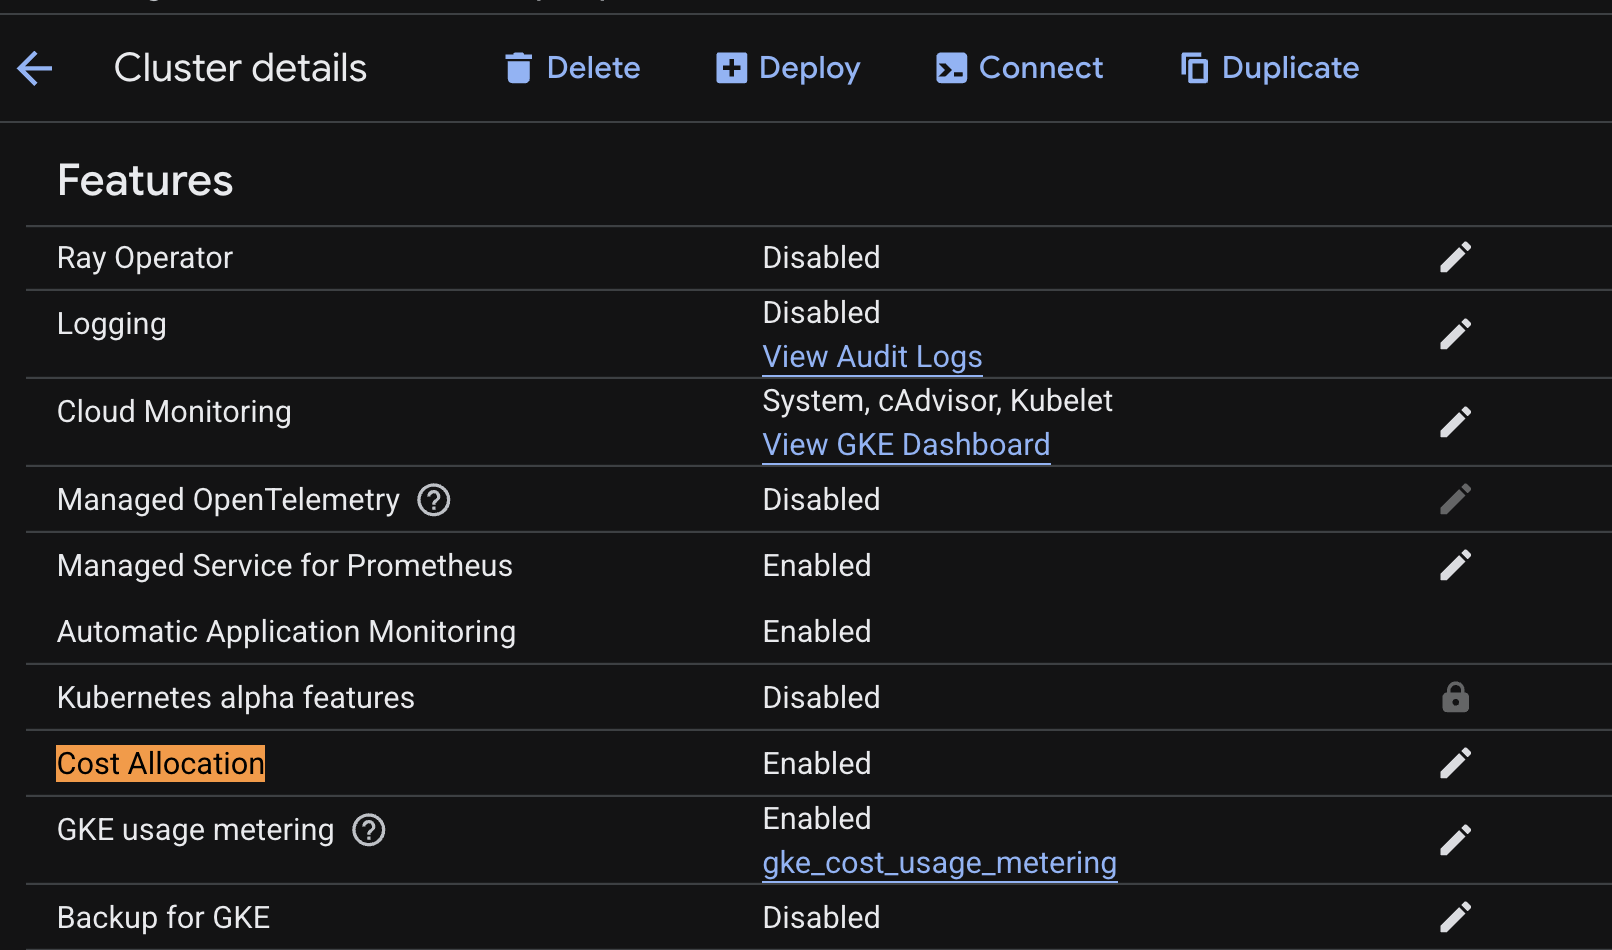
Once done you should see Cost Allocation enabled.
Using CLI
-
Enable cost allocation at cluster level using gcloud command
-
gcloud container clusters update CLUSTER_NAME \
    --enable-cost-allocation
-
-
Verify is cost allocation enabled successfully on the cluster:
-
gcloud container clusters describe CLUSTER_NAMEThe output is similar to the following:
-
...
costManagementConfig:
  enabled: true
...
-
In this output, costManagementConfig indicates that GKE cost allocation is enabled.
Steps to onboard the GKE cluster(Auto-discover and connect based)
To enable the cost allocation on GKE cluster follow the above setup i.e. https://help.mavvrik.ai/content/gke-google-kubernetes-engine-onboarding#GKE-GoogleKubernetesEngineonboarding-InstructionstoEnableGKECostAllocation(Allocationbased)
Step-2: Enable the discovery and connect cluster in Mavvrik
-
Login to Mavvrik Portal
-
Click on Menu
-
In Admin section, Click on Accounts
-
Click on Kubernetes
-
Tap on GKE
-
Click on the setting icon
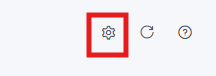
-
then enable the GKE cluster
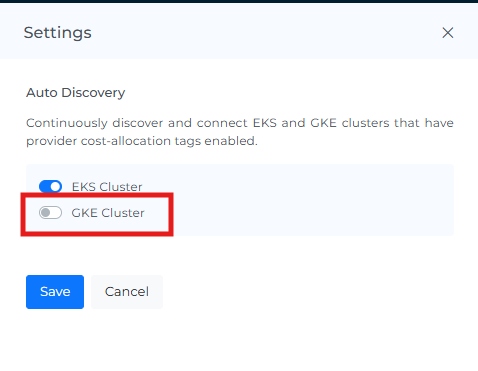
After enabling the cost allocation tags, wait for 24 hours for the cluster to be automatically onboarded