.png)
Note: Mavvrik does not support IDP-initiated flow for single sign-on (SSO). In order to use SSO with Mavvrik, you will need to initiate the SSO process from Mavvrik
Here are the steps to create a SAML app in aws:
-
Log in to AWS Admin Console.
-
Go to IAM Identity Center and Enable SSO if its not.
-
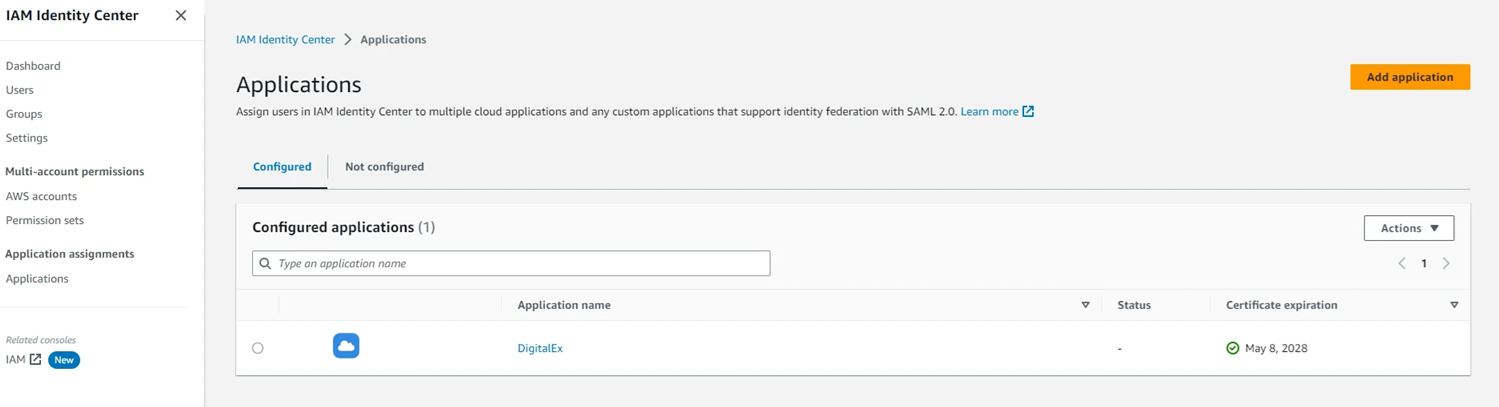
Click on Applications > Add Application
-
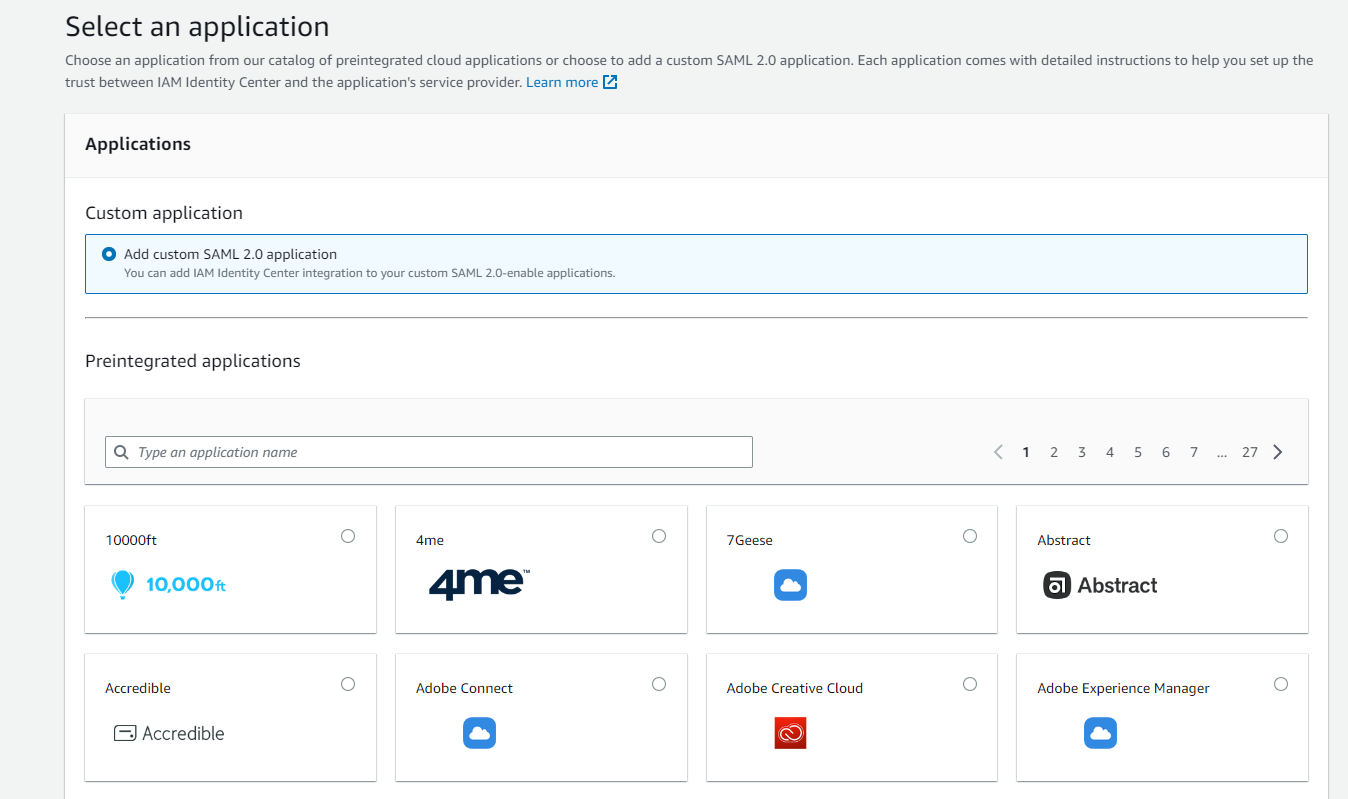
Select Add custom SAML 2.0 application and click Next (bottom of the screen)
-
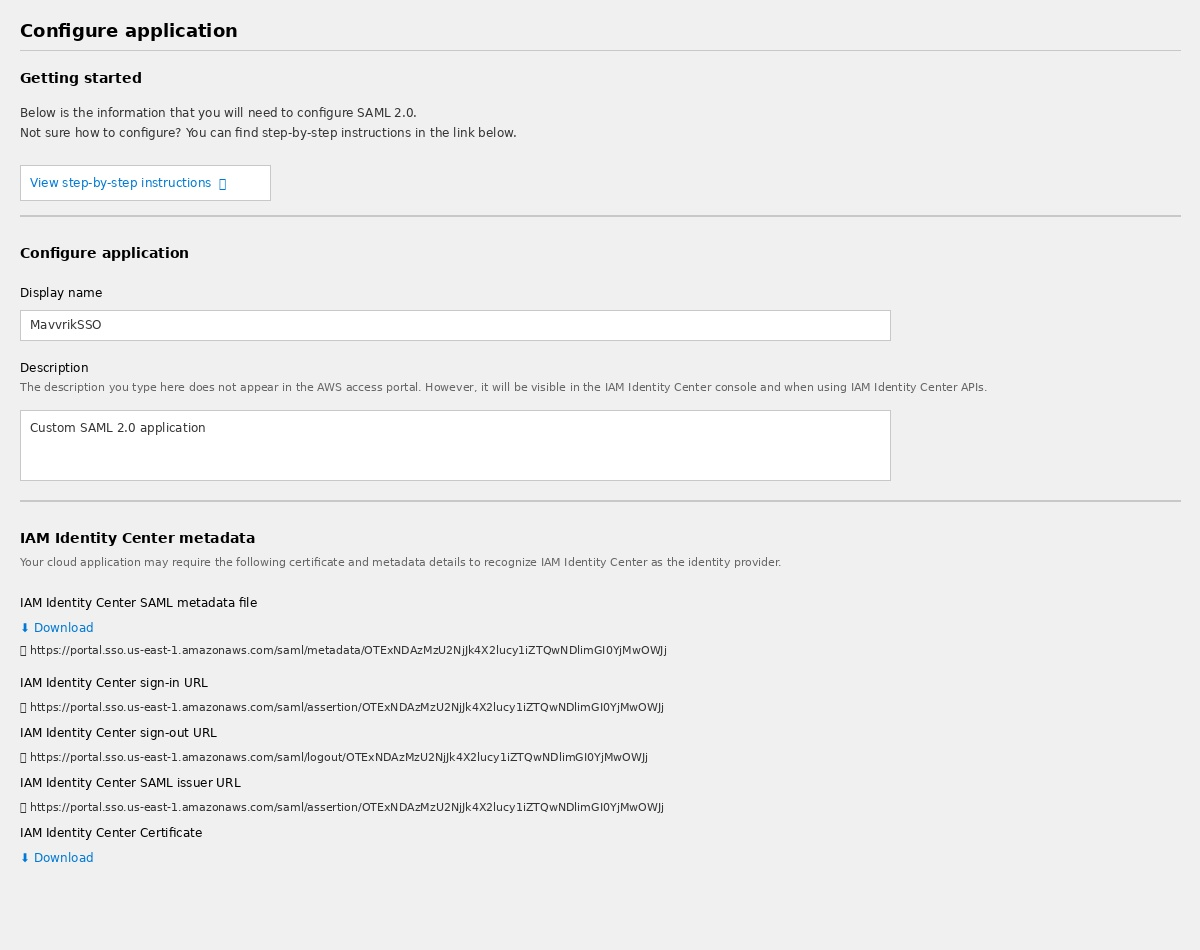
Under Configure Application , Enter App name of your choice
-
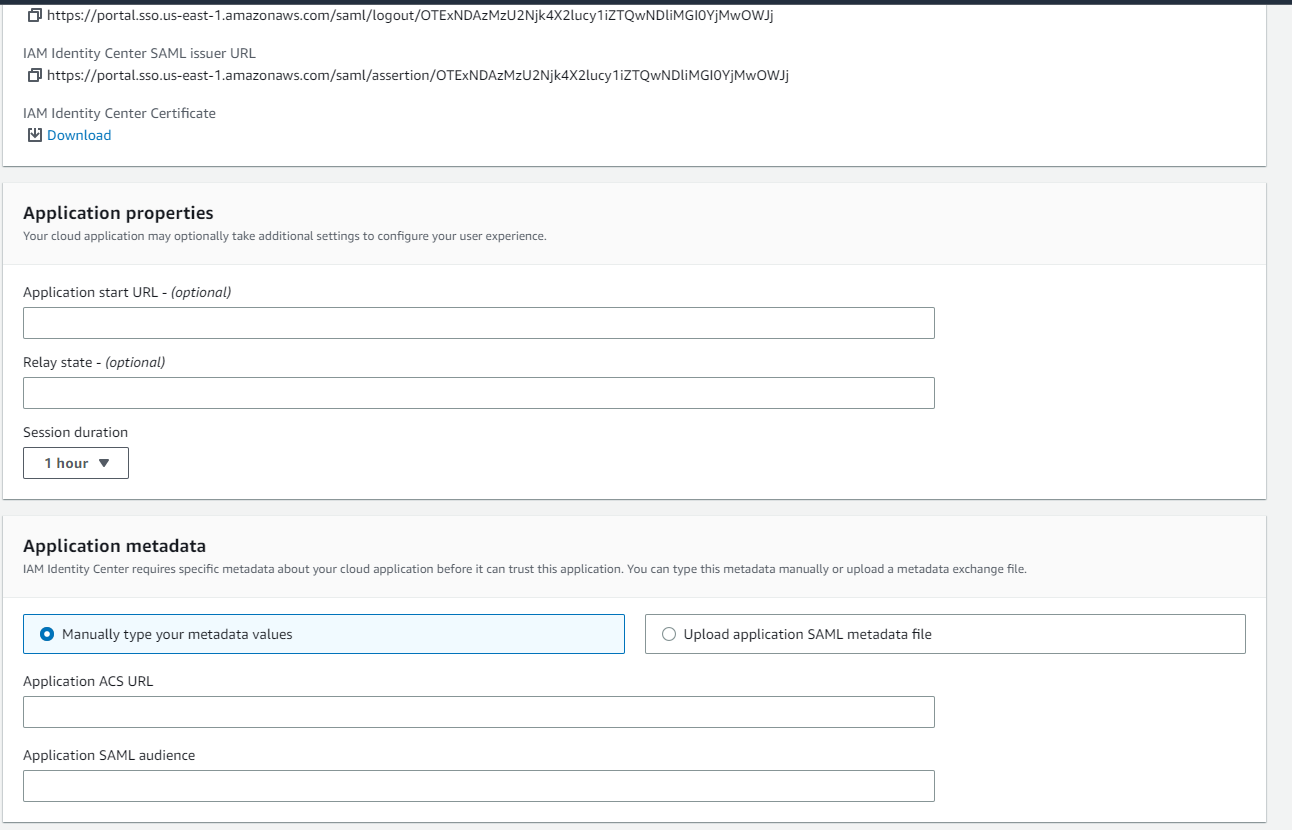
Copy IAM Identity Center sign-in URL & IAM Identity Center SAML issuer URL and paste it in any editor which shall be used in next steps
-
Download IAM Identity Center Certificate
-
Enter the Application ACS URL (SP ACS URL) that you have copied from the Mavvrik Application in Step 1
-
Enter Application SAML audience(SP Entity ID) which you have copied from the Mavvrik Application in Step-1.
-
Click Submit
-
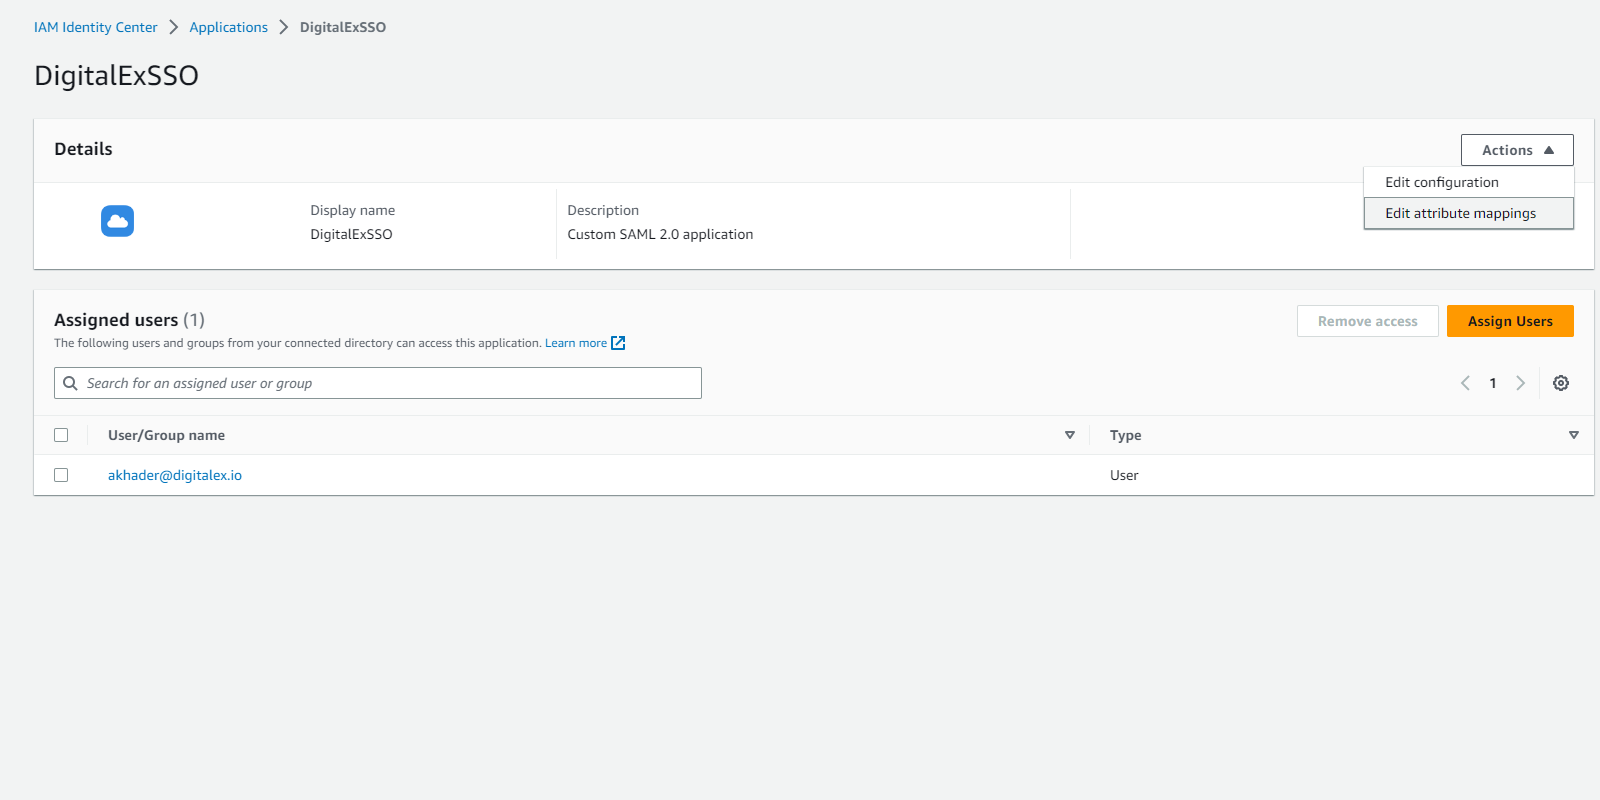
After submitting page is navigated to Assign users page where you have to assign the users
-
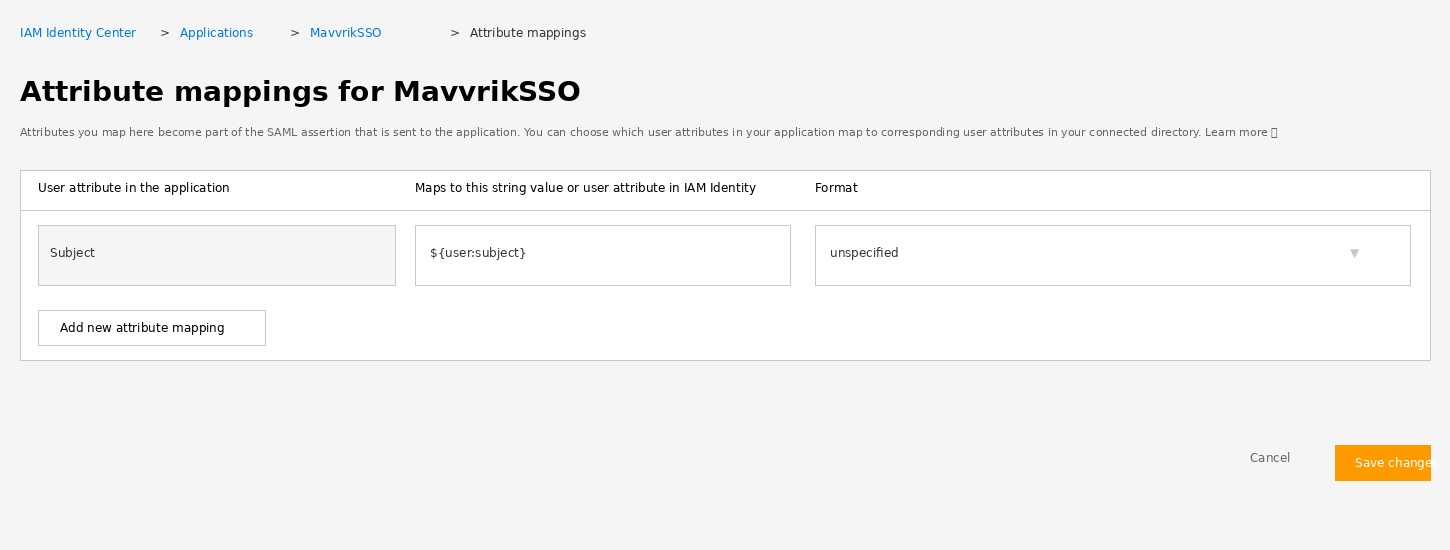
After users are assigned Click on Edit attribute mappings under Actions
-
Enter attributes as shown in below image and click save