.png)
Segment-level cost allocation focuses on distributing costs within distinct segments or divisions of a company. These segments can be based on various criteria such as product lines, geographical regions, departments, or business units. The goal is to gain a granular understanding of the financial dynamics within each segment to support internal decision-making and operational efficiency.
Why this matters: think of a business/root-level allocation like a building's single electricity meter. Knowing the building used $10,000 of power this month tells you the total, but not which floor left the lights on, which department ran the servers overnight, or which team's equipment spiked overnight. Segments are how you break that one meter reading into the sub-meters you actually need — first by floor (Business Unit), then by department (Application), then by desk cluster (Environment or Team) — so when the bill moves, you know exactly where to look.
This shows up differently depending on your role:
-
FinOps managers use segments to produce accurate showback/chargeback reports for each product line or team every month, without manually re-splitting a spreadsheet by hand.
-
Finance leaders use segments to drill from "Engineering spent $50K" down to the specific environment or team behind an unexpected increase, instead of asking engineering to investigate manually.
-
Engineering and DevOps teams use segments to see, within their own business unit, which environment (dev/staging/production) or team is driving cost, so budgets and optimization work can be targeted instead of guessed at.
Before you start: you'll need an existing business/root-level cost allocation to attach segments to, and an Owner or Editor role to create or manage them.
Cost Allocation Segments allow users to break down a business/root allocation into more detailed levels.
Mavvrik supports up to three segment levels.
Example:
Business Unit
  → Application
      → Environment
          → Team
Segment Creation Methods
Segments may be created using different methods depending on the allocation requirement.
|
Method |
Description |
|---|---|
|
Manual Entry |
Manually add a segment and define its cost or allocation details. |
|
Group Manual |
Manually group selected values into a segment. |
|
Group Auto-Discover |
Automatically discover and group segment values based on selected criteria. |
|
Custom |
Define custom filter conditions for the segment. |
Negative Manual Entries
Some segment workflows may allow negative manual entries to reduce or offset costs from the parent allocation.
Use negative manual entries only when there is a valid adjustment or correction requirement.
The negative value reduces the applicable parent or segment cost based on the configured allocation logic.
Data Source Behavior for Segments
Available segment dimensions and filters may vary depending on the selected data source.
Steps to create cost allocation at the multiple segment levels
Currently, you can create up to three segments. At the third segment level, the option to create using Manual and Autodiscover will not be available.
-
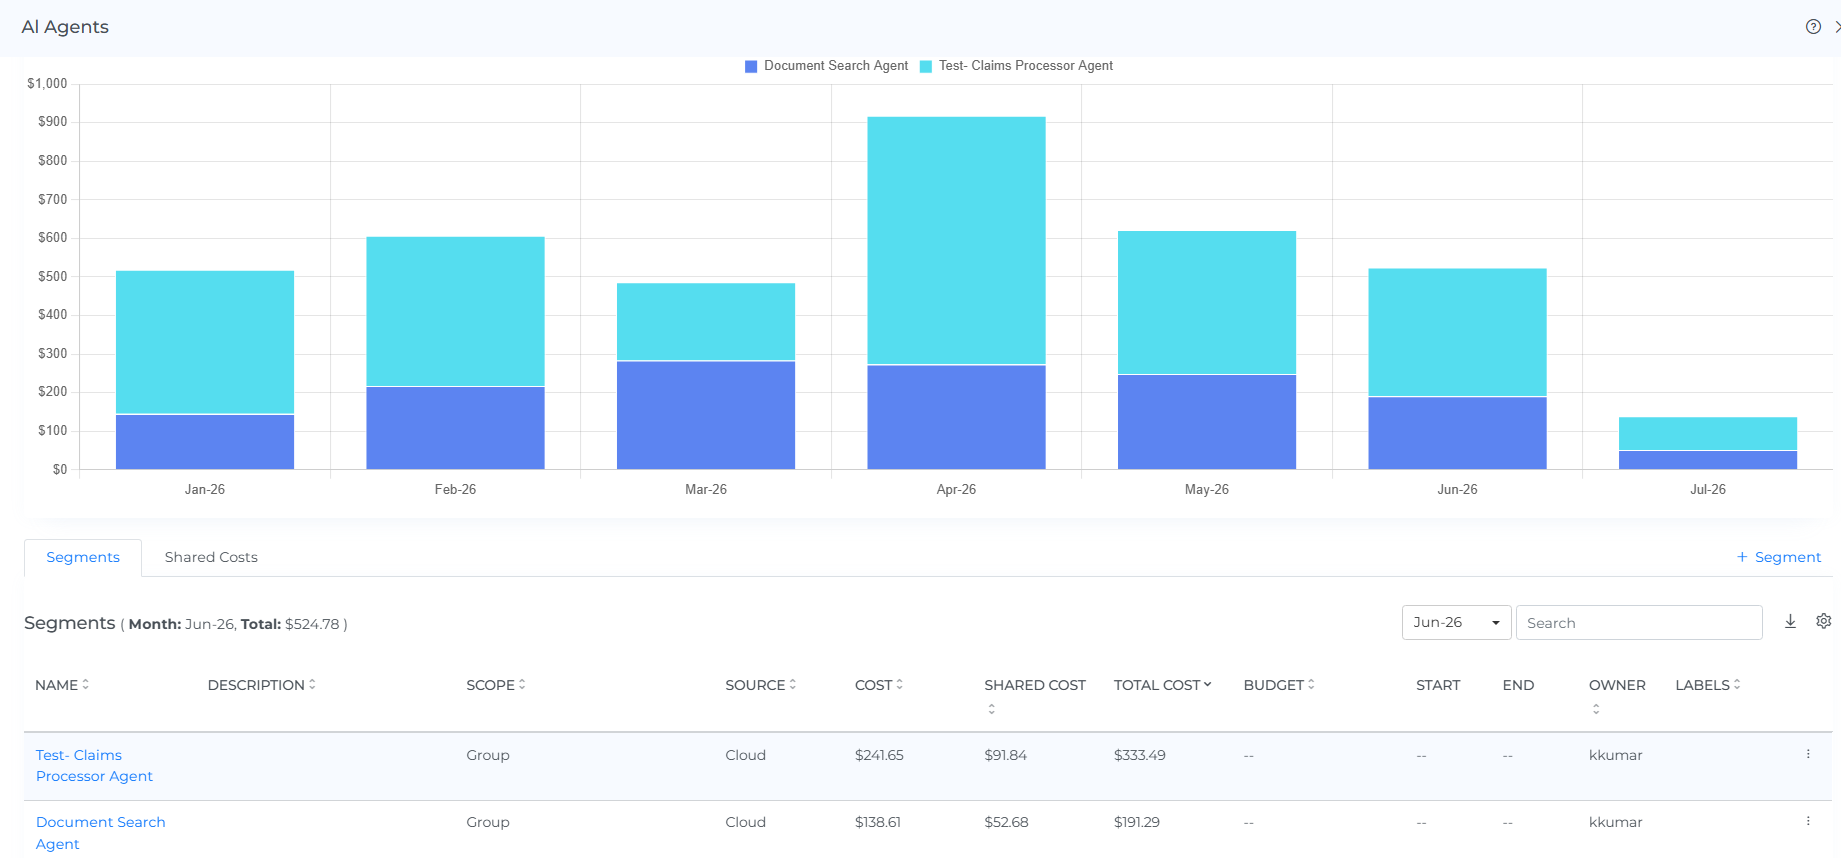
Click on cost allocation you wish to create the segments. On clicking the cost allocation you will see the below screen and Click on the +segment link
-
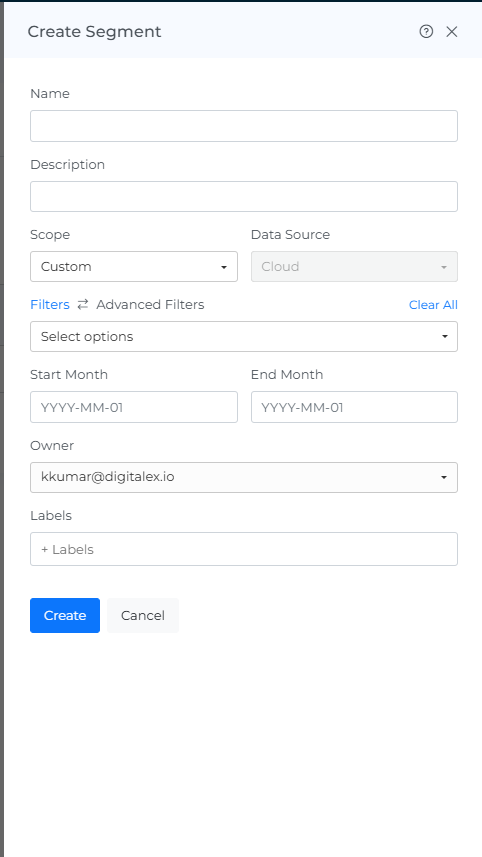
Enter name & description
-
Select scope like custom/manual entry/group manual/ group auto-discover
-
Custom: If you select custom, then you can choose the filter of your choice
-
Manual Entry: If you select manual entry, then you can input the cost or percentage i.e. what amount of cost you want to allocate to a particular segment, and for the percentage you need to enter the amount of percentage you wish to inherit from the business/root allocation
-
Manual: If you select group manual, then you can create the allocation of your choice in the unit level
-
Auto Discover: If you select group auto discover, then all the allocations related to the filter applied will be auto-discovered
-
When you select the scope as Auto Discover and the data source as Cloud, you will have the option to choose Resource Group, which is specific to all Azure accounts, and Customer, which is specific to Azure MPA accounts and GCP Reseller Account
-
Enter the start date and end date i.e. from which month you want to start the segment and until which month you want to see the segment ( note : the start date and end date should fall under the root cost allocation )
-
Select the owner of the segments
-
You can create the labels for each segment
-
Click on create
-
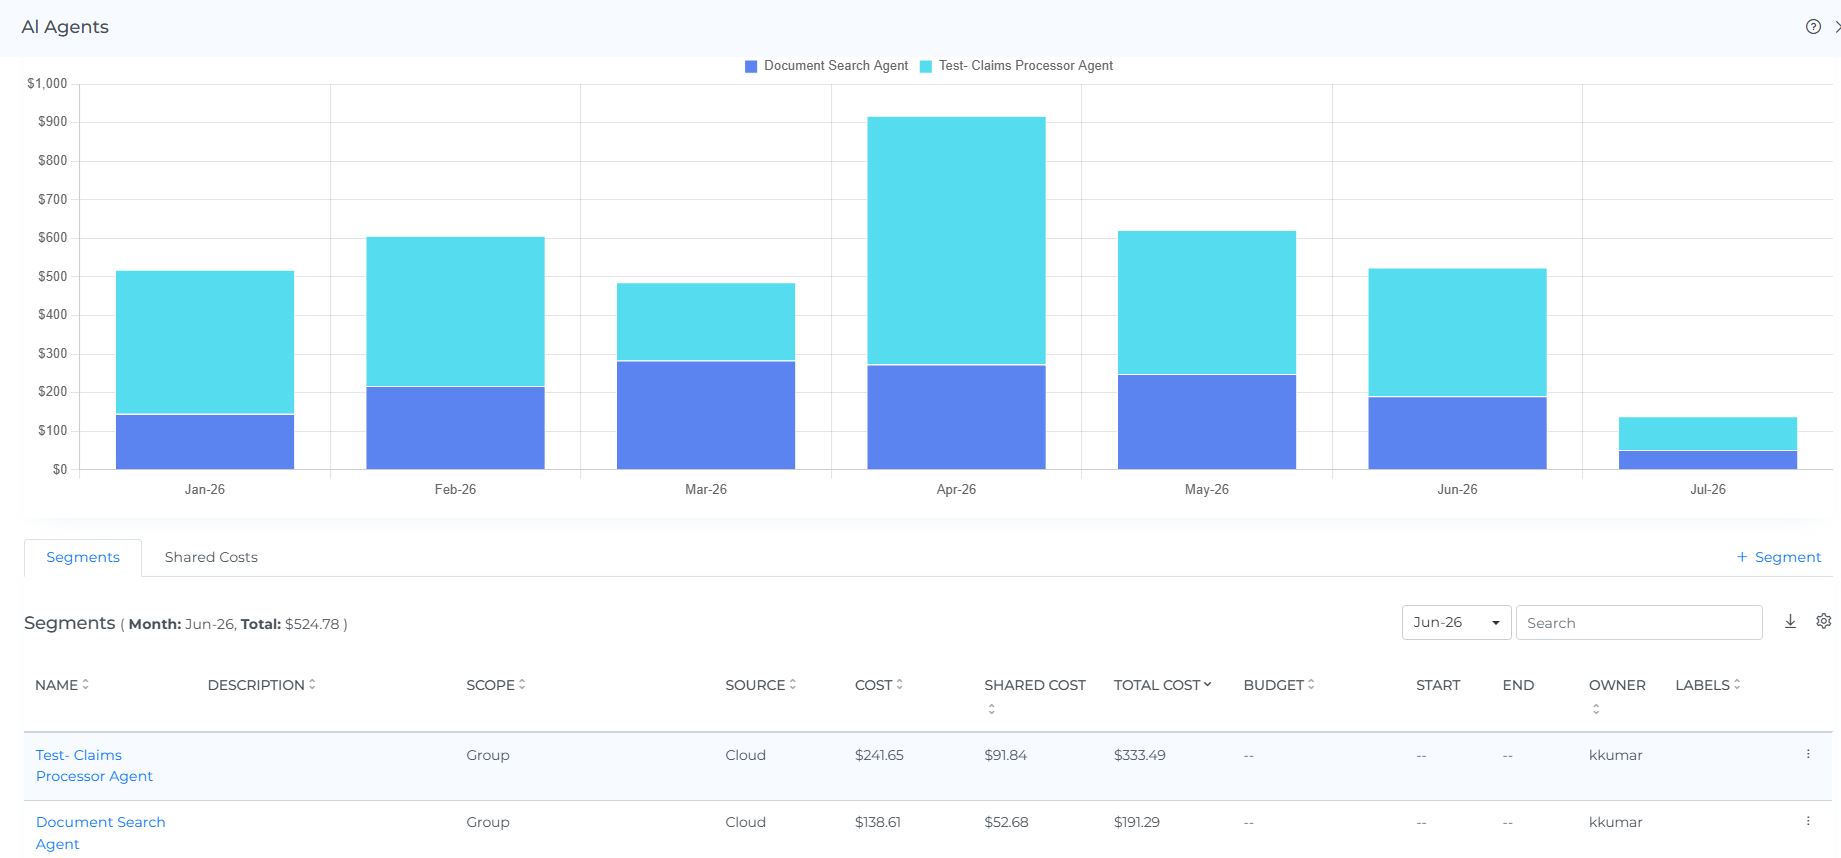
The segment is created and displayed as shown below
Expired Segments
Cost Allocations feature in Mavvrik has an "Expired" capability, giving you full control to edit the expired segments and reuse them if required by changing the segment dates.
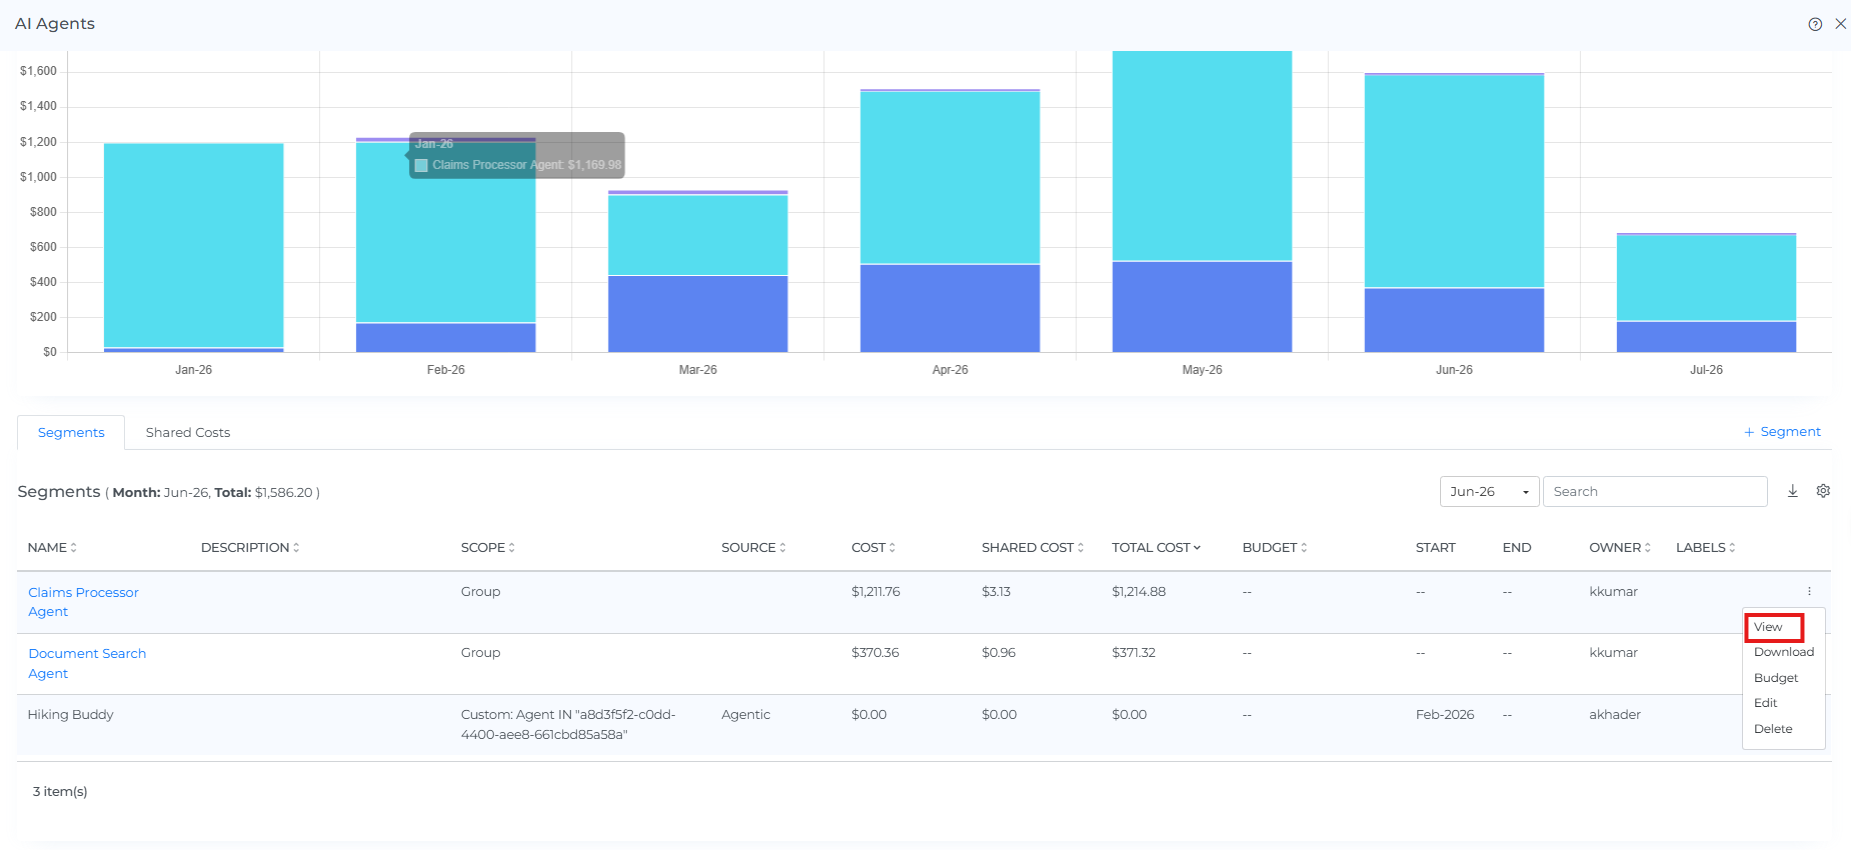
Row actions: View, Download, Edit, Delete
Each segment in the list has a row of actions available via icons — view, download, edit, and delete.
View
-
Click on preview option of allocated and unallocated segments. Clicking on unallocated preview allows customers to dive deeper into the costs and resources contributing to unallocated spend. This feature helps address anomalous and unattributed spend within defined scopes
-
Preview will be displayed as shown below.
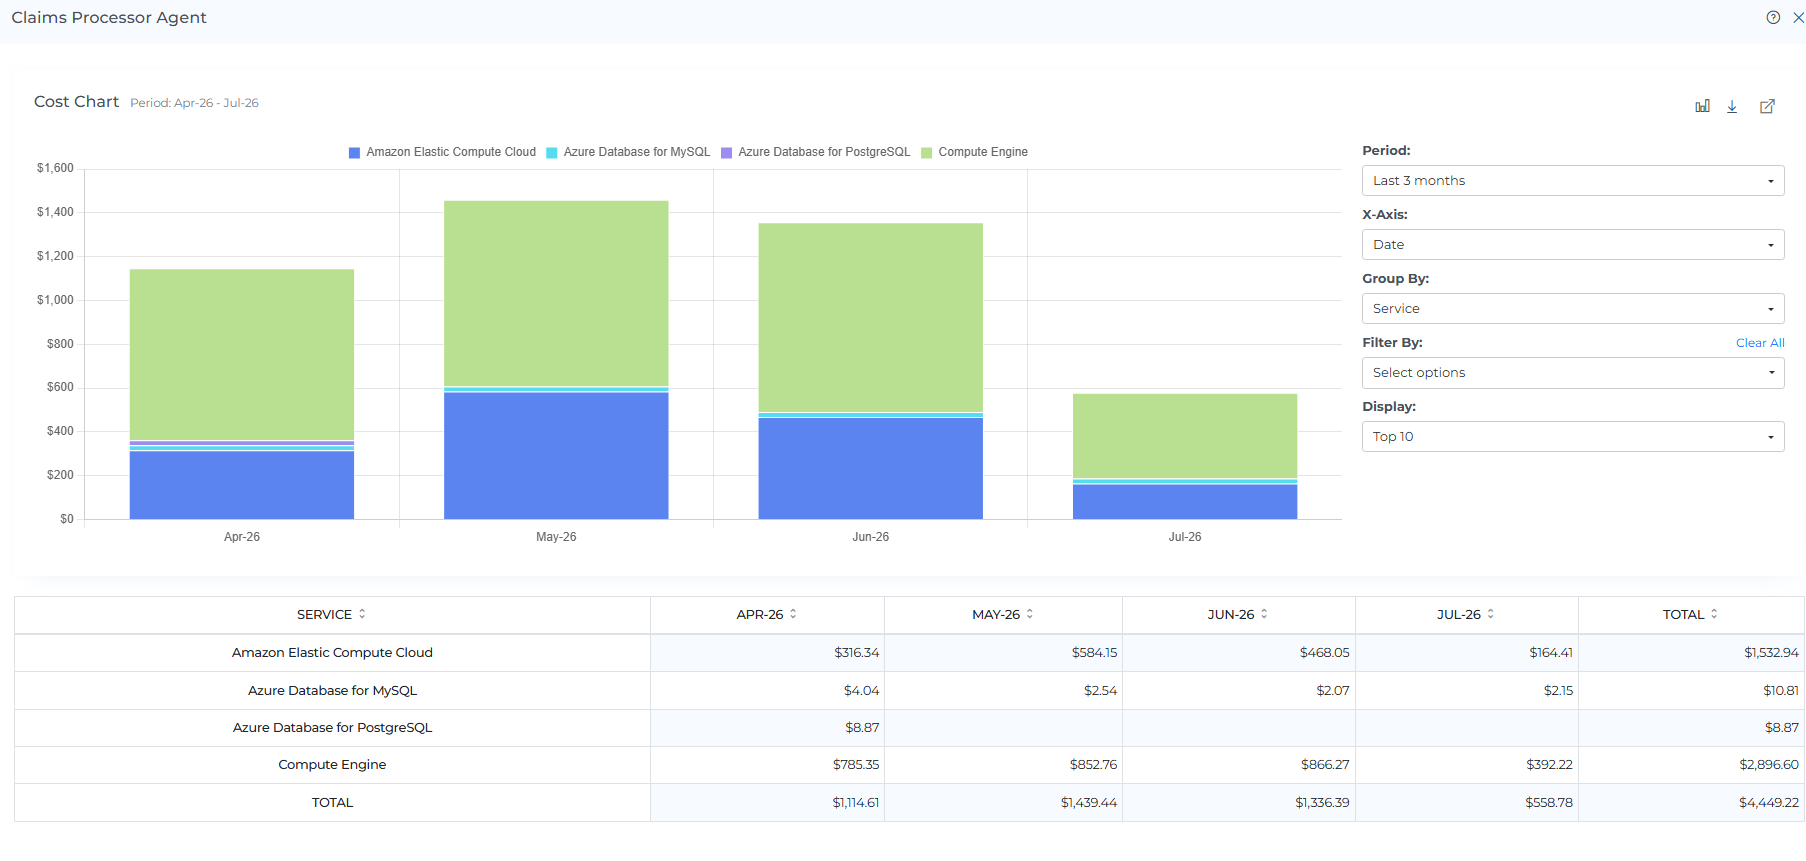
From this preview panel's toolbar, you can also: change the chart type, download the underlying chart data as a file, expand the chart to full screen, or open the same view in a separate dashboard.
-
To view in a separate dashboard, click on the view icon at the last
Download
-
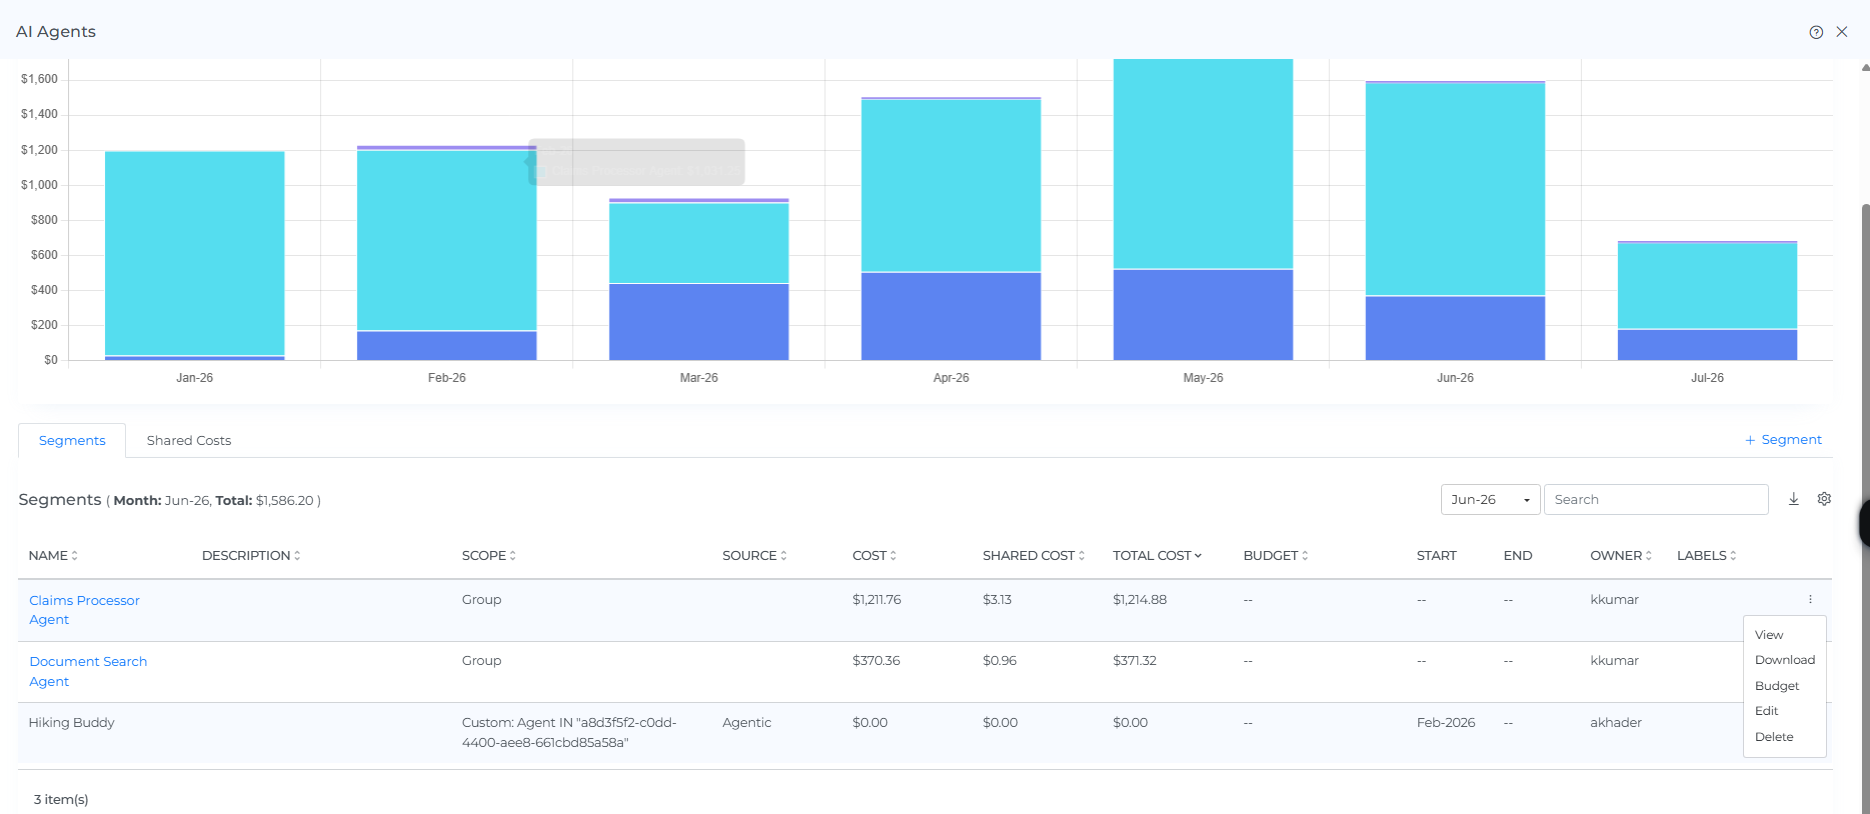
Click on the download option
-
On clicking the download icon the details of the segments will be downloaded in CSV file
Edit
You can only edit the name, description and owner for the existing segments
-
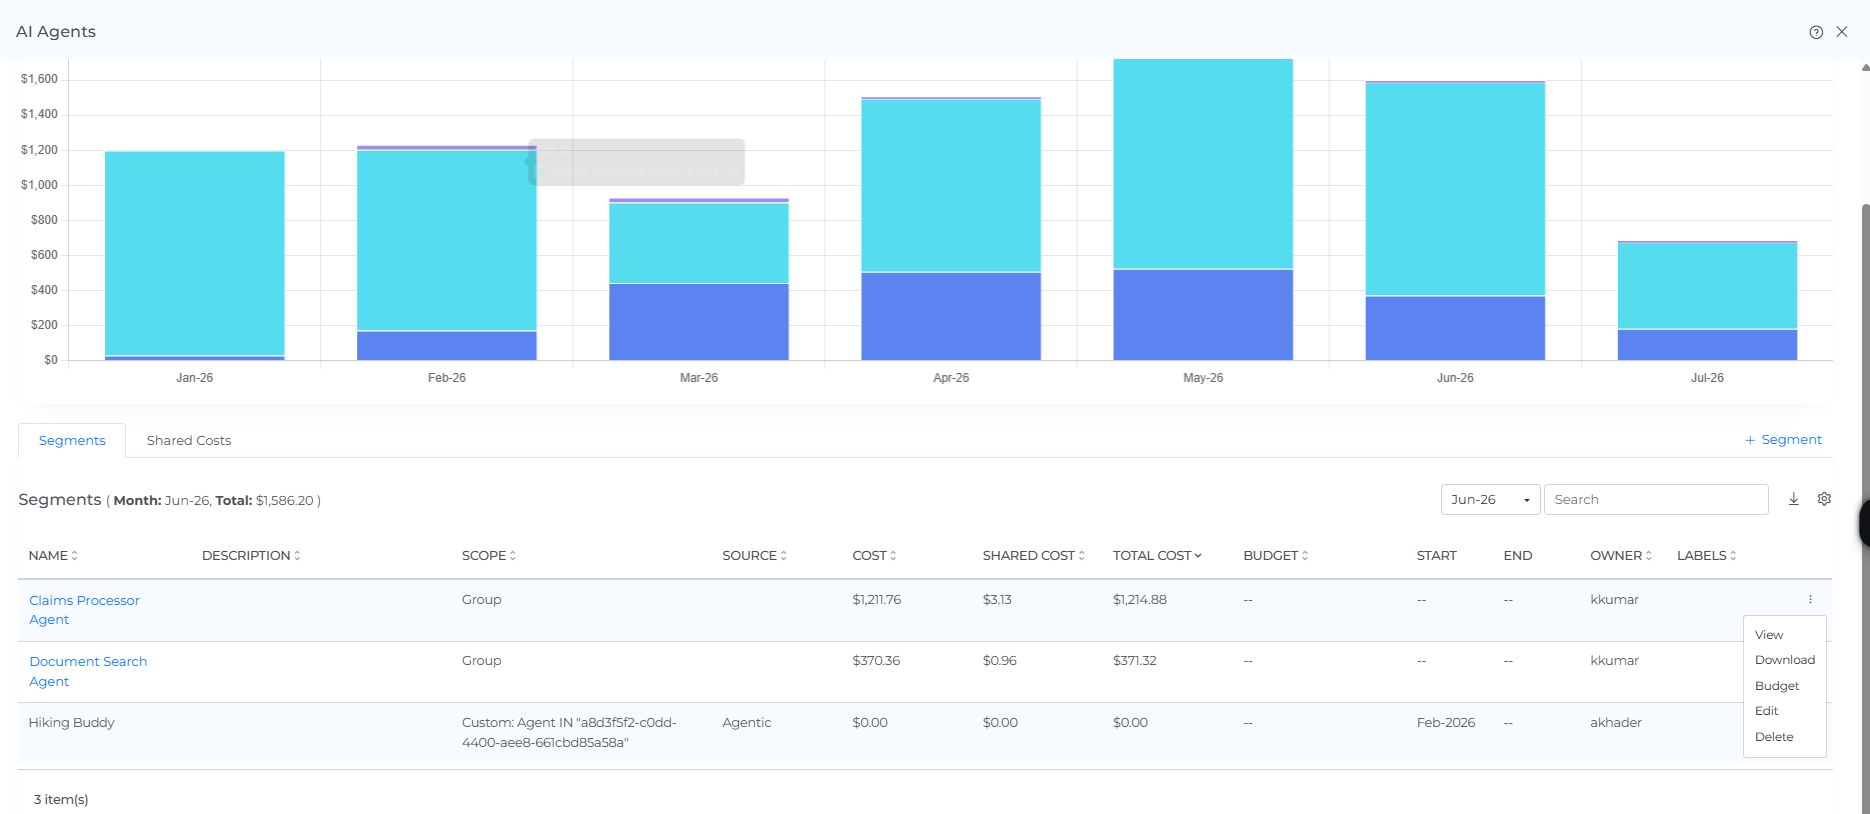
Click on the edit option
-
Edit the fields you wish to and click on update
Updating the cost allocation at each level, particularly its scope, may cause unintended effects on its downstream segments and shared costs.
Delete
-
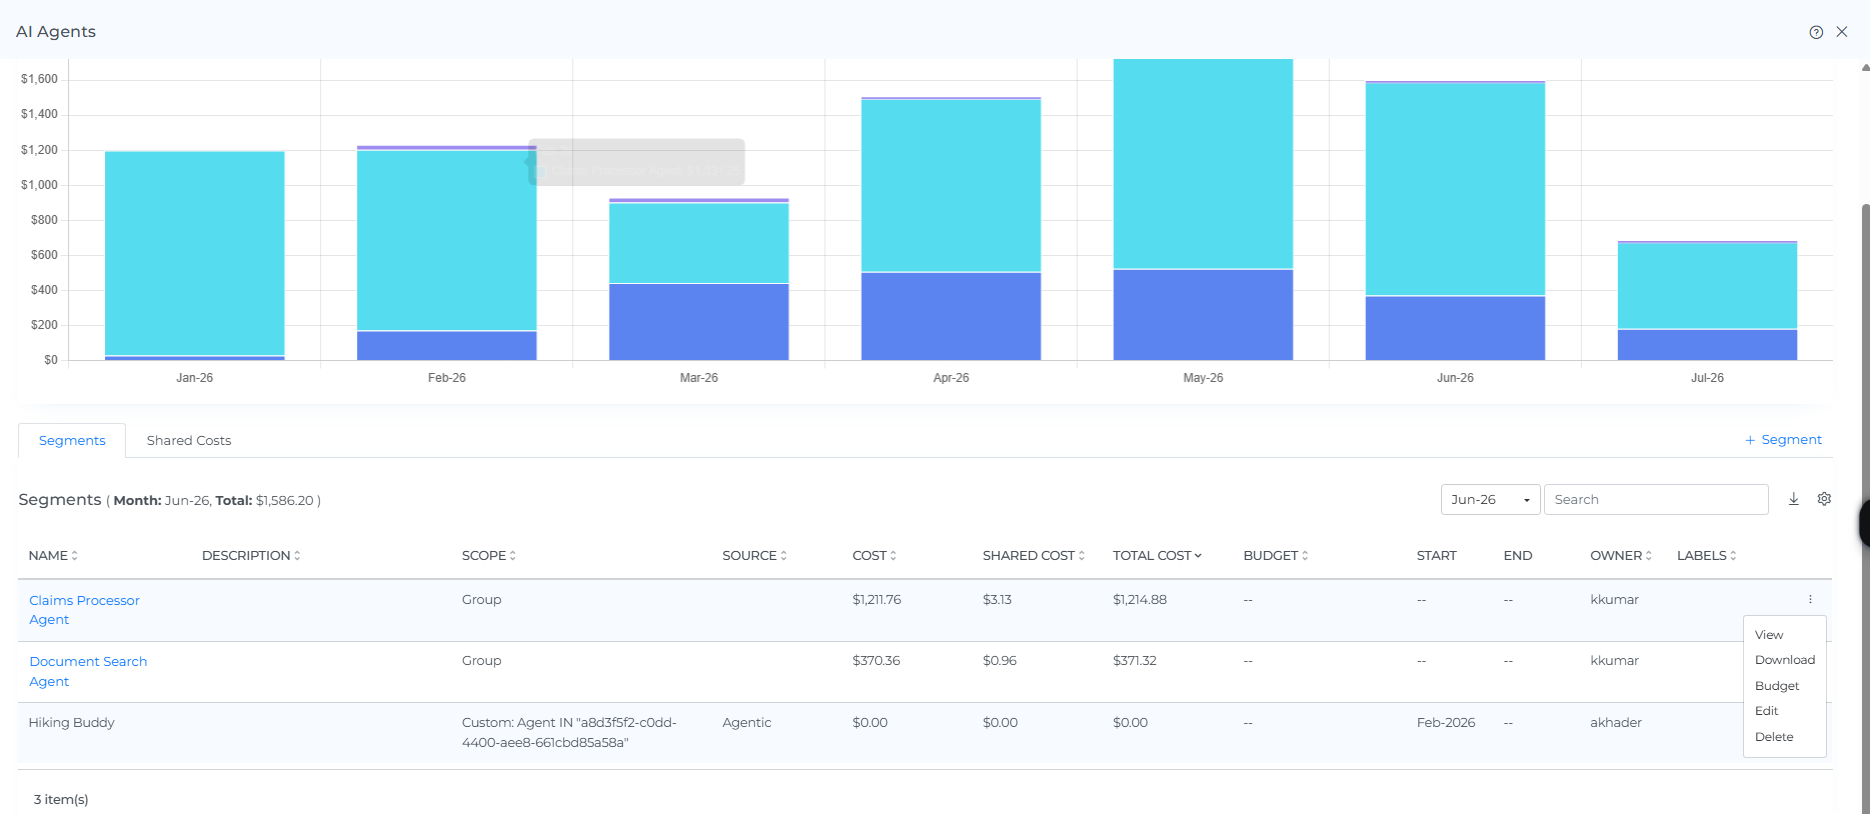
Click on the delete option
-
On Clicking the delete option the segments will be deleted
For budgets at the segment level, use the Budget action the same way as described on the Cost Allocations Business page (see "Row actions: View, Download, Budget, Edit, Delete").