.png)
Mavvrik integrates with Azure DevOps to automate ticket creation, updates, and task tracking for cloud, cost, and operational workflows. The integration connects through a registered Azure application, leveraging service principal authentication for secure access. Once connected, user can create and update work items in Azure DevOps projects through webhooks, allowing you to route recommendations and alerts directly into your DevOps processes for efficient tracking and resolution.
Below are the steps to integrate Azure DevOps with Mavvrik
Step 1: Create Enterprise Application
-
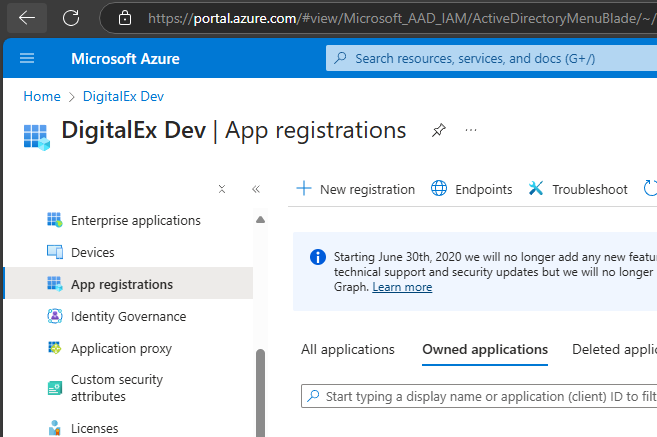
Login to Azure console > Go to App Registration → New Registration
-
Enter the App name → Click Register

-
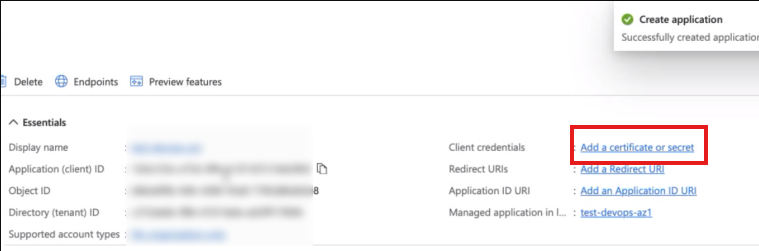
Copy the Client id, Tenant id & click on Add a certificate or secret
-
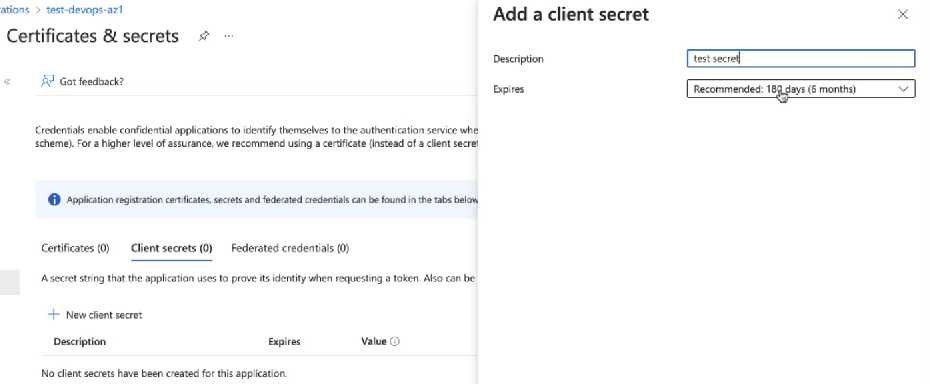
Click on +New Client Secret → Enter Description → Click Add
-
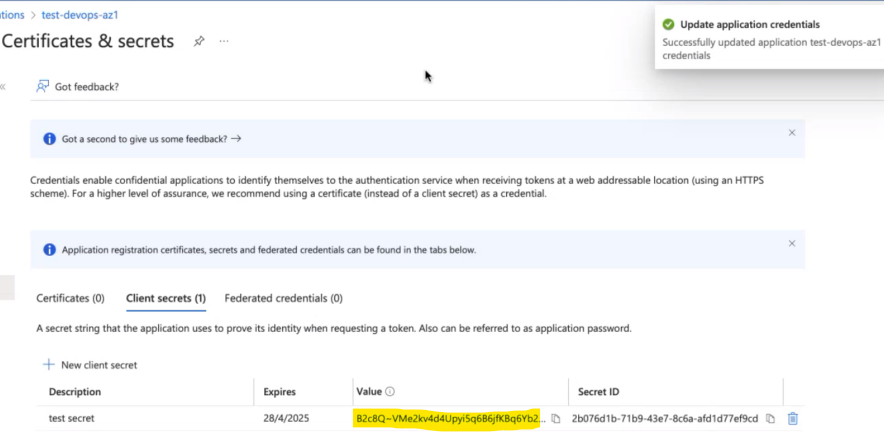
Copy Secret value
Step 2: Create User in DevOps
-
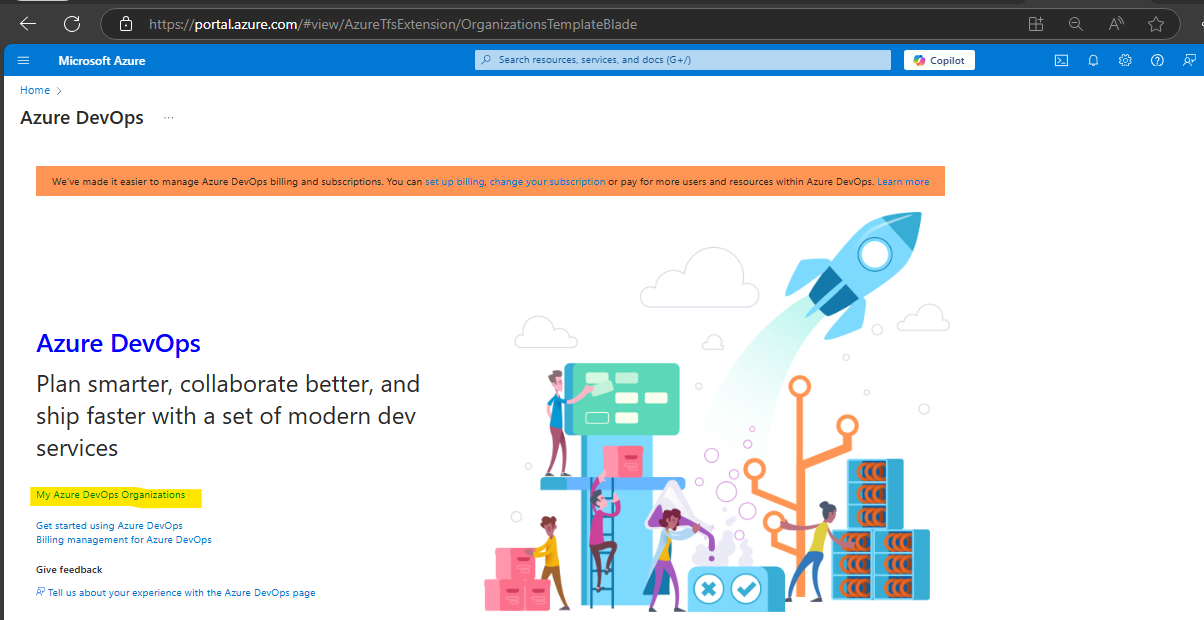
Go to Azure DevOps in azure console & Click on My Azure DevOps Organizations
-
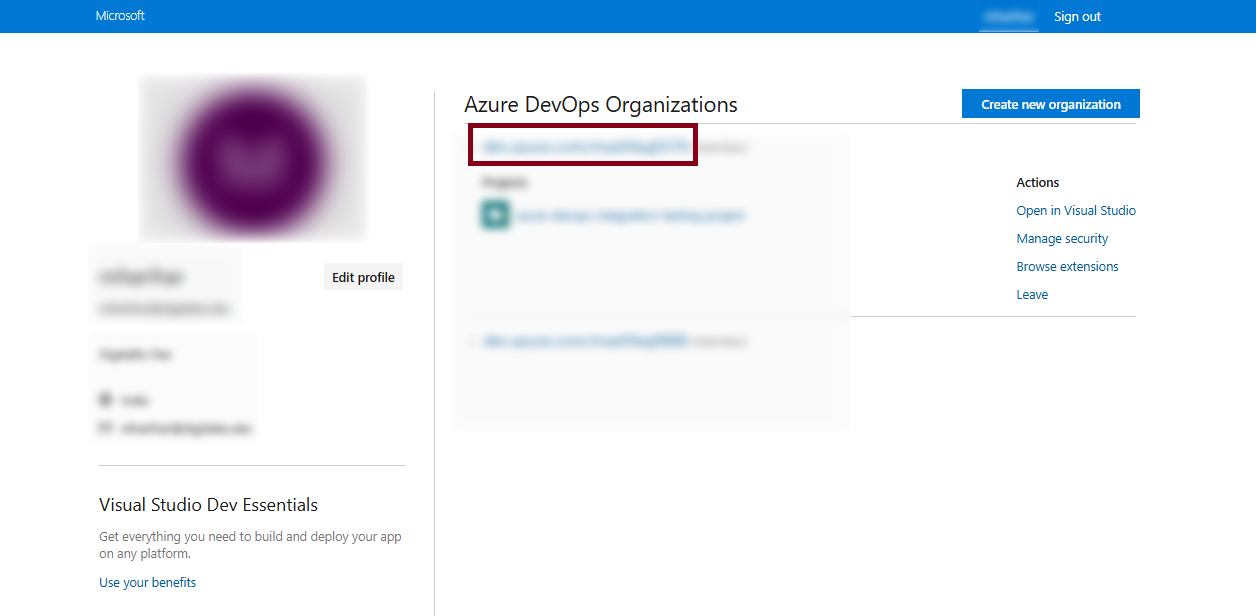
Click on Organization name which you wanna integrate
-
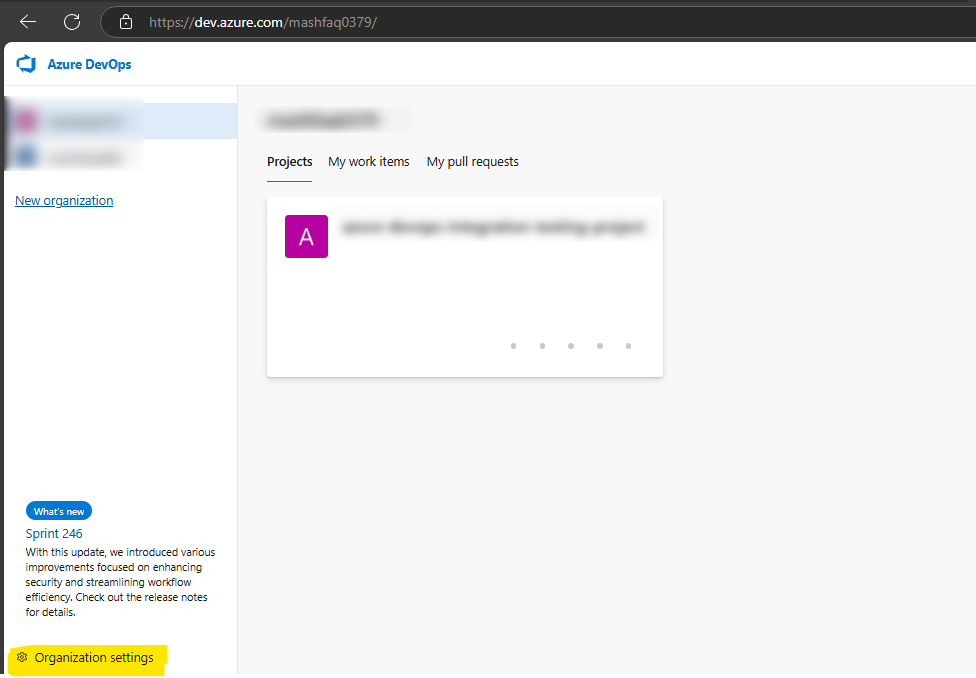
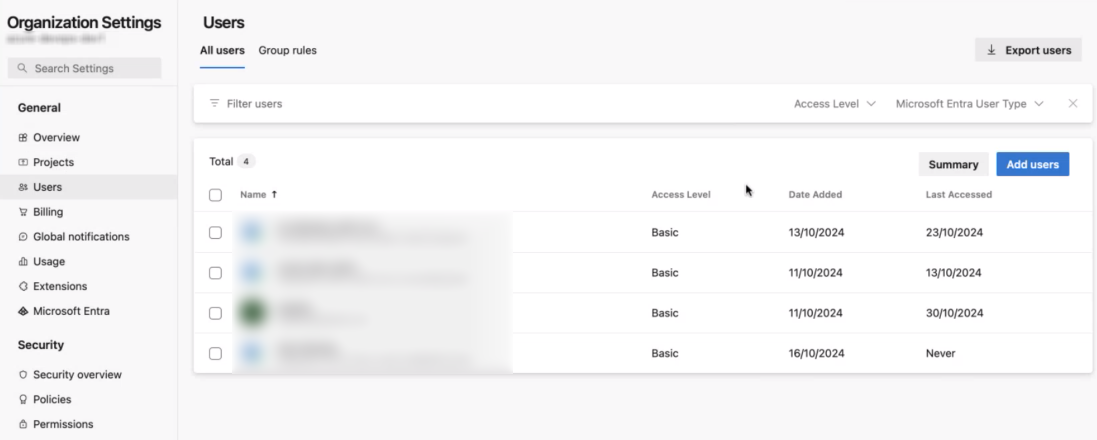
Go to Organization Settings from bottom (User should be Org admin)
-
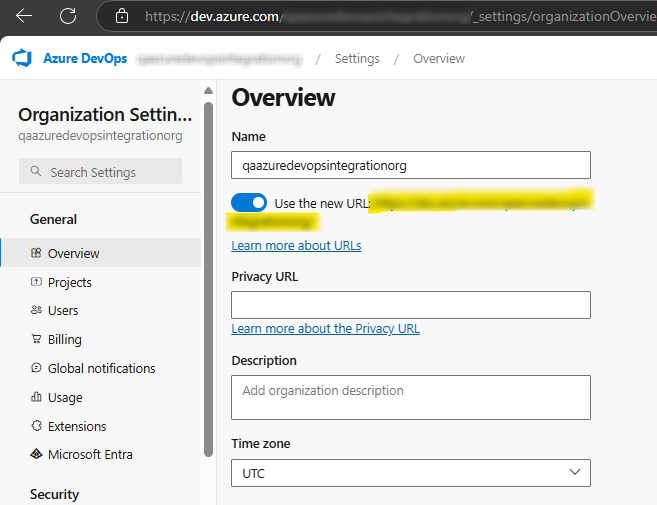
Click on "Overview" and copy the URL, you'll need it later when setting up the integration in mavvrik.
-
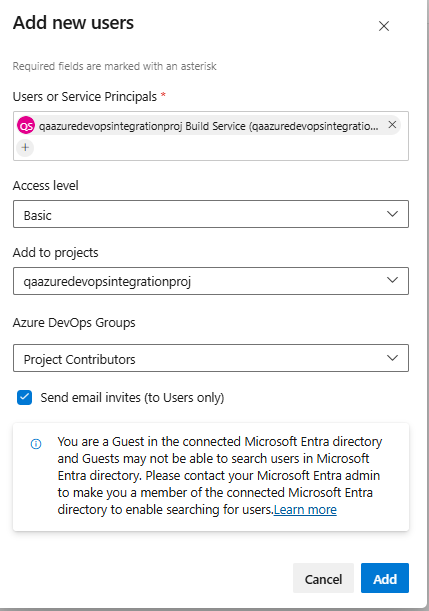
Click on Users → Add User
-
Enter Service Principals (App name created in step 1) → Select project → Click Add
Step 3: Integration of Azure DevOps in Mavvrik
-
Login into Mavvrik and navigate to Integration page
-
Click on + Create Integration.
-
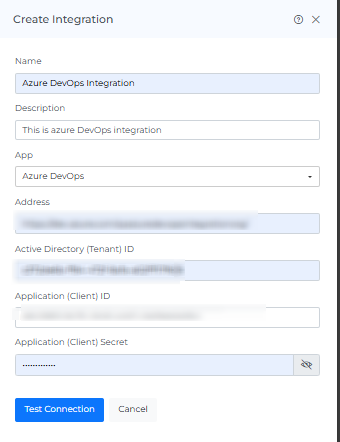
Click on the App and select Azure DevOps
-
Enter all the details in the field
-
Integration name
-
Integration description
-
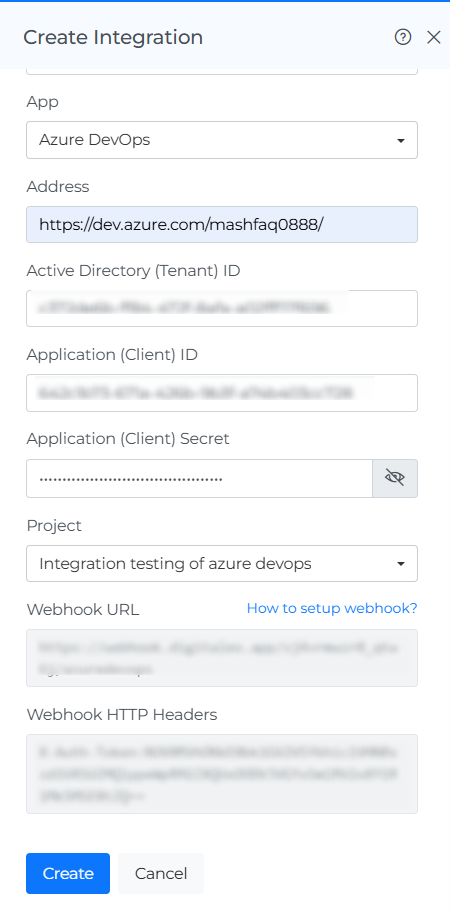
Enter the address of the azure DevOps i.e. copied URL in previous Step-2 4th Point
-
Enter tenant id, client id & secret copied from previous Step-1
-
-
Click on “Test connection”
6. Copy Webhook URL & Webhook HTTP Headers (you'll need it later while creating webhook in next step)
Step 4: Create Webhook
-
Go to your organization & Project then click on Project settings
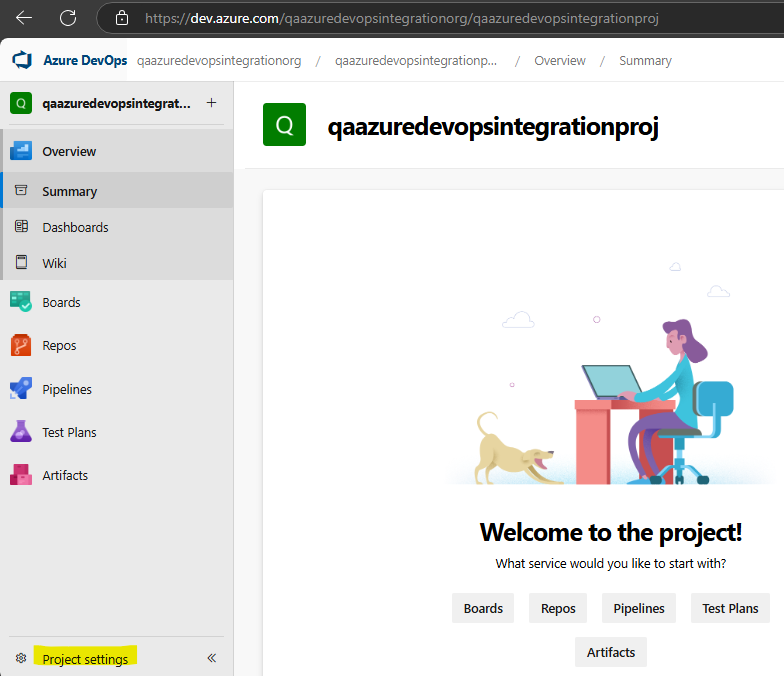
-
Go to Service Hooks → Click on ‘+' or '+ Create subscription’

-
Select Web Hooks → Next
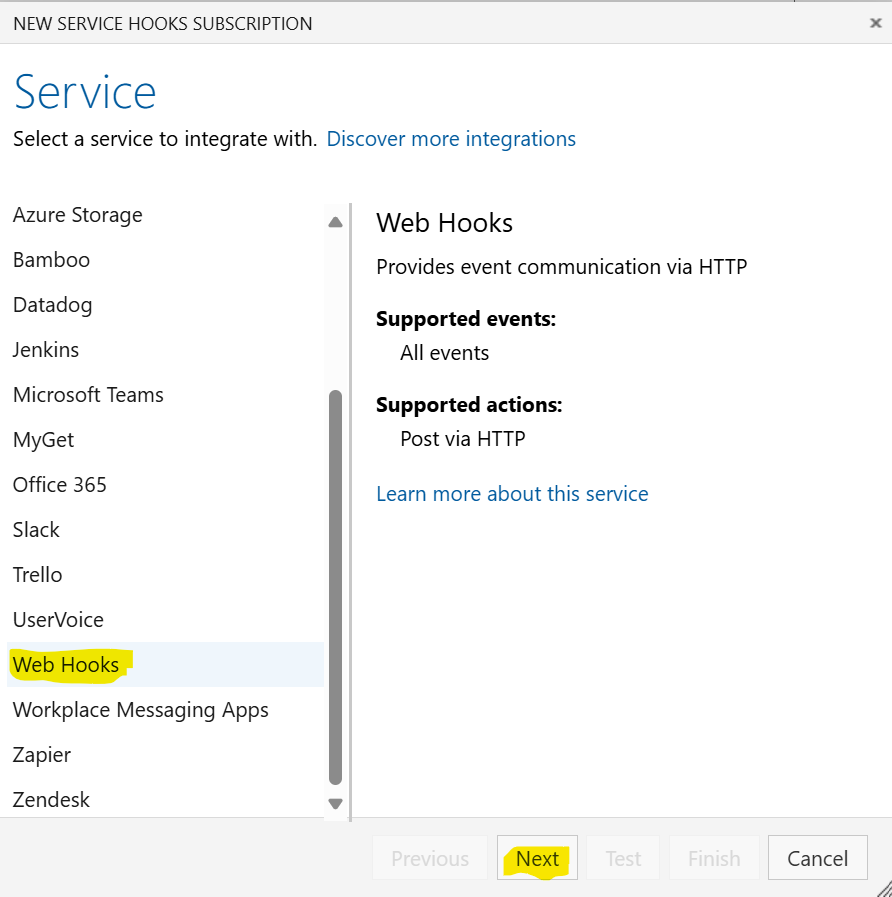
-
Select Work item updated → Next
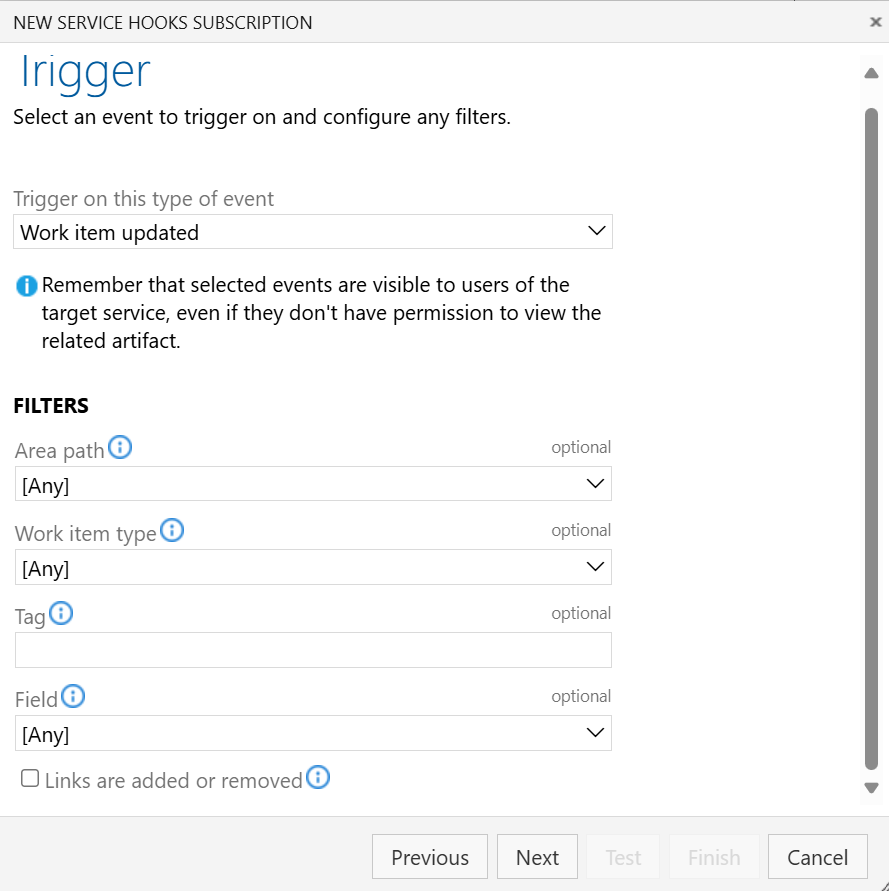
-
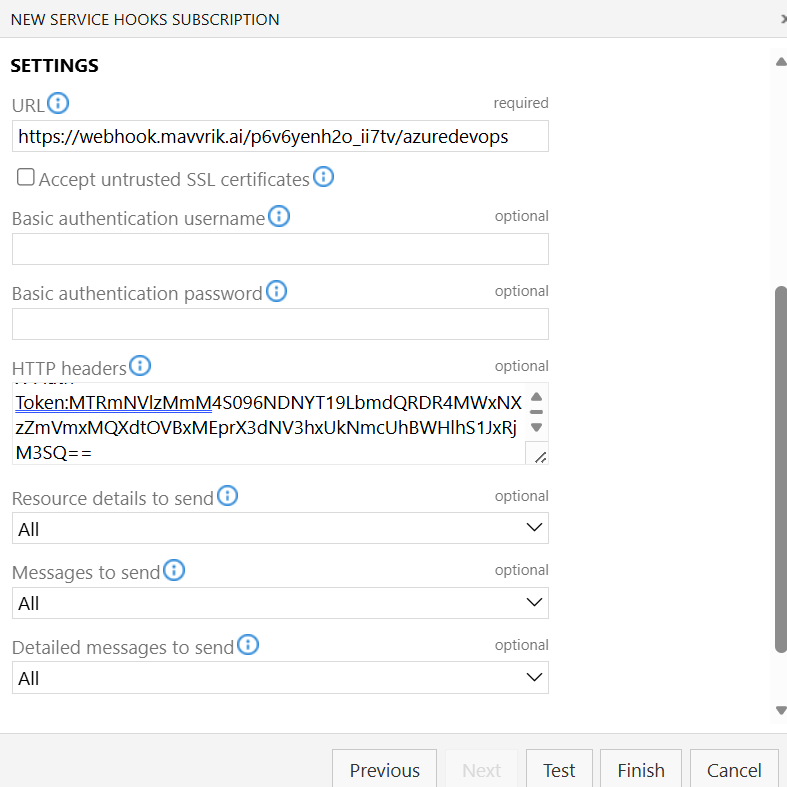
Paste the copied Webhook URL & Webhook HTTP Headers and leave remaining fields as is.
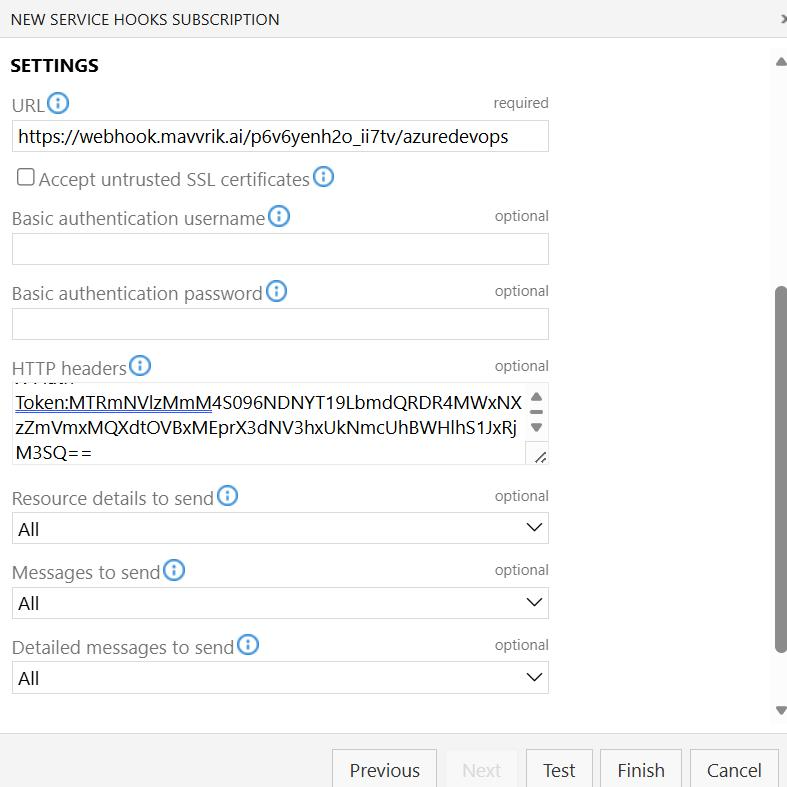
-
Click on Finish
-
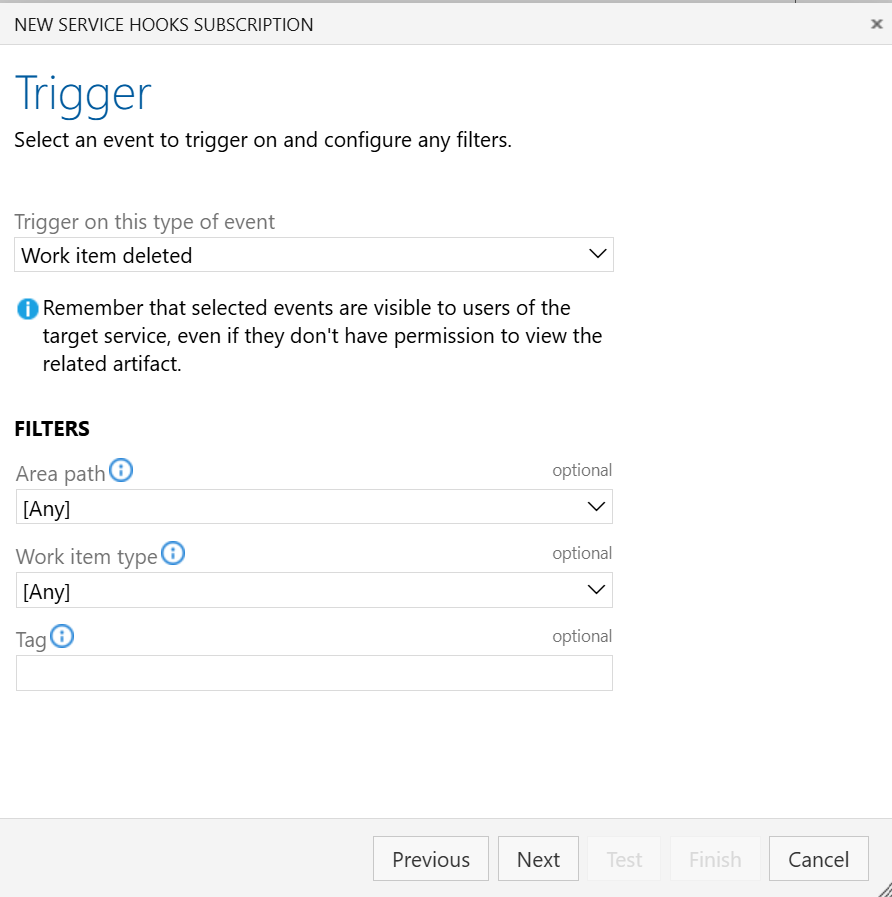
Click on + create subscription again > webhooks
-
Select work items deleted → Next
-
Paste the copied Webhook URL & Webhook HTTP Headers and leave remaining fields as is.
-
Click on Finish
-
Go to Mavvrik & click on Create