.png)
Mavvrik MCP connects Cursor to Mavvrik through a secure sign-in and authorization flow.
The connection uses the Mavvrik tenant associated with your authenticated Mavvrik user account. After authorization is complete, Mavvrik MCP becomes available inside Cursor, allowing you to ask cloud cost intelligence questions directly in a natural conversation.
To enable this experience, connect Cursor to the Mavvrik MCP server.
Cursor can connect to Mavvrik in two ways:
Connector flow — Recommended
Sign in with OAuth through Cursor’s built-in MCP UI. This secure authorization flow ties access to your authenticated Mavvrik account and associated tenant.
Manual configuration
Add the Mavvrik MCP server to your mcp.json file using an API key. This option is useful when you prefer to configure the connection manually or need to manage MCP settings directly.
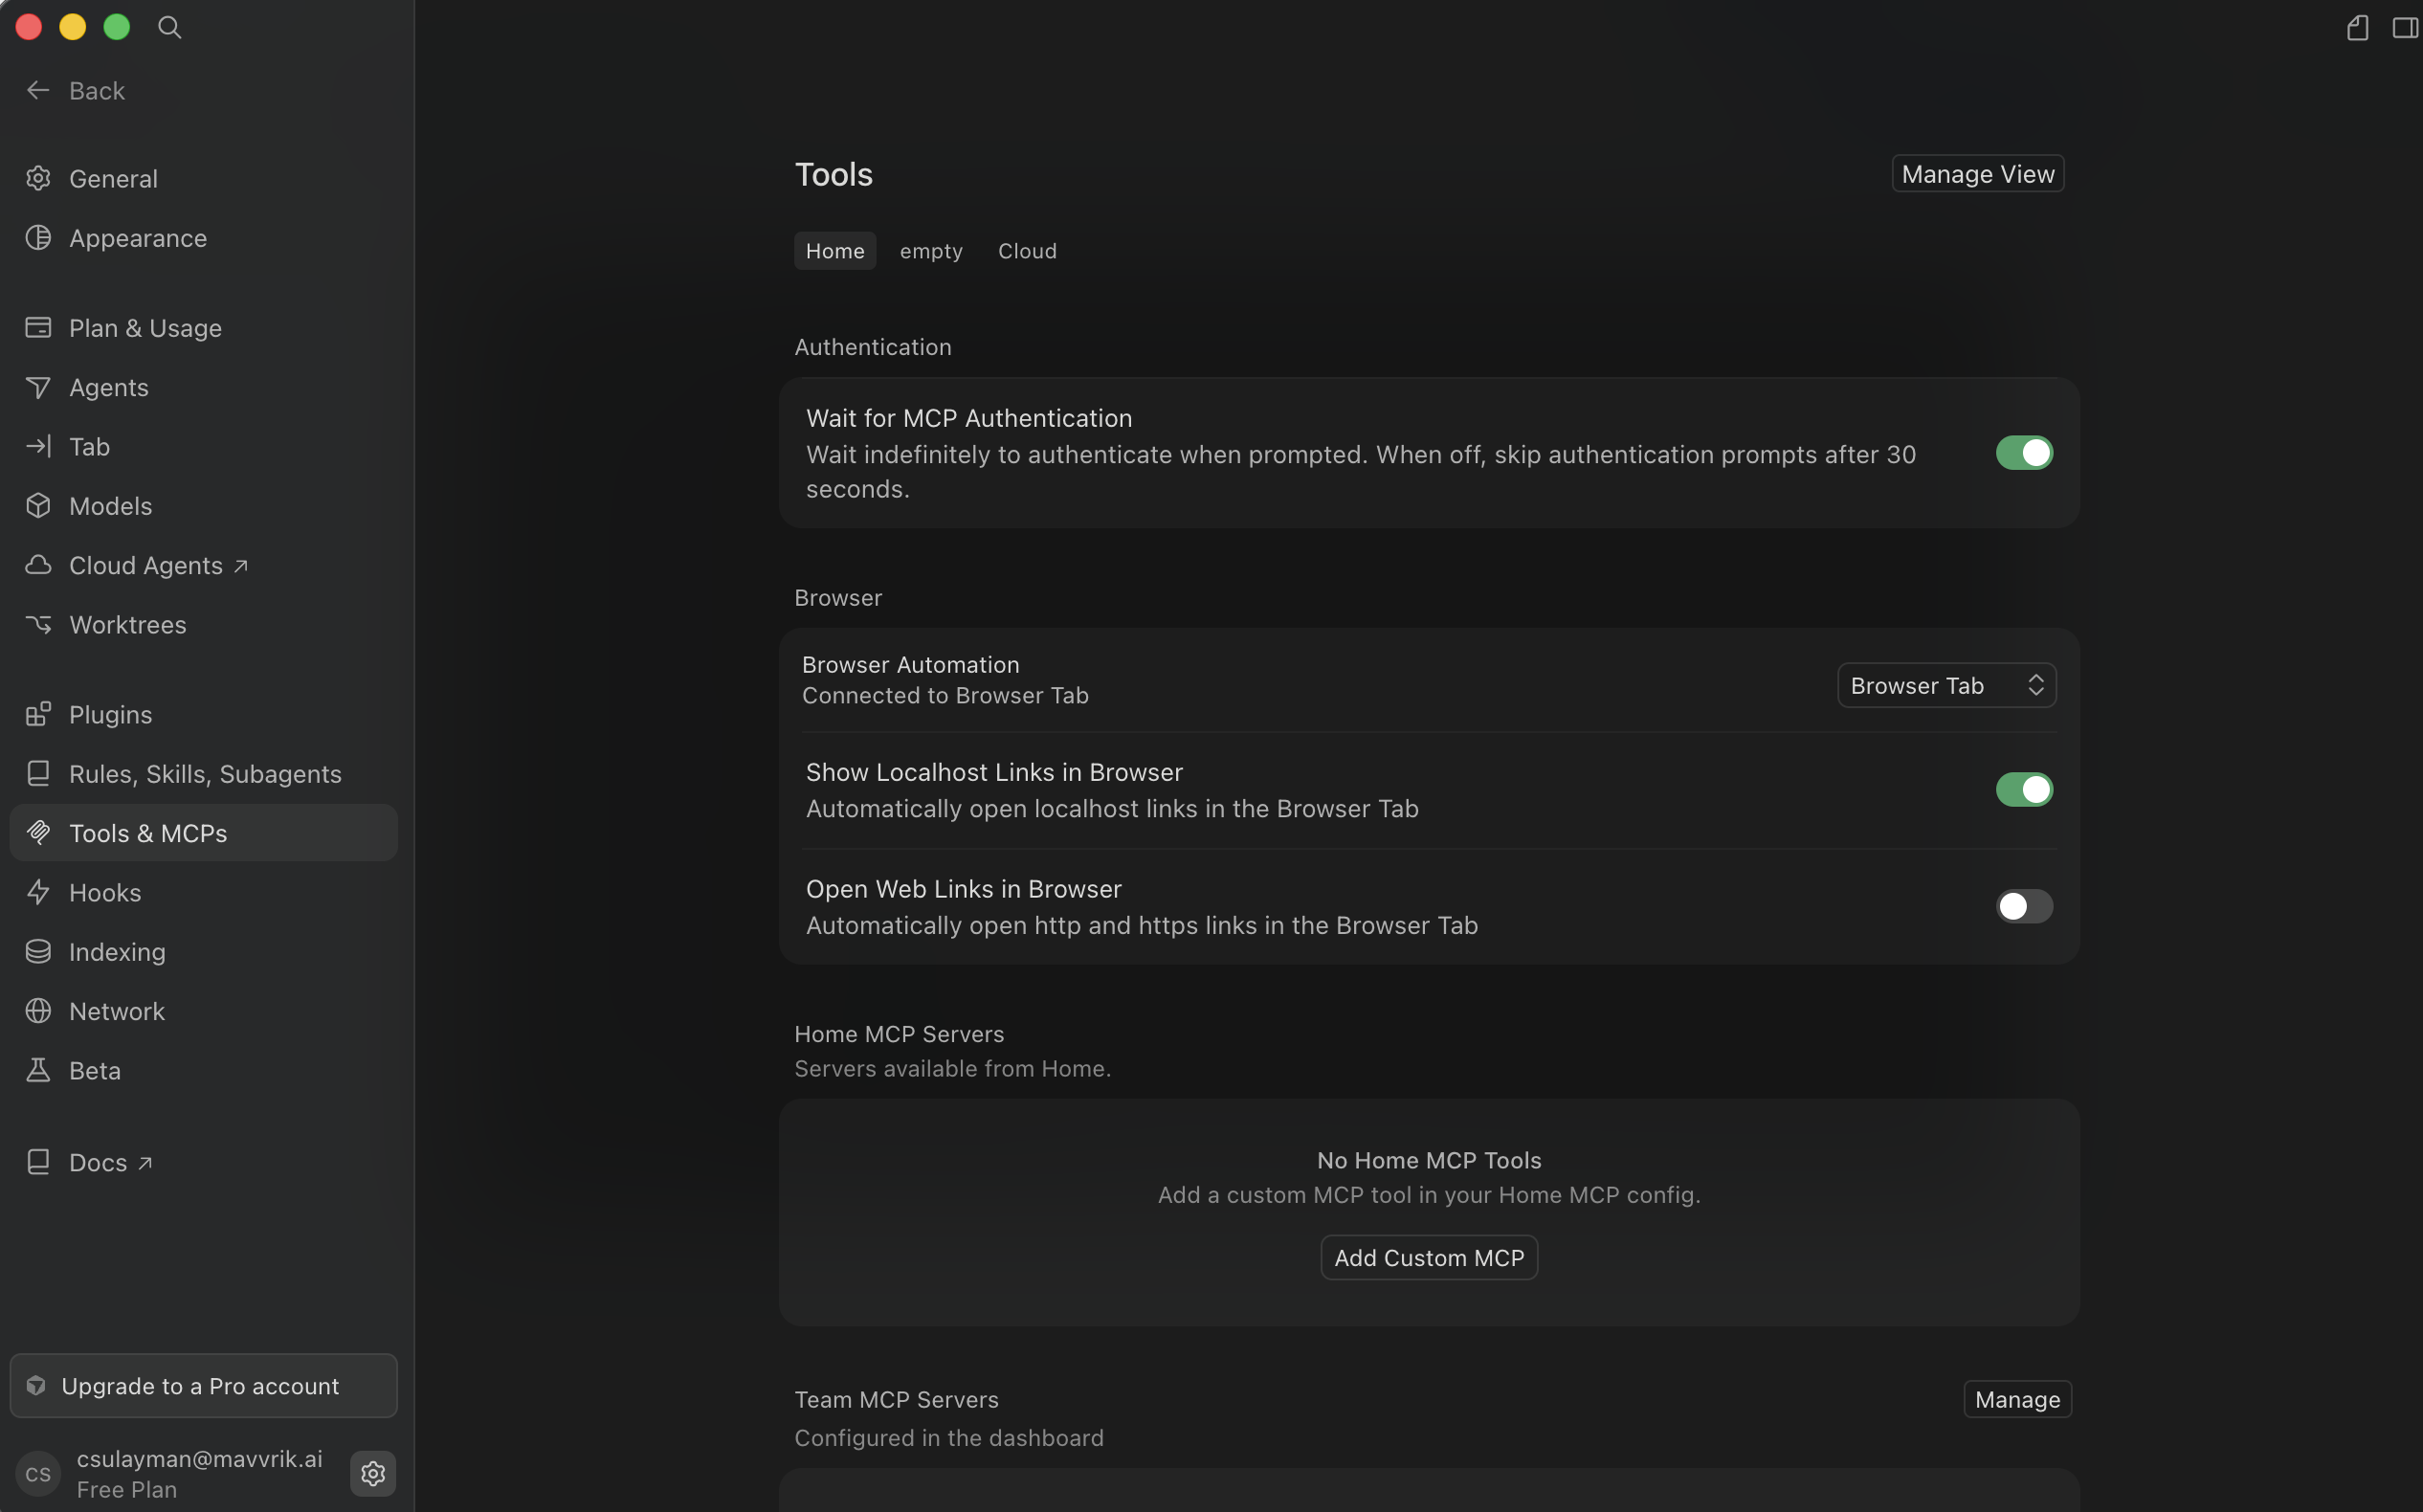
Connect using Cursor’s MCP UI — Recommended
-
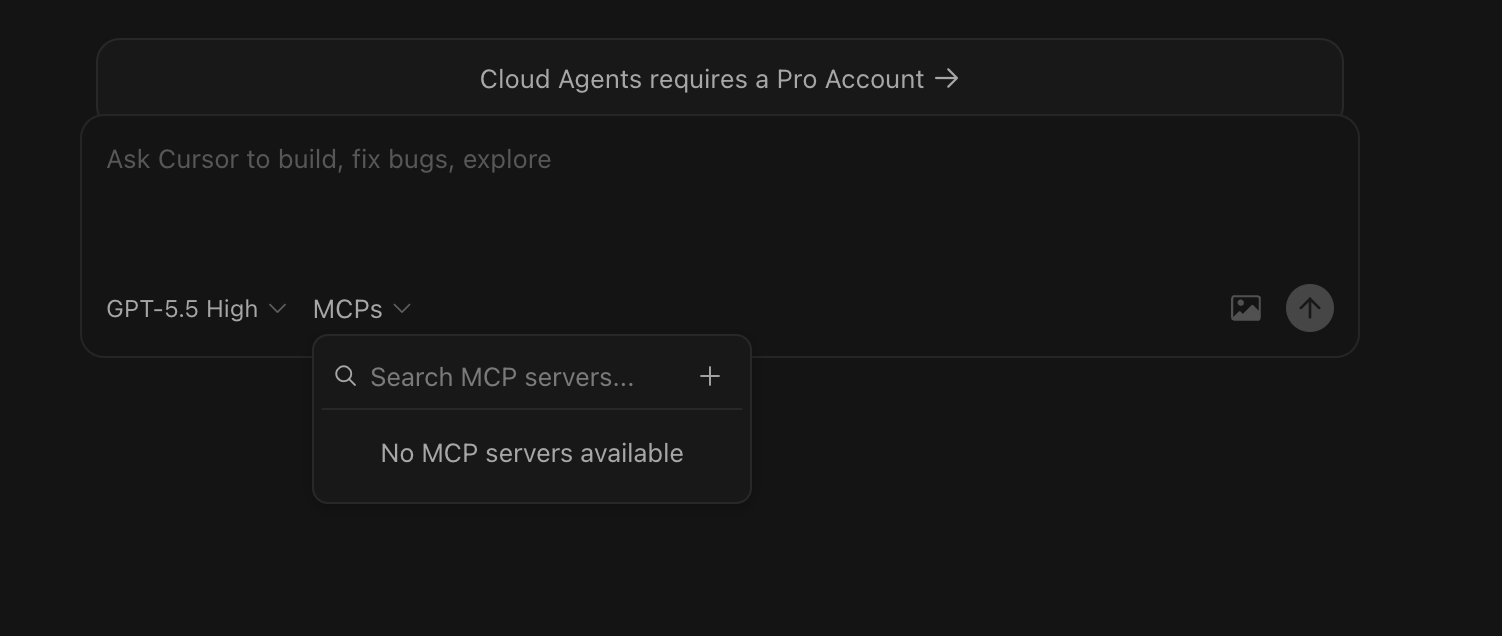
Go to cursor
-
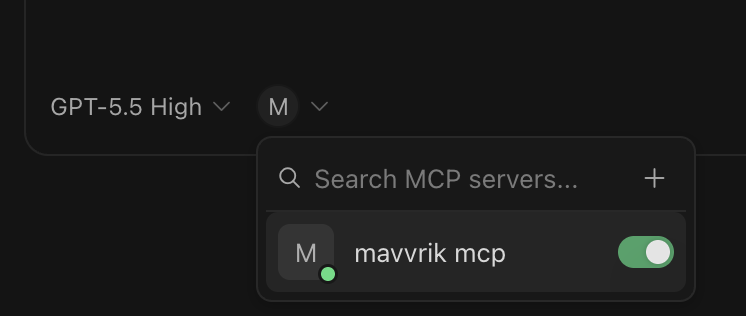
Click MCP and click Add +
-
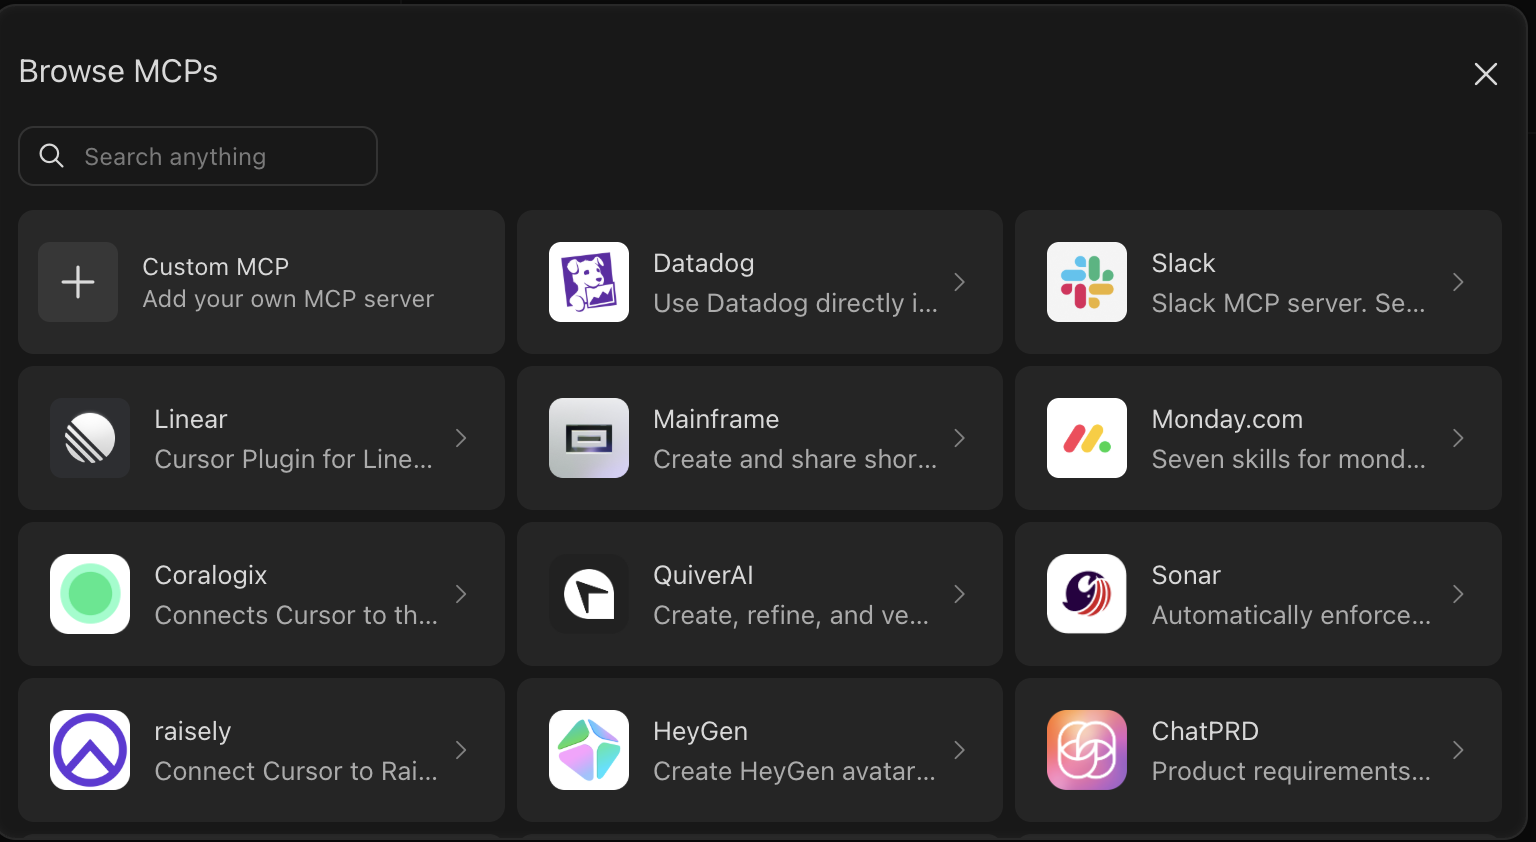
Choose Add custom MCP
-
Enter the Mavvrik MCP details.
-
Enter
https://mcp.mavvrik.ai/mcpfor server URL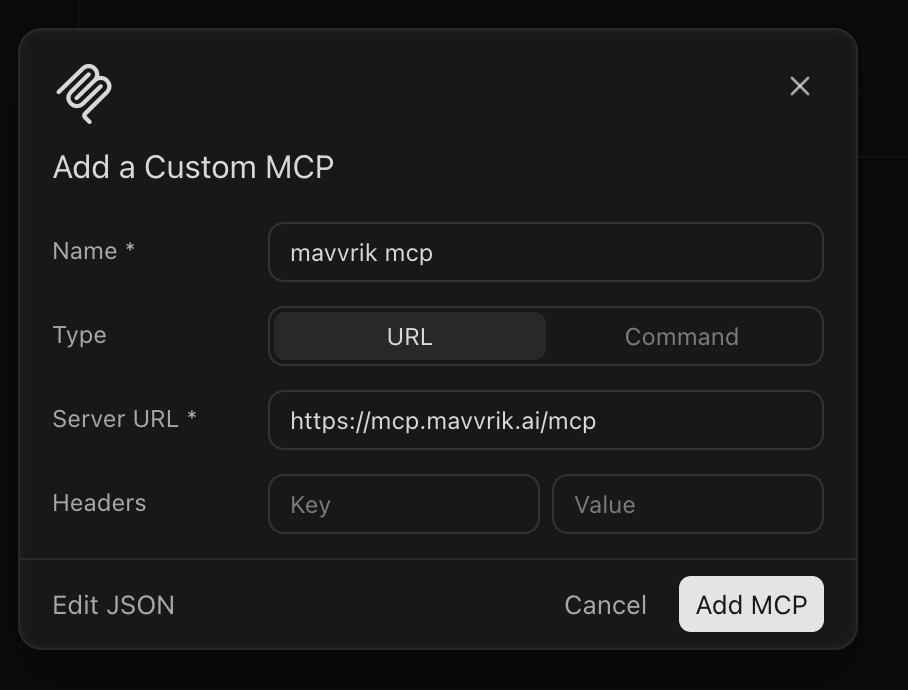
-
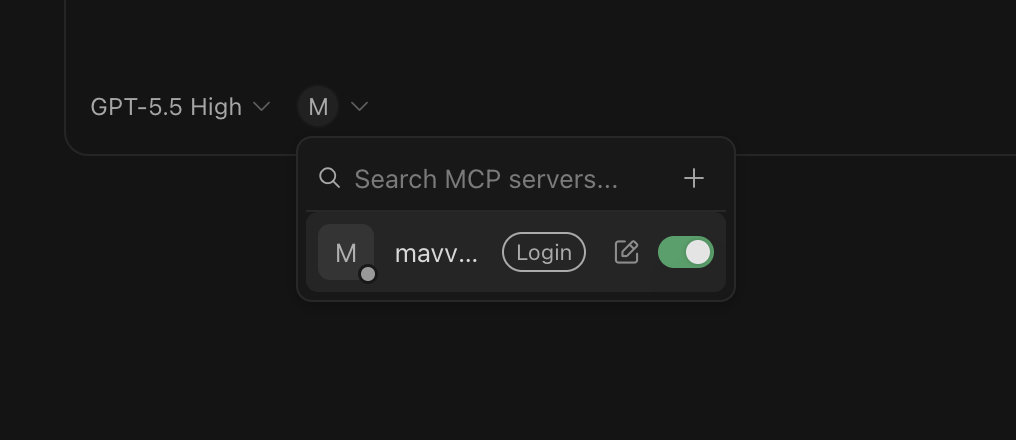
Click Login to start the Mavvrik sign-in flow
-
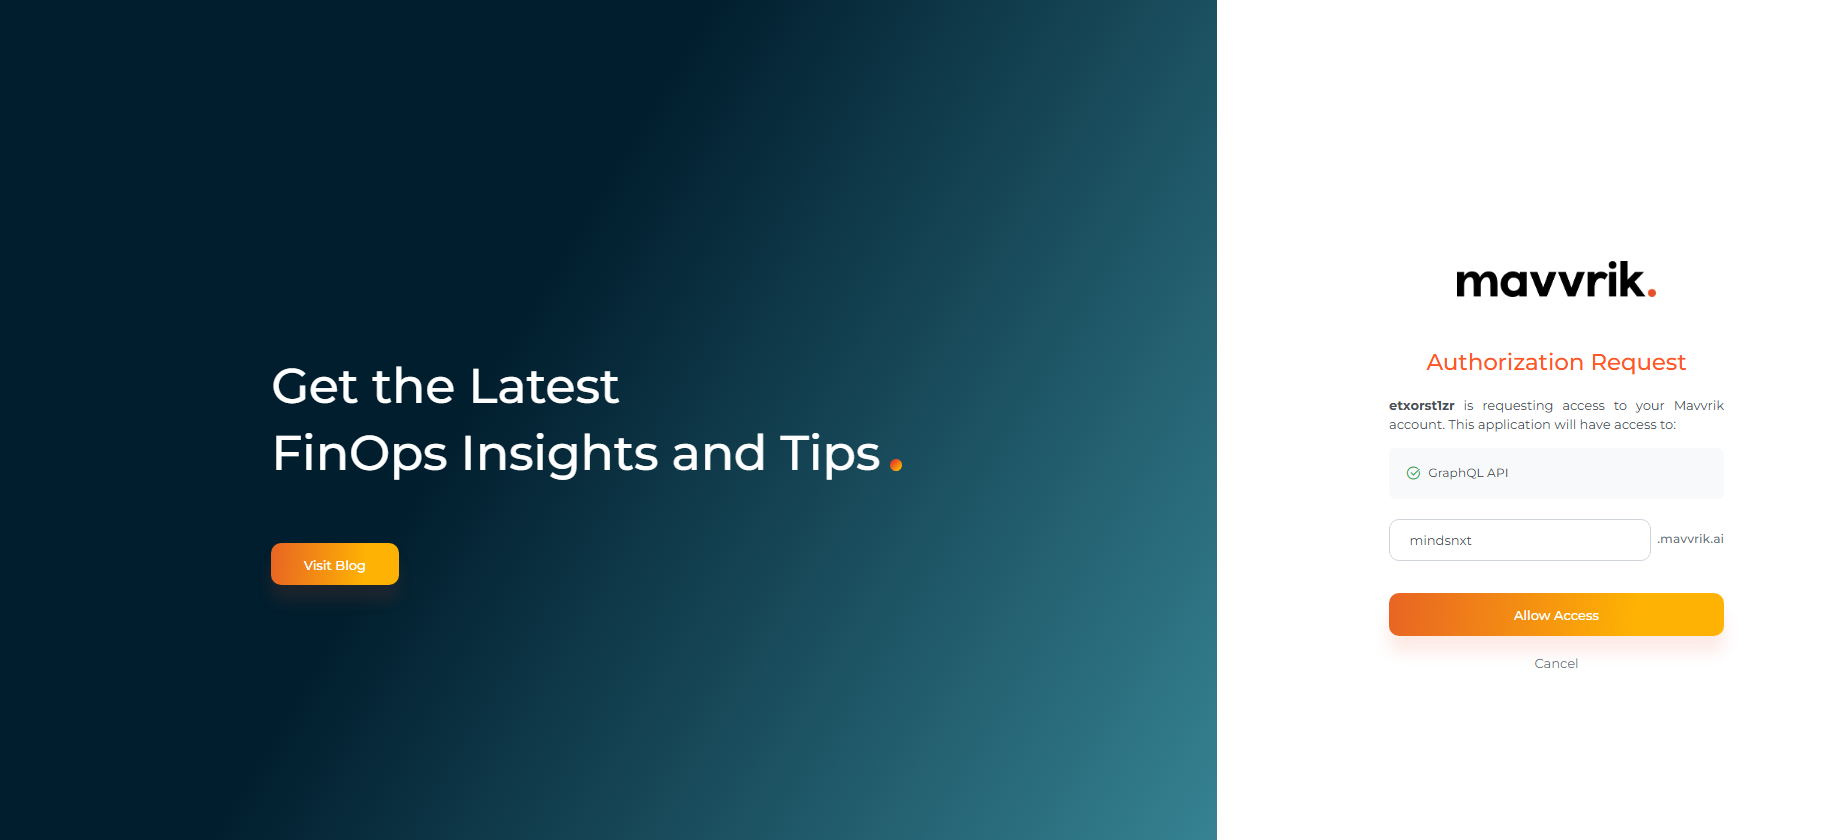
Complete the login flow (tenant subdomain → Firebase authentication).
-
Enter your tenant domain URL, allow access, and then enter your Mavvrik login credentials.
-
The Mavvrik tools are now available — start using the MCP.
-
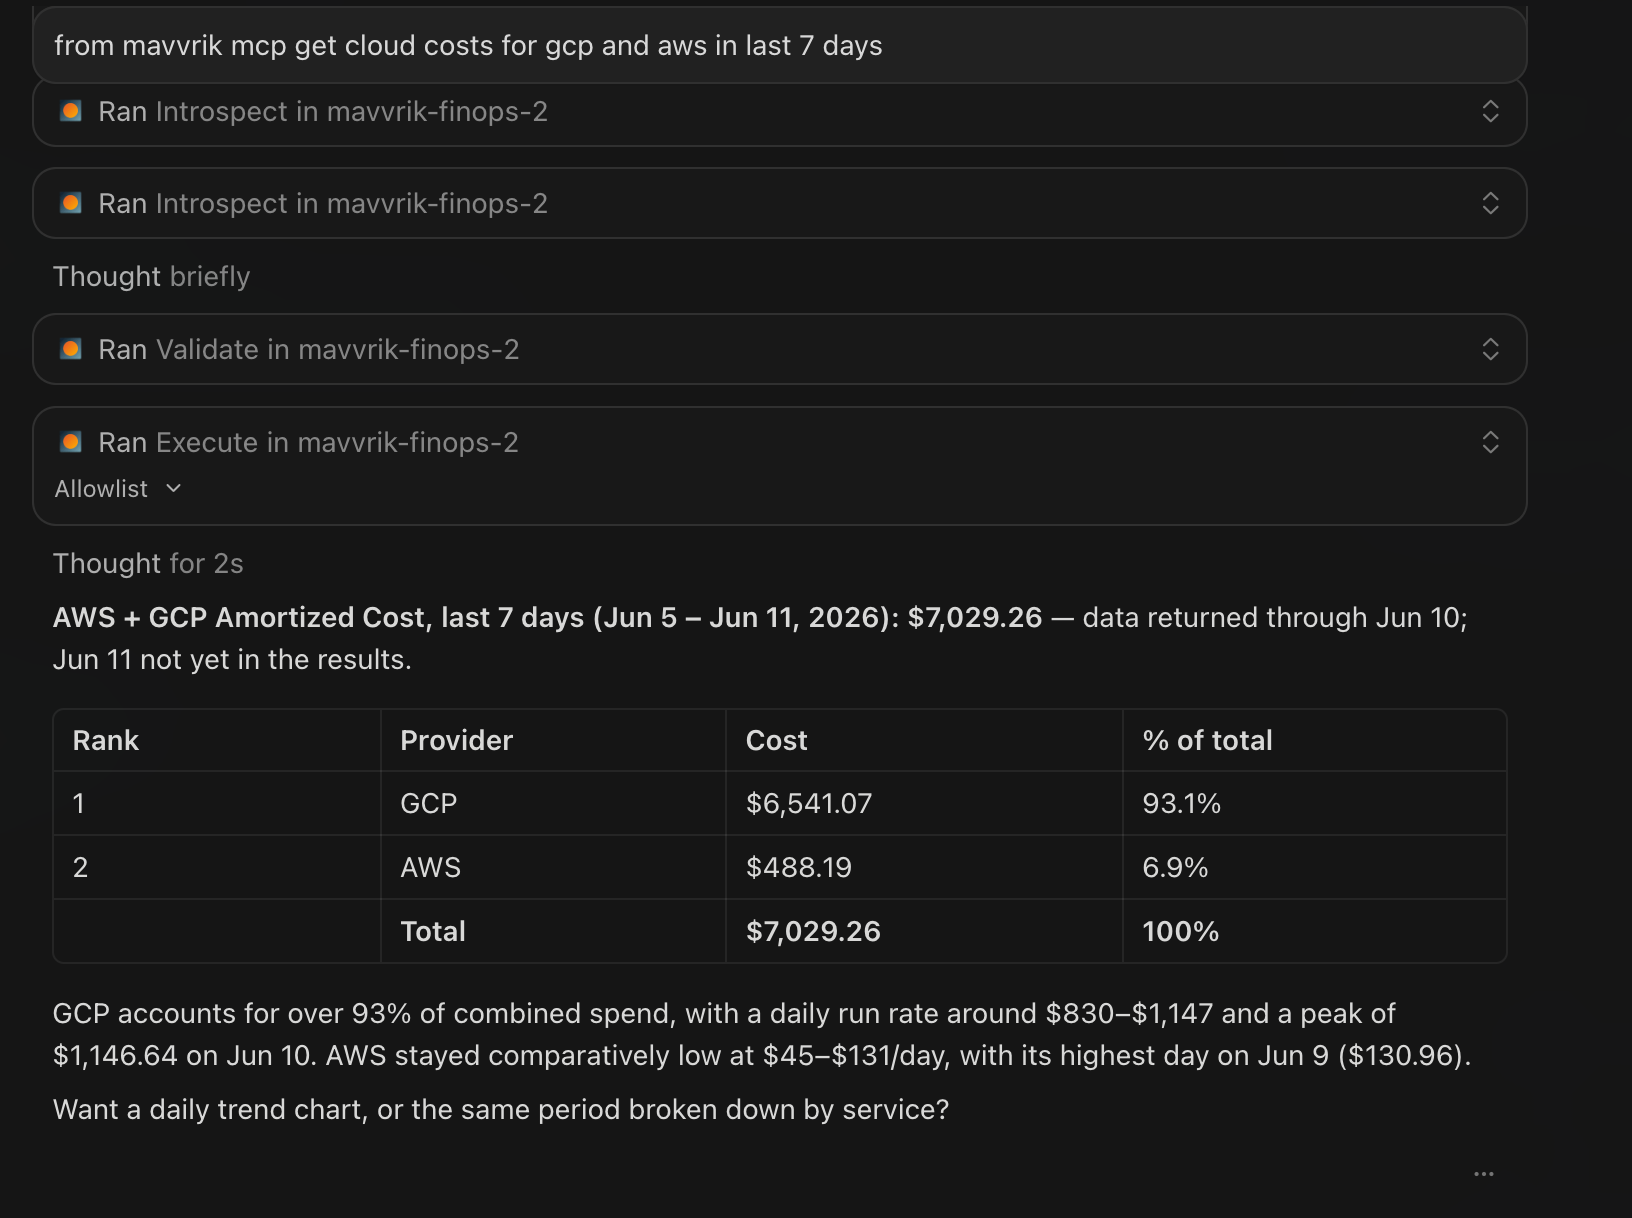
Run a prompt such as: from mavvrik mcp Get my cloud costs for AWS and GCP for the last 7 days.
Connect manually using mcp.json
-
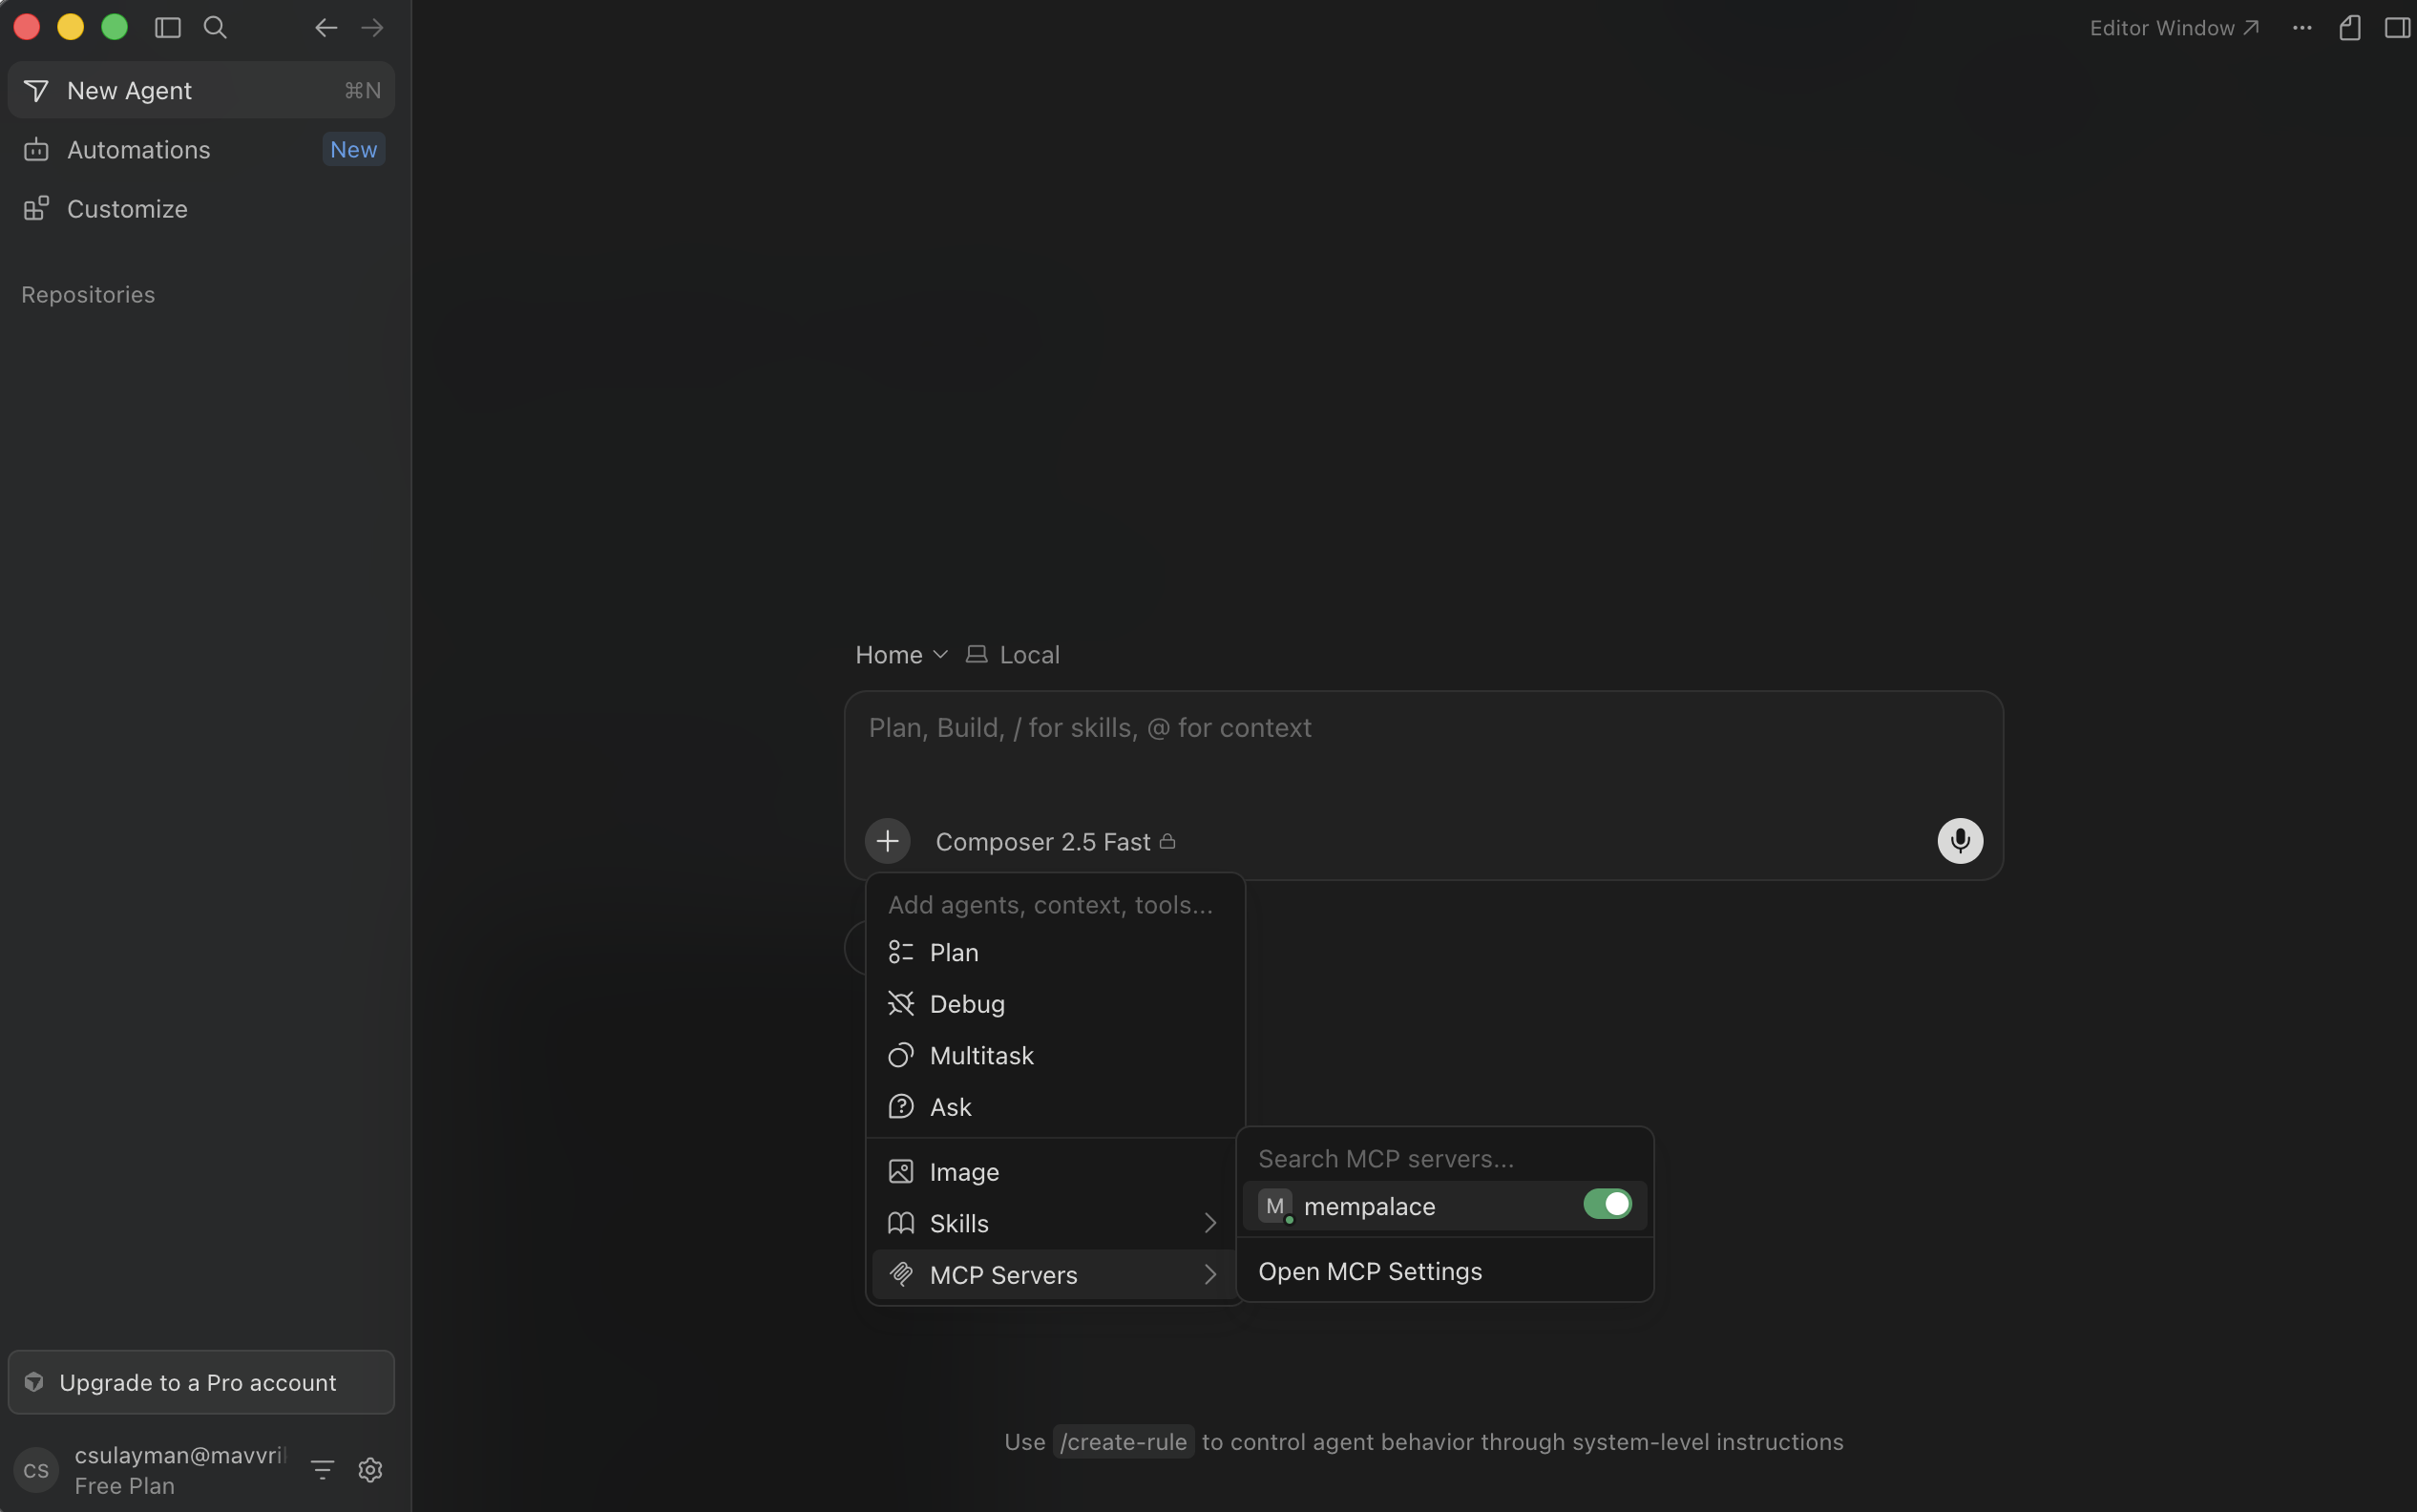
In Cursor, open MCP settings via the + / Open MCP settings button
-
Click Add custom MCP
-
Add the following to
mcp.json, replacingYOUR_API_KEYandYOUR_TENANT_IDwith your own credentials: (keep existing code block){ "mcpServers": { "mavvrik-finops": { "type": "streamable-http", "url": "https://mcp.mavvrik.ai/mcp", "headers": { "x-api-key": "YOUR_API_KEY", "tenant": "YOUR_TENANT_ID" } } } }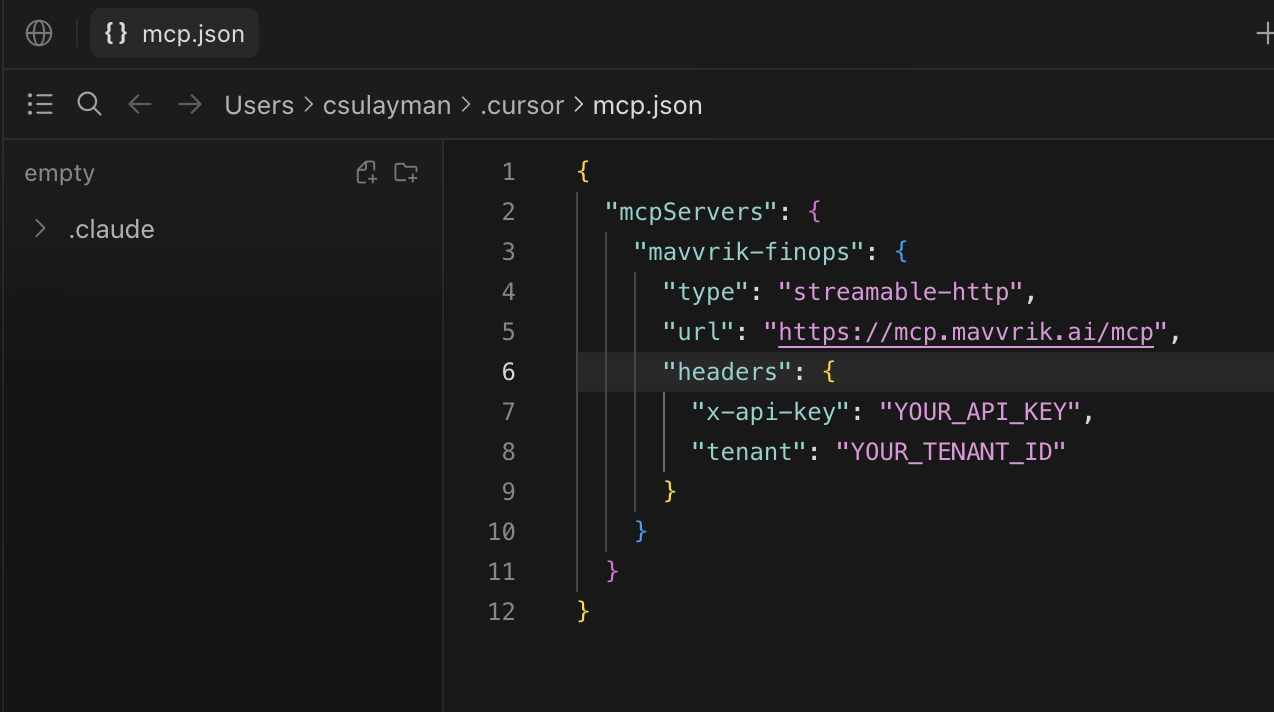
-
Refresh the Tools & MCP tab —
mavvrik-finopswill appear.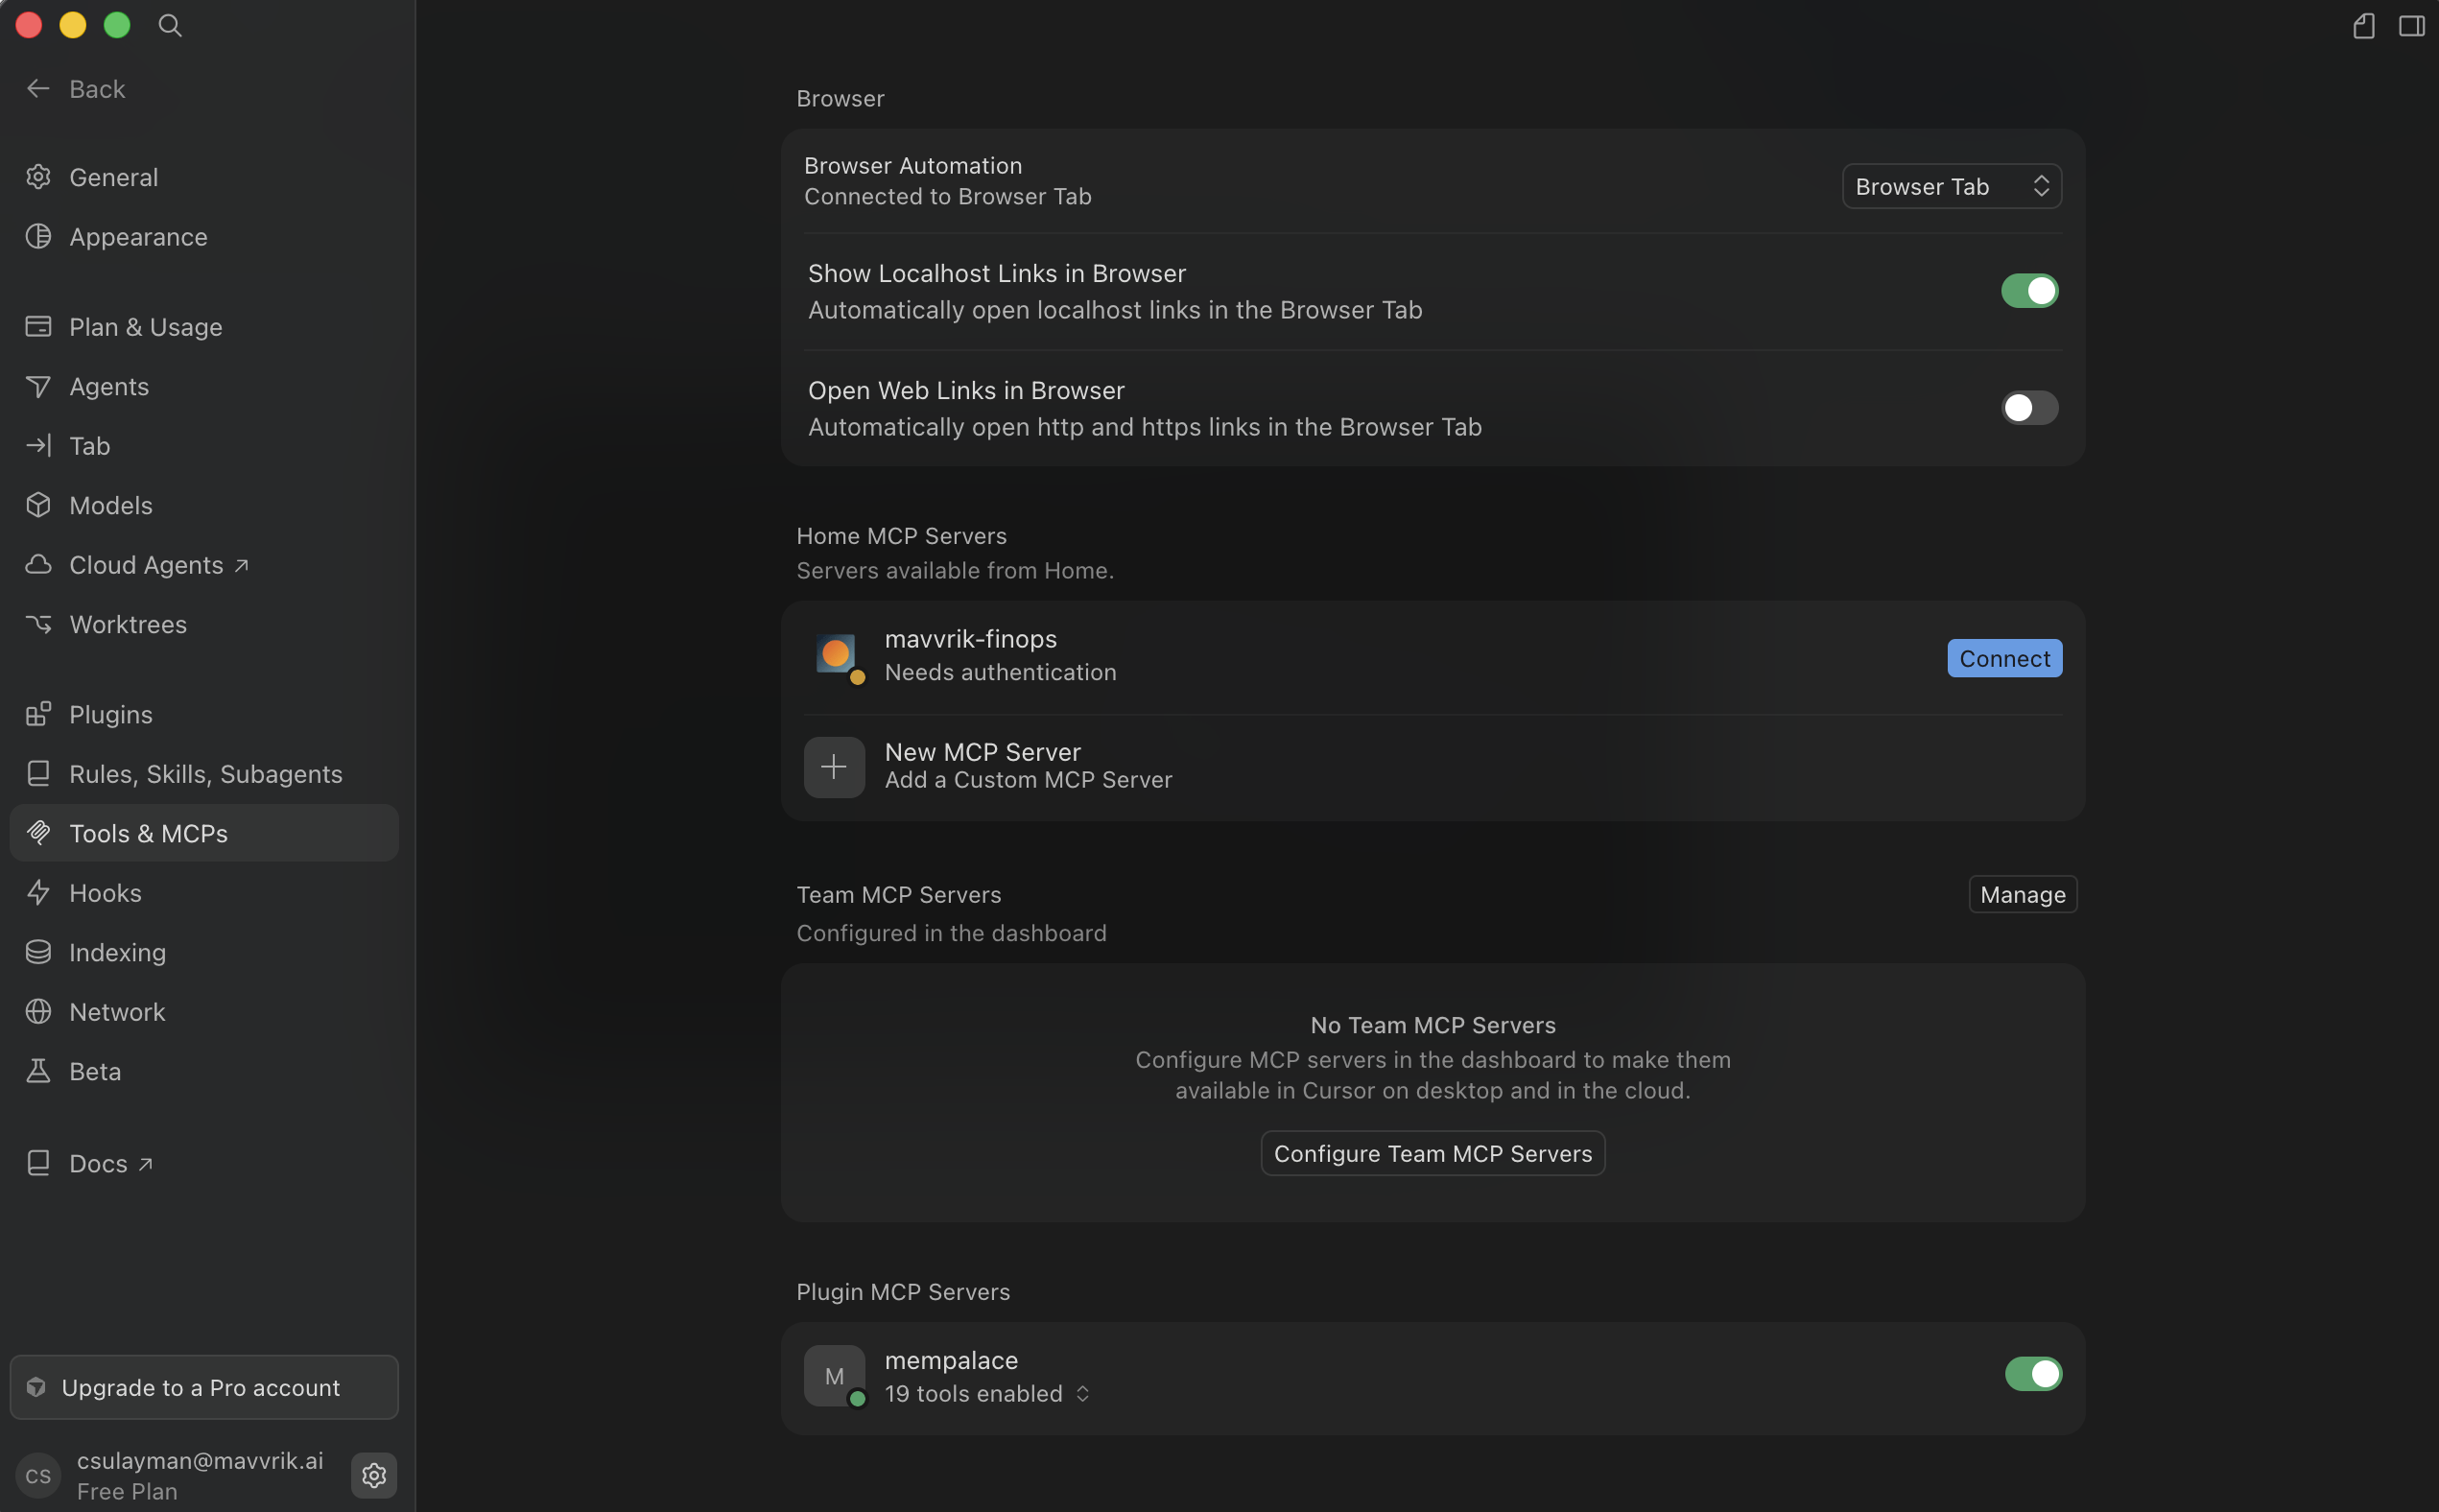
-
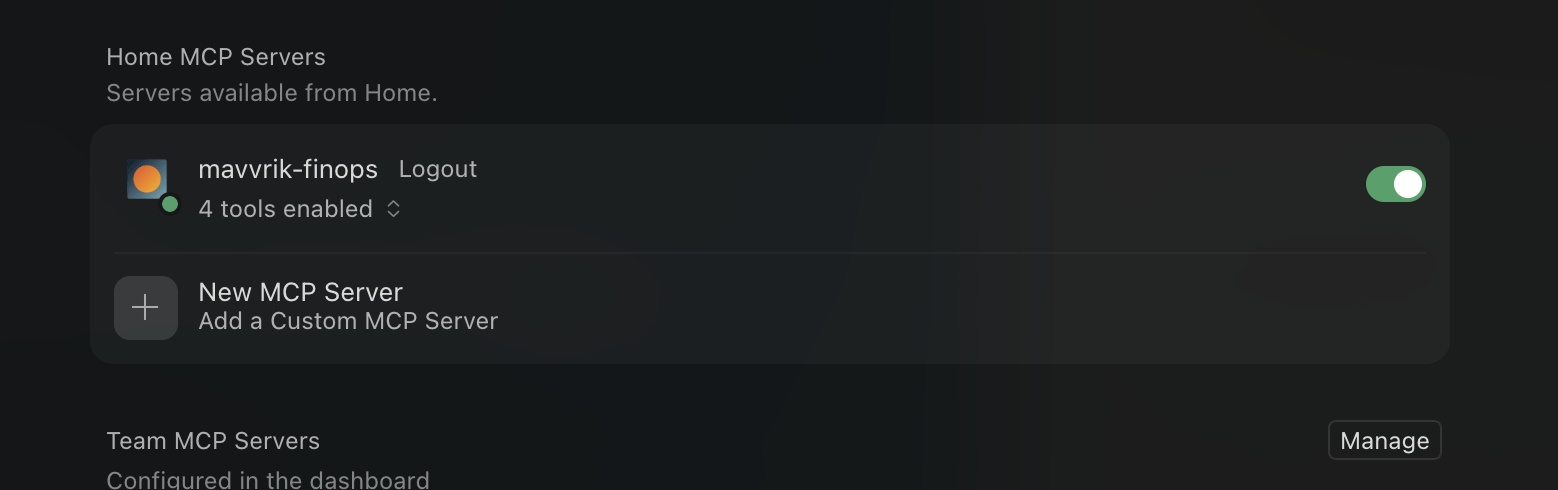
Click Connect and complete login.
-
The MCP is ready to use.