.png)
Below is the description of the steps to Configure SSO in Mavvrik
-
Login to Mavvrik as owner.
-
Click on Menu > Admin > SSO
-
Click on Configure SSO button
-
Enter Entity Id, SSO URL and Certificate copied in Step-2
-
Click Save
-
SSO is Configured Successfully, You can Edit or Delete the existing data if required.
-
Click on Login with SSO
-
Pop up/new page appears which navigates to Gmail Sign-in page to let you sign in using your Gmail account(business)
-
Enter your Gmail credentials and click login
Note:
-
Users who are added to Mavvrik are able to log in successfully with their Gmail accounts and access the Application based on their privileges.
-
Users who are not a part of Mavvrik users can’t access the Application even though if they are part of the google workspace. Make sure to add the user(s) in Mavvrik to whom you want to grant access
Edit SSO Configuration
Enable Enforce SSO

Once enforced, users will be required to authenticate exclusively through SSO, and no other login methods will be allowed.
Enable User Provisioning
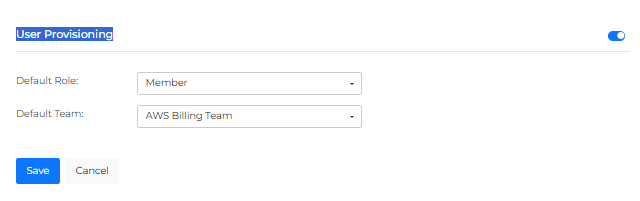
When User Provisioning is enabled, new users logging in via SSO will be automatically created in the Mavvrik platform during their first successful login attempt.
Previously, users had to be explicitly created in both the Identity Provider (IdP) and the Mavvrik platform before they could log in using SSO. This enhancement removes that requirement and reduces onboarding friction.
If a user also wants to use password-based login, they can set their password using the “Forgot Password” option after their account has been automatically created.
When this option is disabled, new users signing in through SSO will not be automatically provisioned in Mavvrik.