.png)
Note : We don't support IDP initiated flow
Below is the description of the steps to Create SAML App in Google workspace
-
Login to Google workspace Admin Console.
-
Click on Apps
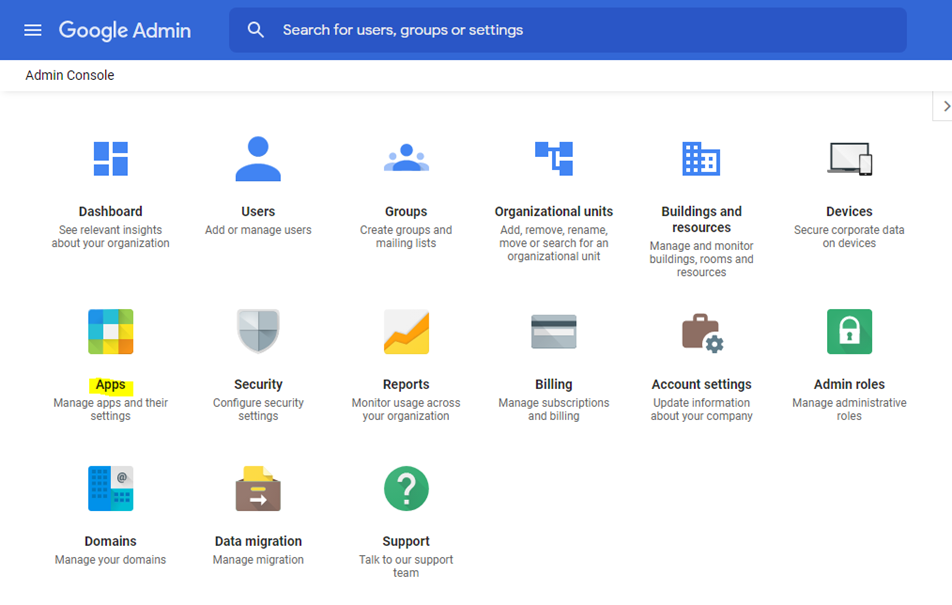
-
Clicking on Apps navigates to the below page.
-
Click on SAML Apps
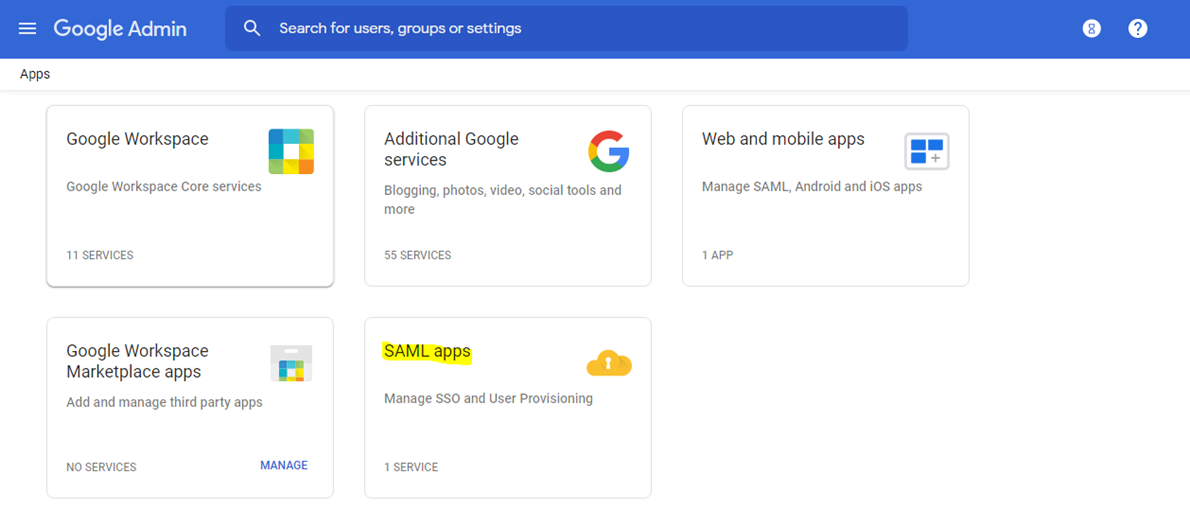
-
Click on Add App.
-
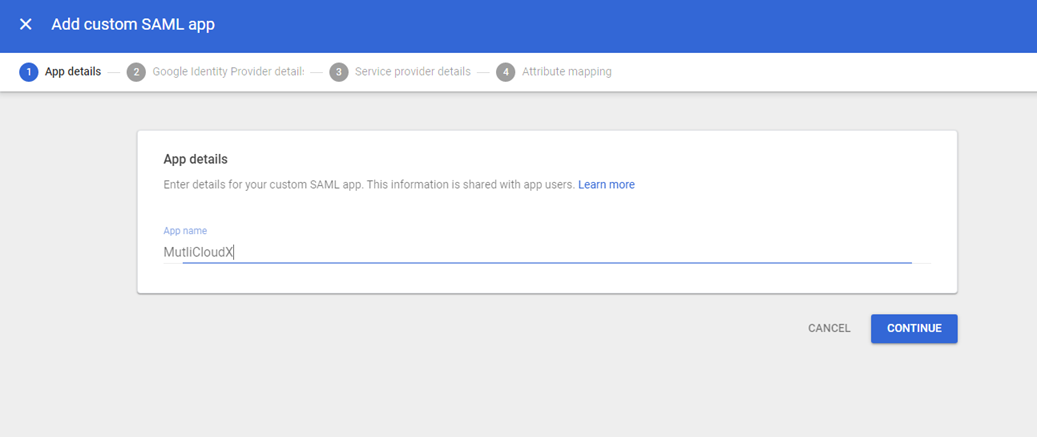
Select Add Custom SAML App.
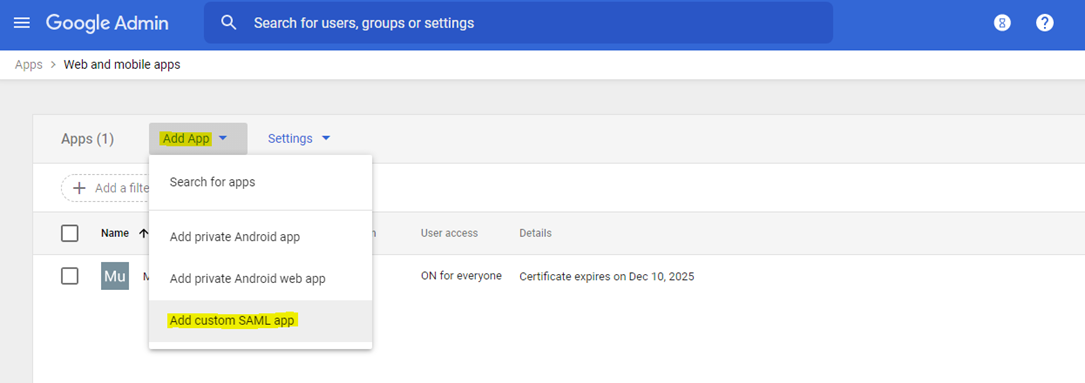
-
Enter the App name of your choice.
-
Click Continue
-
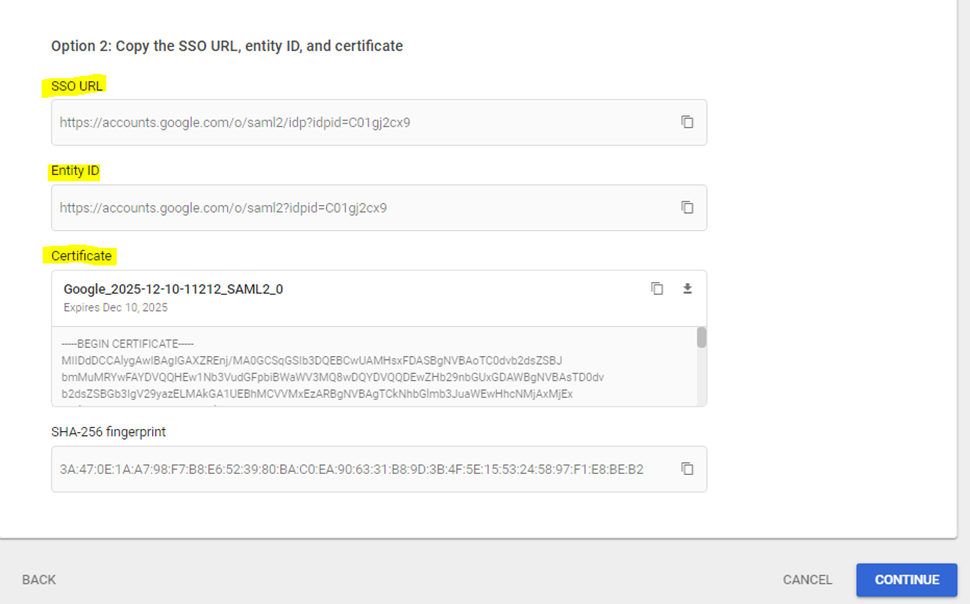
Under option 2 Copy SSO URL, Entity Id, and Certificate from your Google workspace in any of your editor and save it. This is used in the next steps
-
Click Continue
-
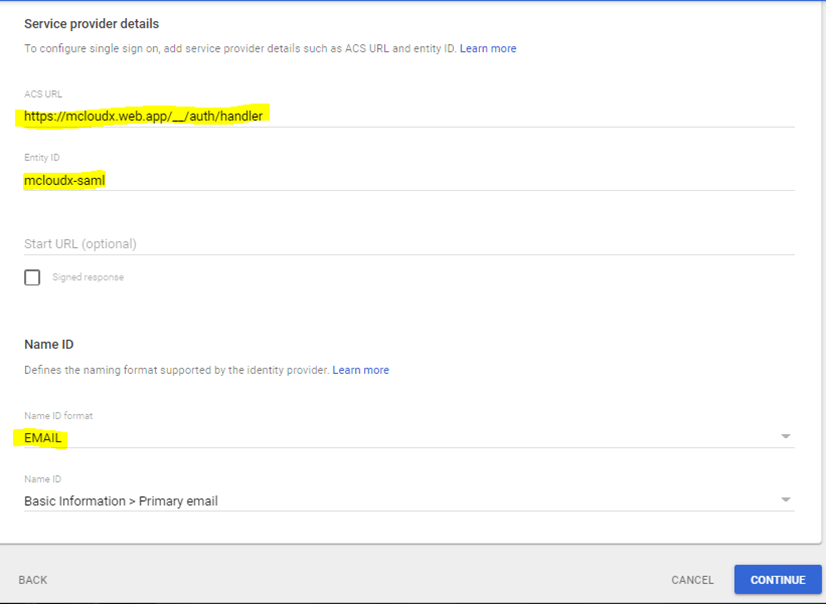
Enter Entity ID and ACS URL copied from Mavvrik in Step-1
-
Select EMAIL as Name Id Format.
-
Click Continue
-
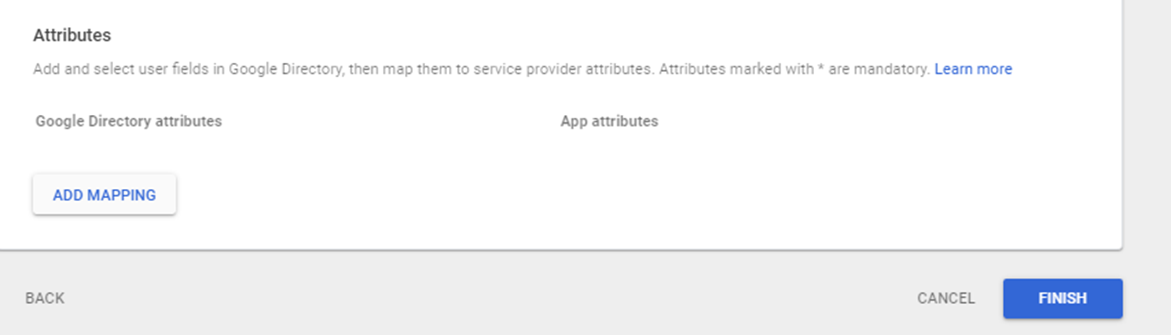
Do not Add Mapping of Attributes and Click Finish
-
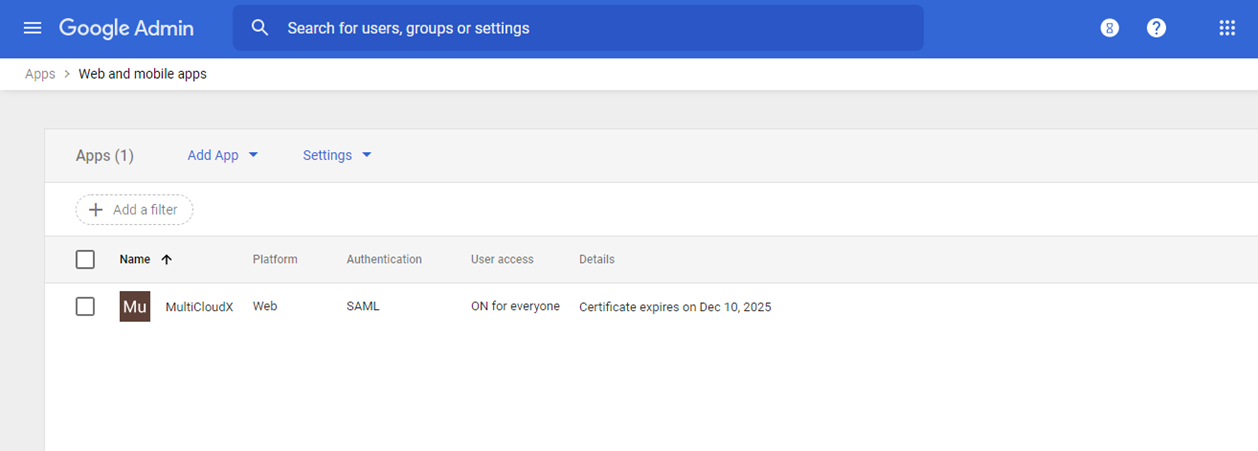
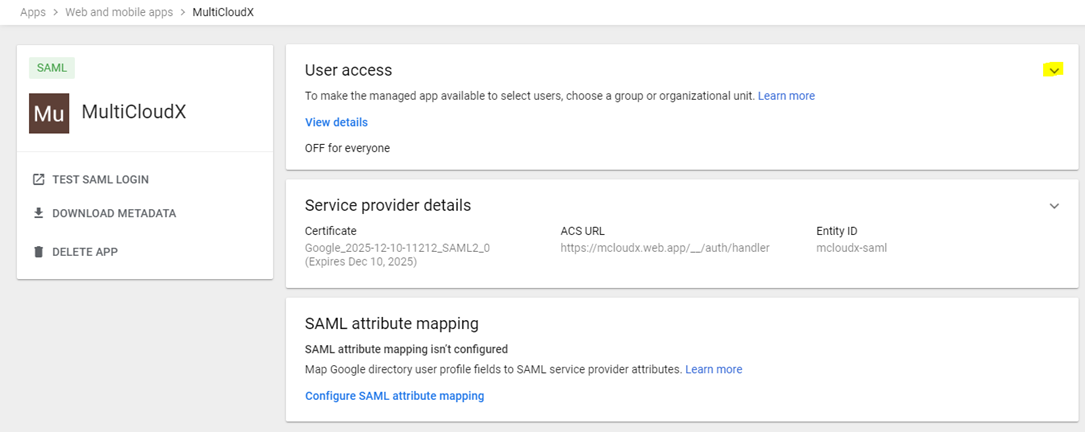
Clicking Finish navigates to Below Page
-
Click on Down Arrow as shown in the image below.
-
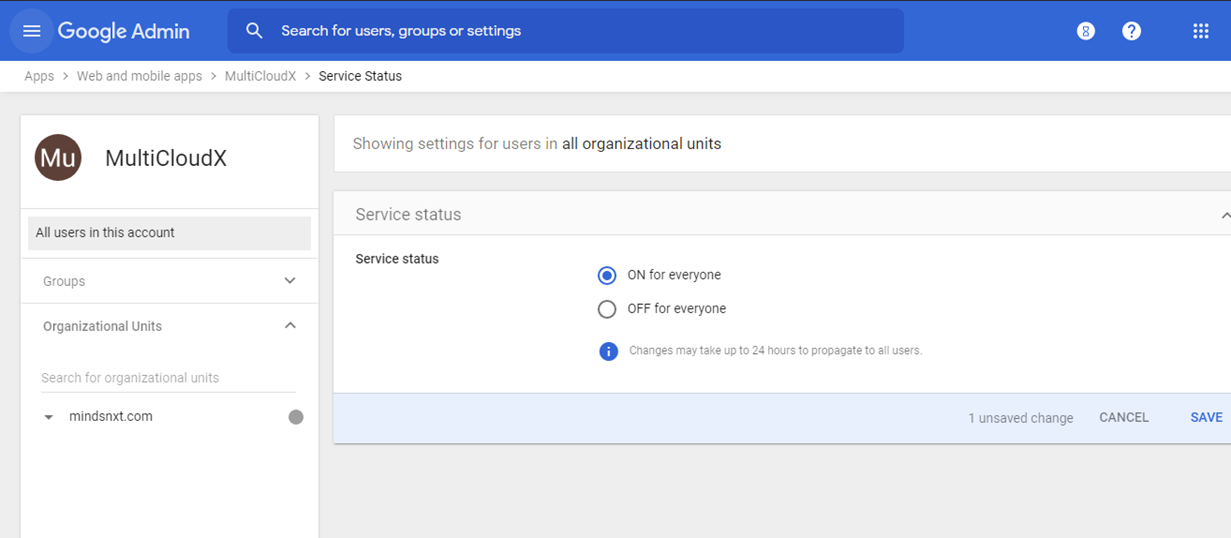
Clicking on the Down Arrow mark navigates to the below page where service status is OFF for everyone by default.
-
Click on ON for everyone.
-
Click Save.
-
SAML App is created successfully and it’s displayed as shown below