.png)
Why this matters: since Mavvrik only supports SP-initiated SSO, users normally can't just click a Mavvrik tile in their Okta dashboard to log in — a Bookmark App is Okta's way of adding that tile back, even though clicking it still redirects through Mavvrik's own sign-in flow rather than skipping straight in.
Bookmark Configuration Steps
Step 1: Get Mavvrik URL
-
After Sign-up for the Mavvrik Application
-
Copy the URL
Step 2: Create Bookmark App in Okta
Note : We don't support IDP initiated flow
Below is the description of the steps to Create SAML App in Okta
-
Log in to Okta Admin Console.
-
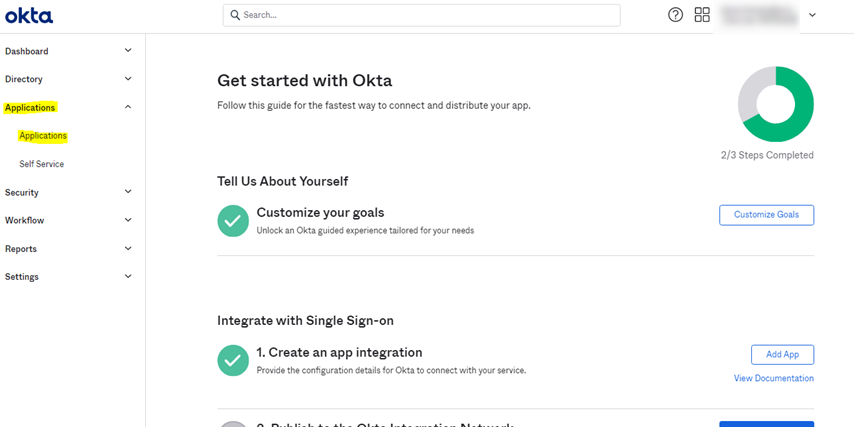
Click on Applications under Applications.
-
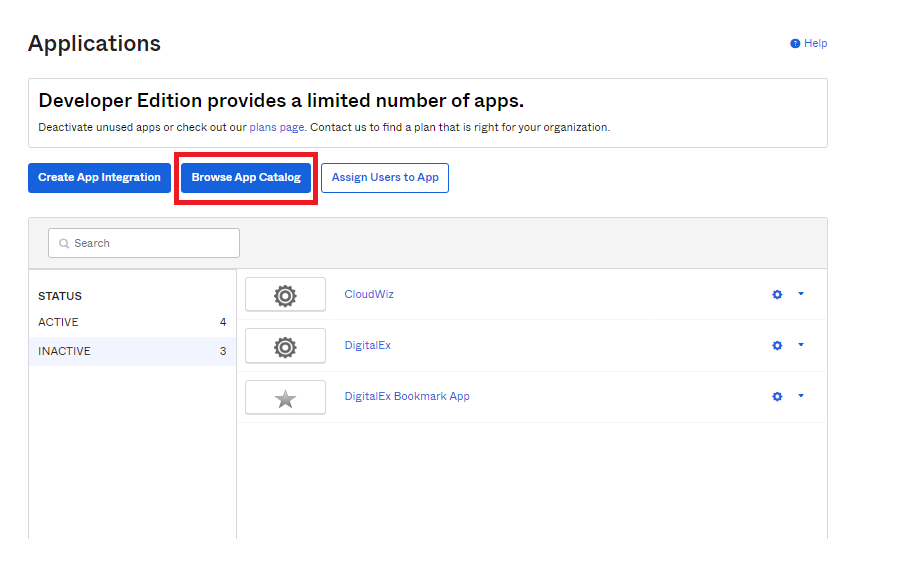
Click on Browse App Catalog.
-
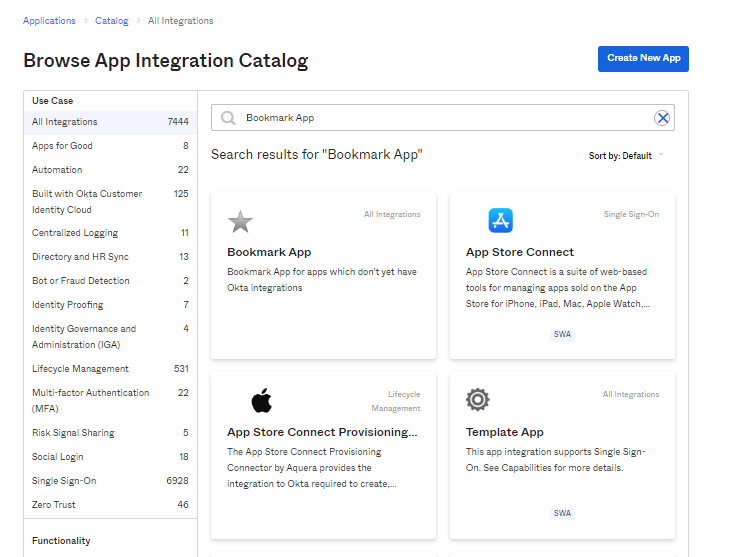
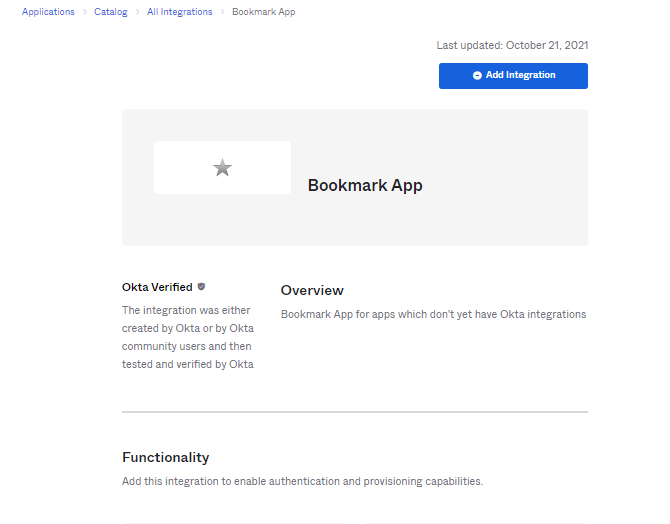
Search and Click Bookmark App
-
Click on Add Integration
-
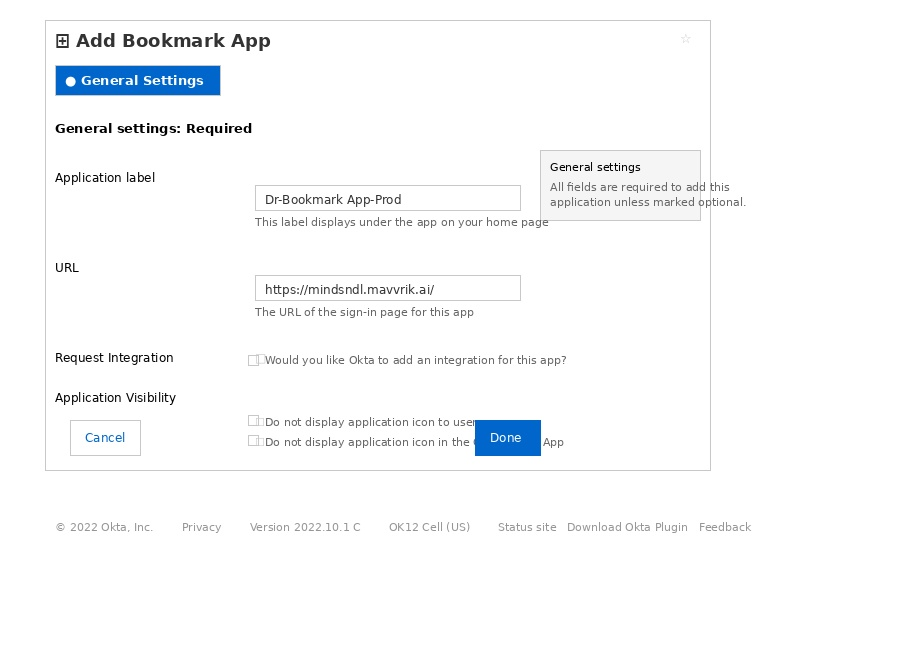
Enter the App Name of your choice.
-
Paste the Mavvrik sign in URL
-
Don't change other default values and leave other fields as it is.
-
Click on Done
Step 3: Assign the User to an App
Below is the description of the steps to Assign Users to an App
-
Click on Applications > Applications
-
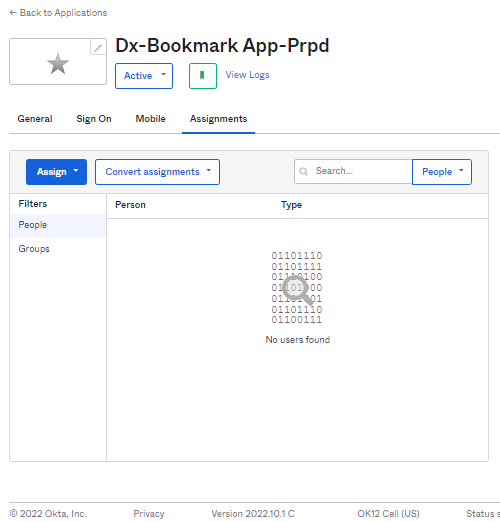
Click on the Application that you have created.
-
Click Assignments.
-
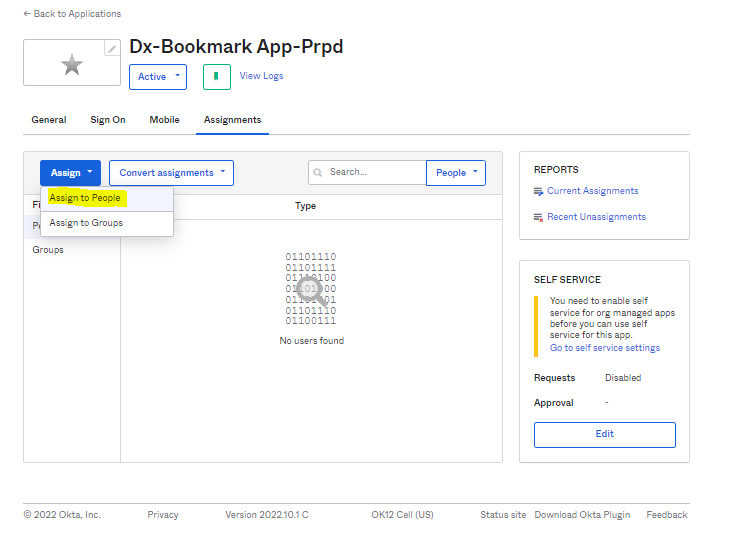
Click on Assign > Assign to People
-
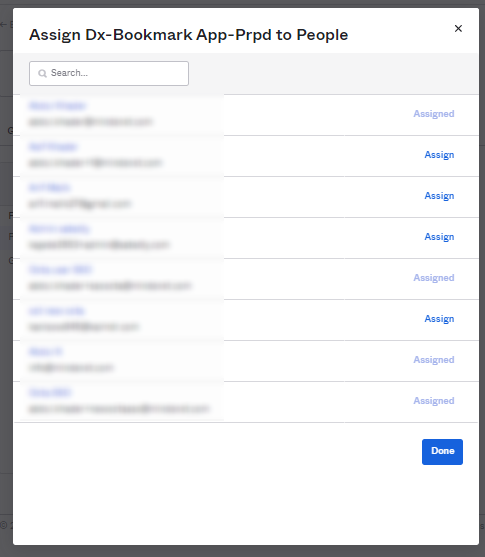
Click on Assign to whom you want to give access to an Application.
-
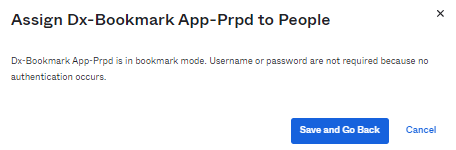
Click Save and Go Back
-
Status gets changed to Assigned.
-
You can Assign Multiple users to the Application by repeating the above steps.
-
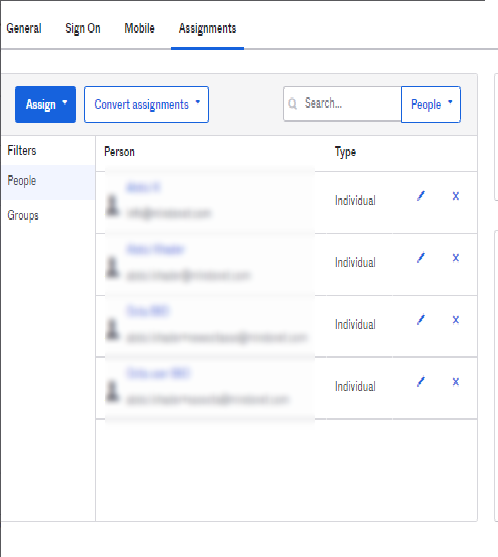
Click on Done. Users are assigned successfully to an Application as shown below
-
Alternatively you can also assign a group of users if you have already created a Group.
-
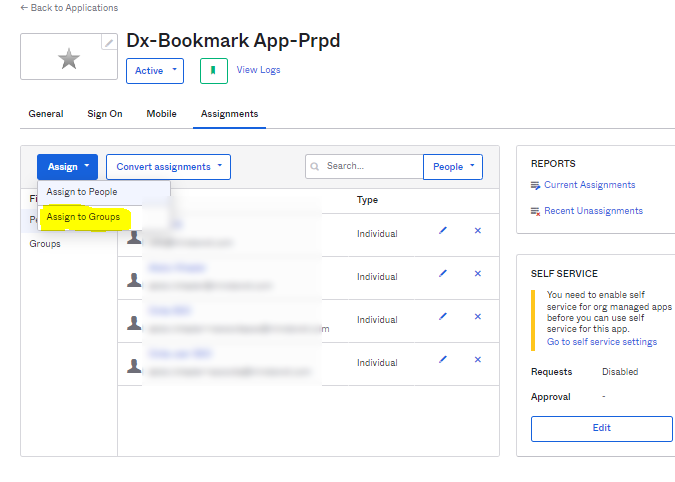
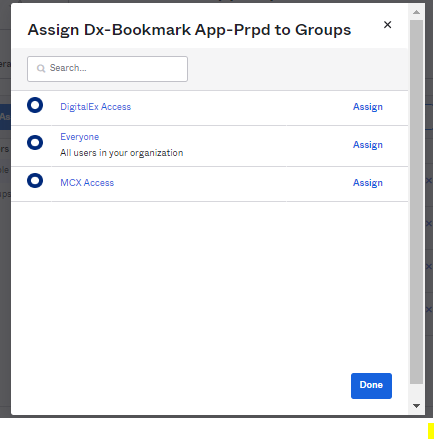
Click Assign > Assign to Groups.
-
Click Assign for which group of users you want to give access to this application.
-
Click Done
-
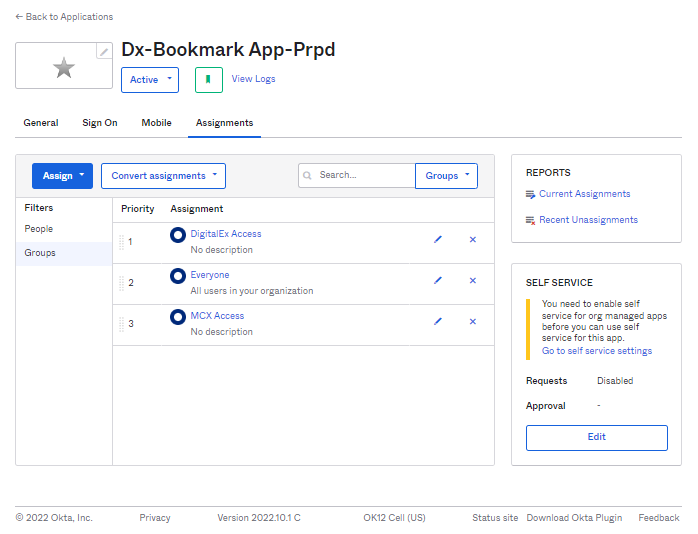
Group is assigned to an Application as shown below.
Step 4: Get Embedded Link
-
Click on Applications > Applications
-
Click on the Application that you have created.
-
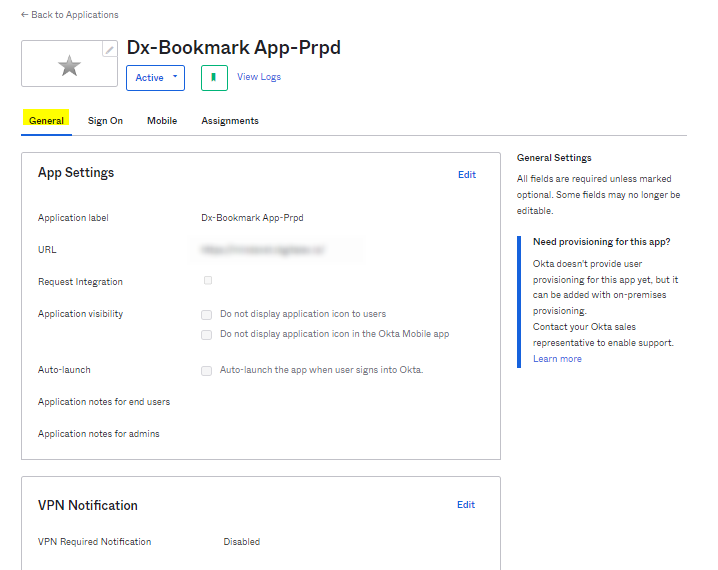
Click General
-
Scroll Down
-
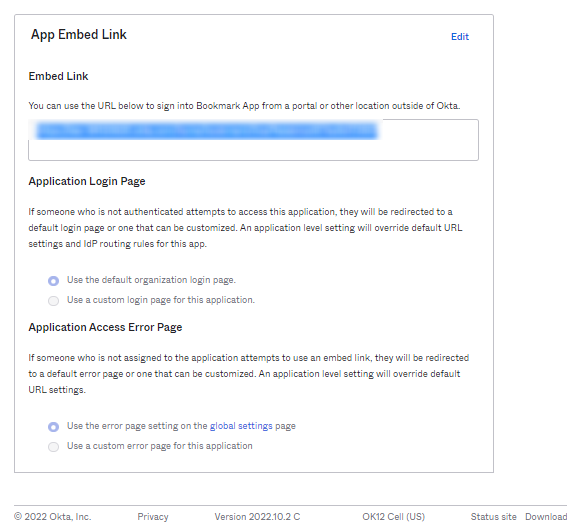
Copy the embedded link